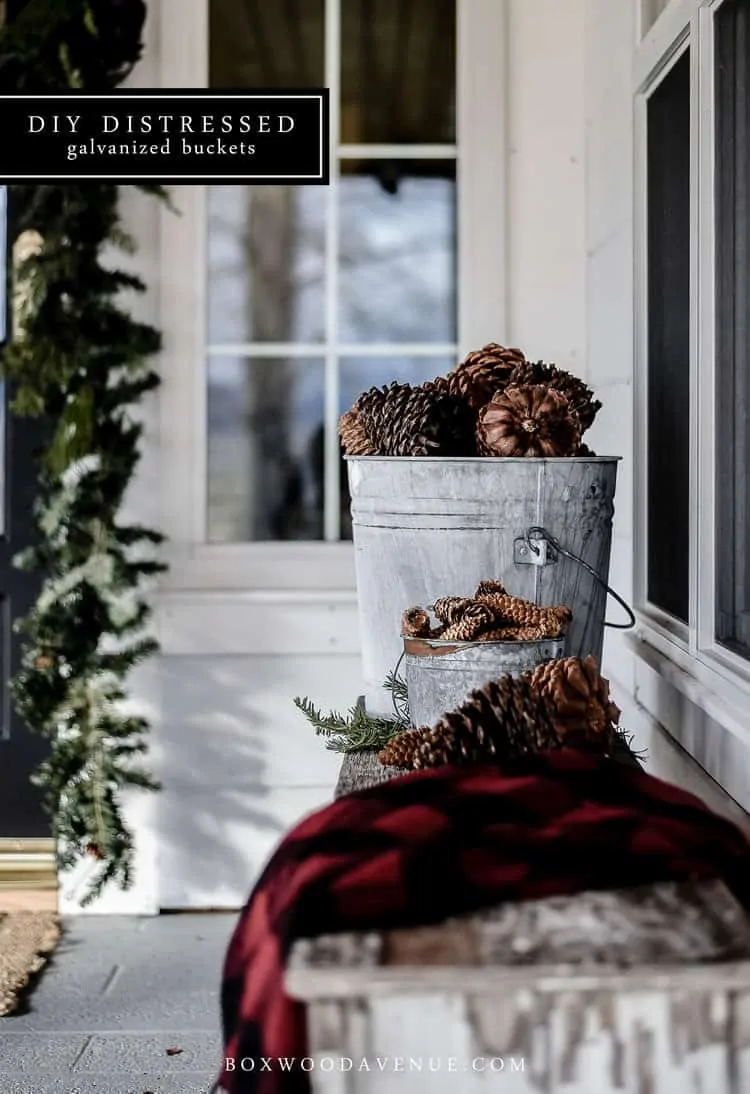
Create your own distressed galvanized buckets with toilet bowl cleaner and sand paper! The perfect home for Christmas trees, pine cones, and holiday decor!
At my recent trip to High Point, I fell in love with the galvanized dolly bins from England. Their patina was unmatched and beyond beautiful. I couldn’t resist, and bought a pair (they should be arriving soon), but they were definitely an investment, if you know what I mean. The charm of distressed galvanized metal is one of my favorites, and I figured, there must be a way to expedite the aging process. Right?
Yep.
In less than 48 hours, my once shiny metal buckets were rusty, patina’d, and beautiful. Of course, they weren’t the real deal. You just can’t fake that, but if you’re on a budget, this is an easy way to faux the look.
The secret? Toilet bowl cleaner…Simply sand off the shine, then douse the metal with a nice coat of toilet bowl cleaner. I reapplied once through the process, and it was perfect.

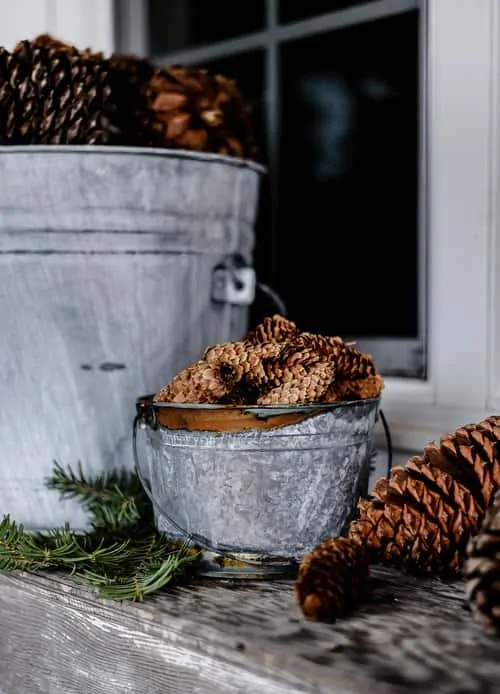
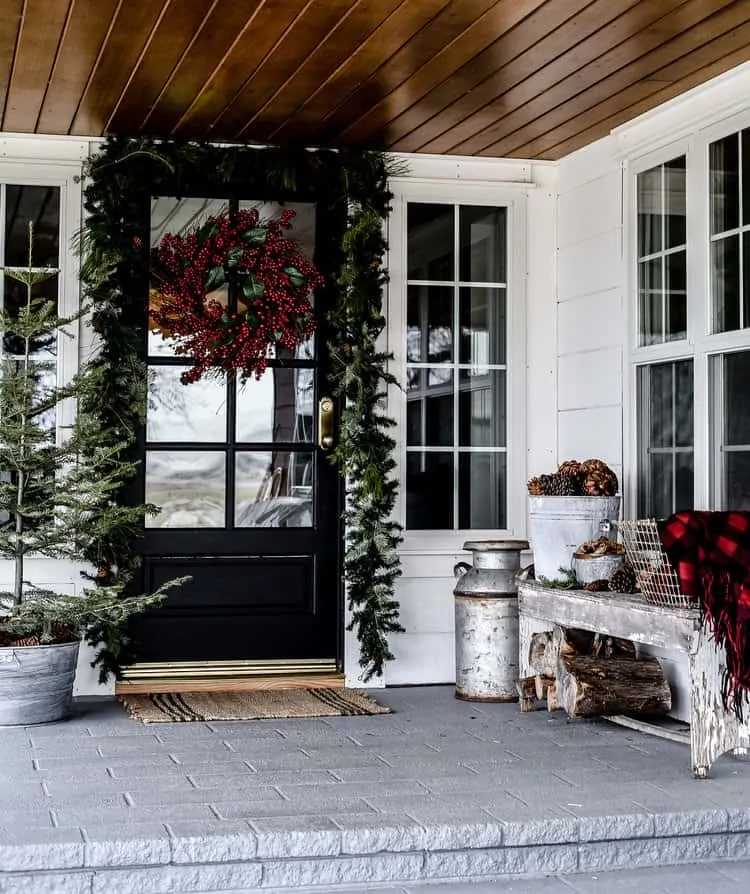
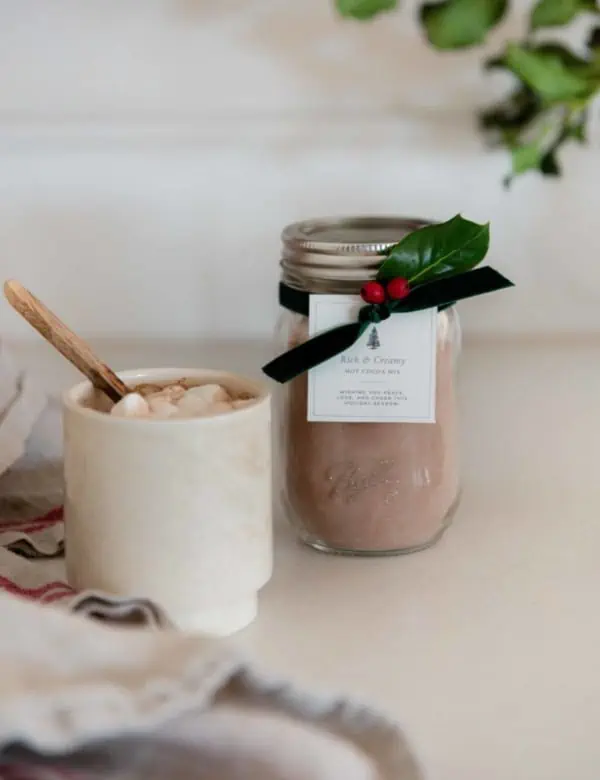
I used these outside on my porch, and will use them in my house too. I think mixing and matching aged metal with vintage glass jugs and jars (demijohns!) makes for a beautiful holiday combination. I like to use mostly things that can be found outside: pine cones, branches, trees, and fire wood. I haven’t settled on tree decor yet – I think I might let my trees go bare this year. What are your thoughts?
I almost forgot to mention one of my favorite decorating tricks for seasonal items. I of course love real garland, and will purchase as much as I can the next time I make it to Reno, but often times I am stuck using faux garland either because of budget or because of availability. To dress up a faux garland, I fluff it as much as possible – and then I add branches and clippings of real foliage. I used this method on my fall porch, and received quite a few questions about it, so I thought I would share more of the details here! This method can be used with any type of foraged cuttings and instantly elevates faux greenery without the price tag.
DIY Distressed Galvanized Buckets
watch the tutorial

DIY Distressed Galvanized Buckets
Equipment
- 220 Grit Sand Paper
Materials
- Galvanized Buckets small, medium, large
- Acidic Toilet Bowl Cleaner this is what I used
- Large Plastic Tub
- Rubber Gloves
Instructions
- Sand off the shine on the buckets. They come pretty protected, so using light sandpaper, you can prep them for the toilet bowl cleaner.
- Wearing gloves, douse the buckets with toilet bowl cleaner. I held my bucket over a large plastic tub and covered it with the solution. *I let mine sit on its side in the bucket, next time I won't do that because one side became more distressed than the other side.
- Let the bucket sit for 12 hours, then reapply the solution, and let it sit for another 12 hours.
- Rinse the bucket with water, set aside to dry, and flush the excess toilet bowl cleaner from the plastic tub.
- Have fun filling and decorating with your new distressed galvanized buckets!
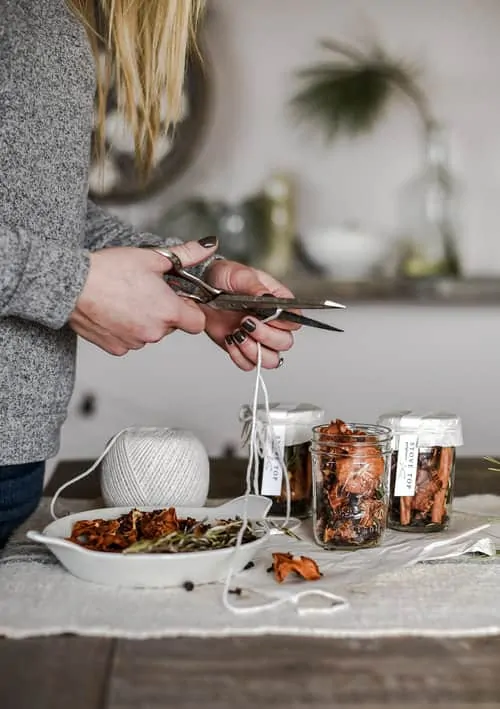
A little backstory on this project… I have worked with Darby Smart for a long time, since they started really, and continue to make videos for them here and there. They approached me about a collaboration with Lowes – basically I could do anything I wanted to decorate my porch for Christmas. I had been thinking about this project for awhile, so this was the perfect opportunity. You can watch the full video tutorial on my DarbyStar channel – there are tons of inspiring videos on the app! I will be using this technique on any and all metal I can get my hands on. –> Just put some jingle bells in a jar with toilet bowl cleaner to see if it would work on them, I’ll let you know!
What size buckets did you use?? They look fantastic!!
Thank you Ashley!! I will link them above for you! :)
I just love your photos Chloe! You are so inspiring! I want to buy a house and remodel it after following you!! XOXO http://www.brisul.com
Thank you Chloe!! At lowes now, so excited to make these!!!
Thanks Chloe!! I may need a larger house after following you..haha. We just moved 2 years ago FROM the farm, to the cottage:-) Now I am having so much fun giving these things away. Thanks so much for all your ideas and friendship.
Can i make it with ikeas metal pot?;)