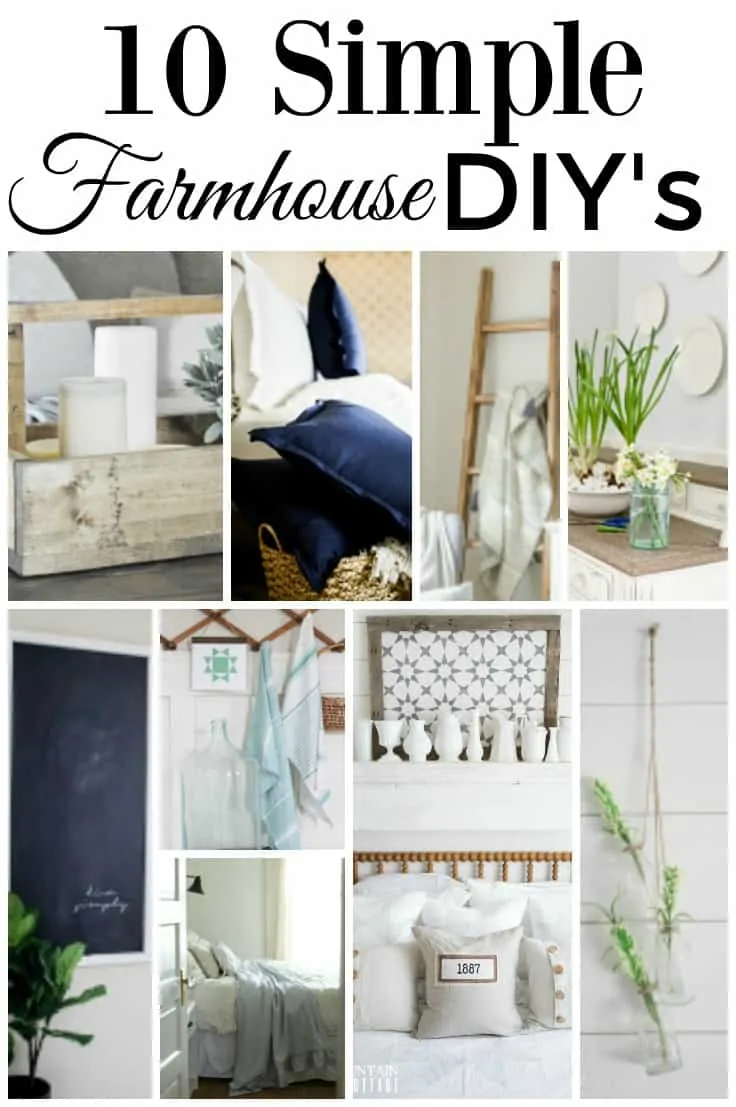
10 easy DIY projects from the best farmhouse bloggers; learn how to make linen pillow covers and so much more!
DIY LINEN PILLOW COVERS

Hello friends old and new! I am so very excited to be joining some of my favorite instagram friends in the second blog hop of the week. One of the best parts of having a website is getting to know other ladies that are passionate about the same things that you are (read: YOU, and other bloggers). We have teamed up to bring you 10 simple farmhouse decorating projects. I hope you have fun getting to know some new farmgirl friends (there is a full list at the bottom of this post).
While I love Pottery Barn and all of their perfectly designed picture frames and silverware, my favorite thing to do while I am there is get inspired. I absolutely love heading to Pottery Barn to see what new ideas they are sharing with us so that I can create my own versions. From their labeling to their table linens, I have so much fun thinking of ways to put my own twist on their designs.
Last November, I spotted a bedding collection showing off serged hems. I couldn’t have loved the collection more! The undone-ness of the whole thing was just too beautiful to me! I snapped a few photos, and decided I would make my own.
It’s taken me this long to get around to posting a tutorial for these DIY linen pillow covers. Nonetheless, these covers are so incredibly simple, and take very little time to make. I used a hidden zipper, and really liked that I didn’t have to sew them inside out (and remember to unzip the zipper before sewing…anyone else sewed themselves out of a pillow before?).
Simply cut squares of fabric, serge the edges, and then top-stitch them together. They’re basically like giant lavender sachet pouches, but with zippers. I had an instagram follower comment that her mother used to make similar pillows out of dinner napkins. How genius! If you don’t own a serger, you could definitely use finished napkins to get the same effect.
DIY Pottery Barn Pillow
Equipment
- Sewing machine
- Scissors
Materials
- Linen
Instructions
- Cut two pieces of square fabric the 1/2" larger than your pillow insert (ex: pillow insert is 20", cut a pair of 20.5" squares).
- Serge all four edges of each square. Trimming off as little as possible during the serging process.
- Pin the two squares together, leaving one side unpinned.
- Pin a zipper into place on the unpinned side about an inch up from the edge of the fabric.
- Sew the zipper into place.
- Sew the other three sides shut, leaving a 1" margin from the edge of the fabric. Backstitch when you hit the zipper line.
I hope you have enjoyed this linen pillow cover project, as always, I am so thankful that you have taken time out of your day to pay me a visit me!
This post was put together with some of my favorite farmhouse blogger friends. Each of them is sharing a wonderfully simple farmhouse decor project, and I know you will love them as much as I do!
See the rest of the projects:
Simple DIY Angled Blanket Ladder Tutorial
Printable Barn Quilt Wall Banner
Easy DIY Chalkboard
Farmhouse Hanging Glass Bottles
Simple Farmhouse Decor
DIY Linen and Flannel Ruffle Throw Blanket




These are so gorgeous Chloe!!
Would like to know where to find your initial pillow sewing tutorials. I am just starting and would like this info please.