Need a handmade Christmas gift idea? You won’t believe how easy it is to make all-natural homemade candles!
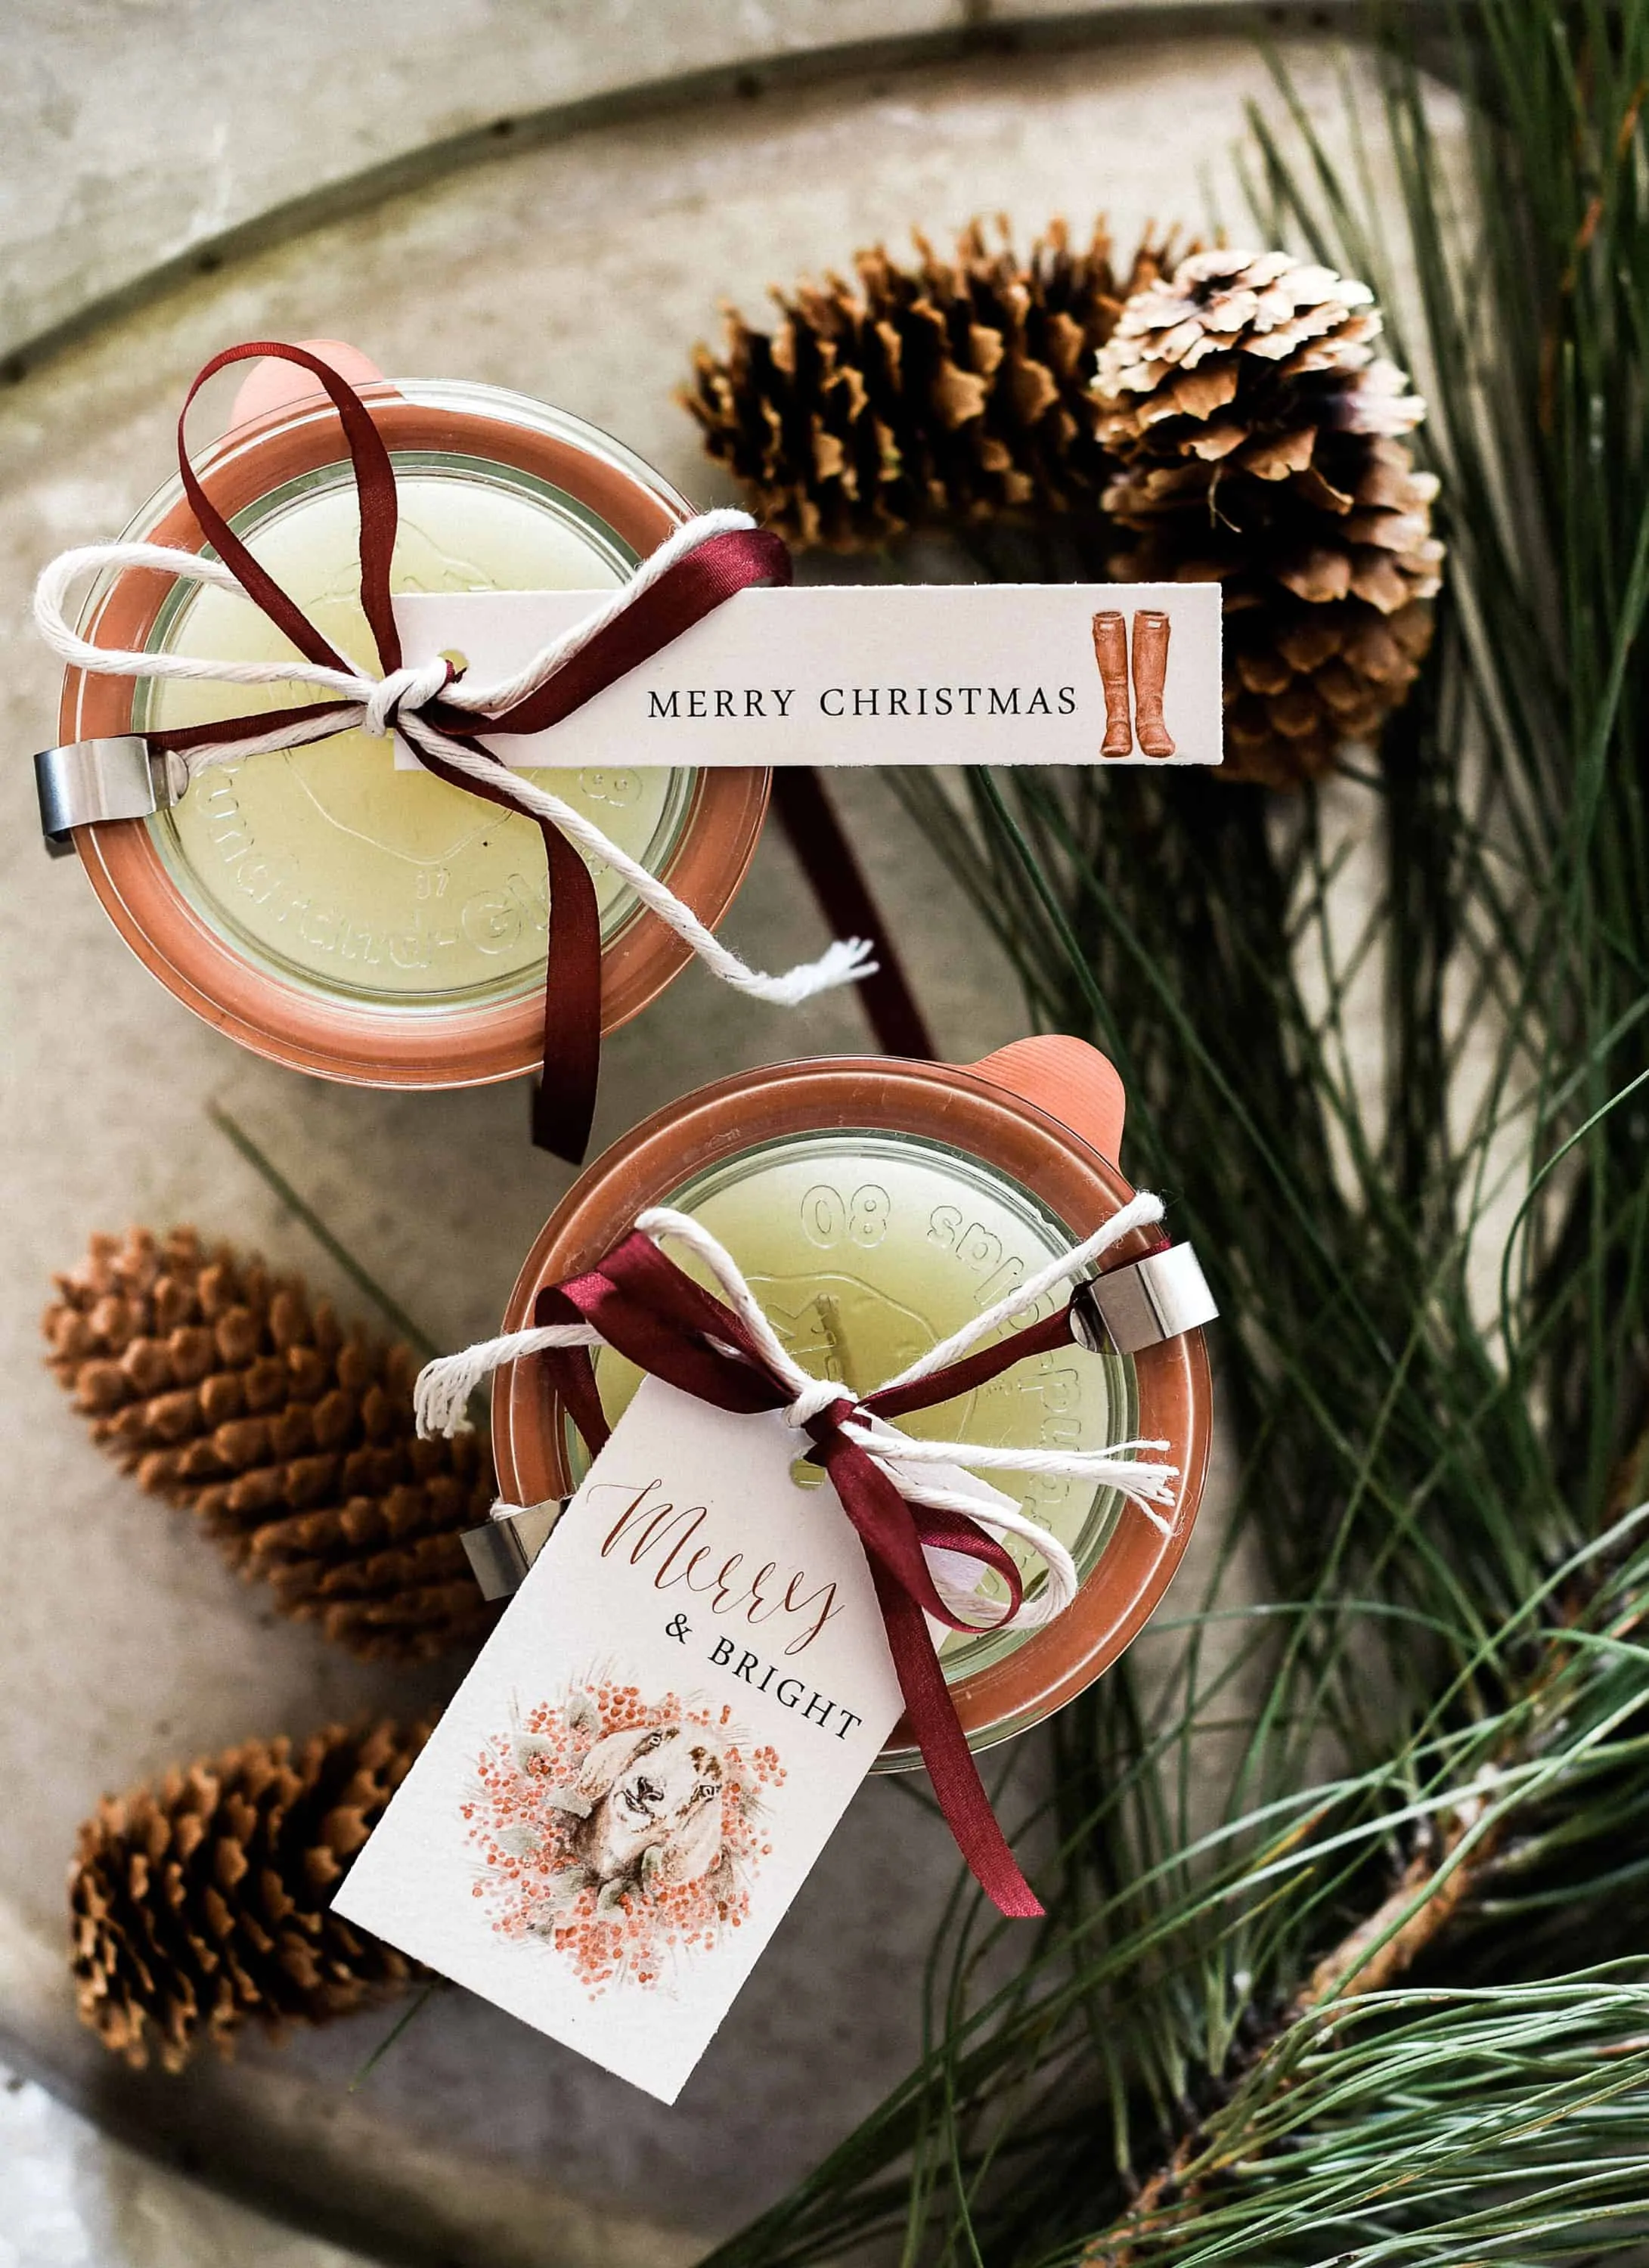
Christmas is fast approaching, and checking off everyone on your list can be tough! I love making handmade gifts for the holidays! Not only because it’s a great way to give thoughtful gifts, but because I always have so much fun crafting. Getting back to my roots and pull out the craft supplies is such a treat for me. That’s why I absolutely adore gifting these homemade candles!
Some of my favorite handmade gifts are: peppermint bark, this easy DIY half apron (it’s so cute!), this cute DIY Cocktail Kit, and dried potpourri!
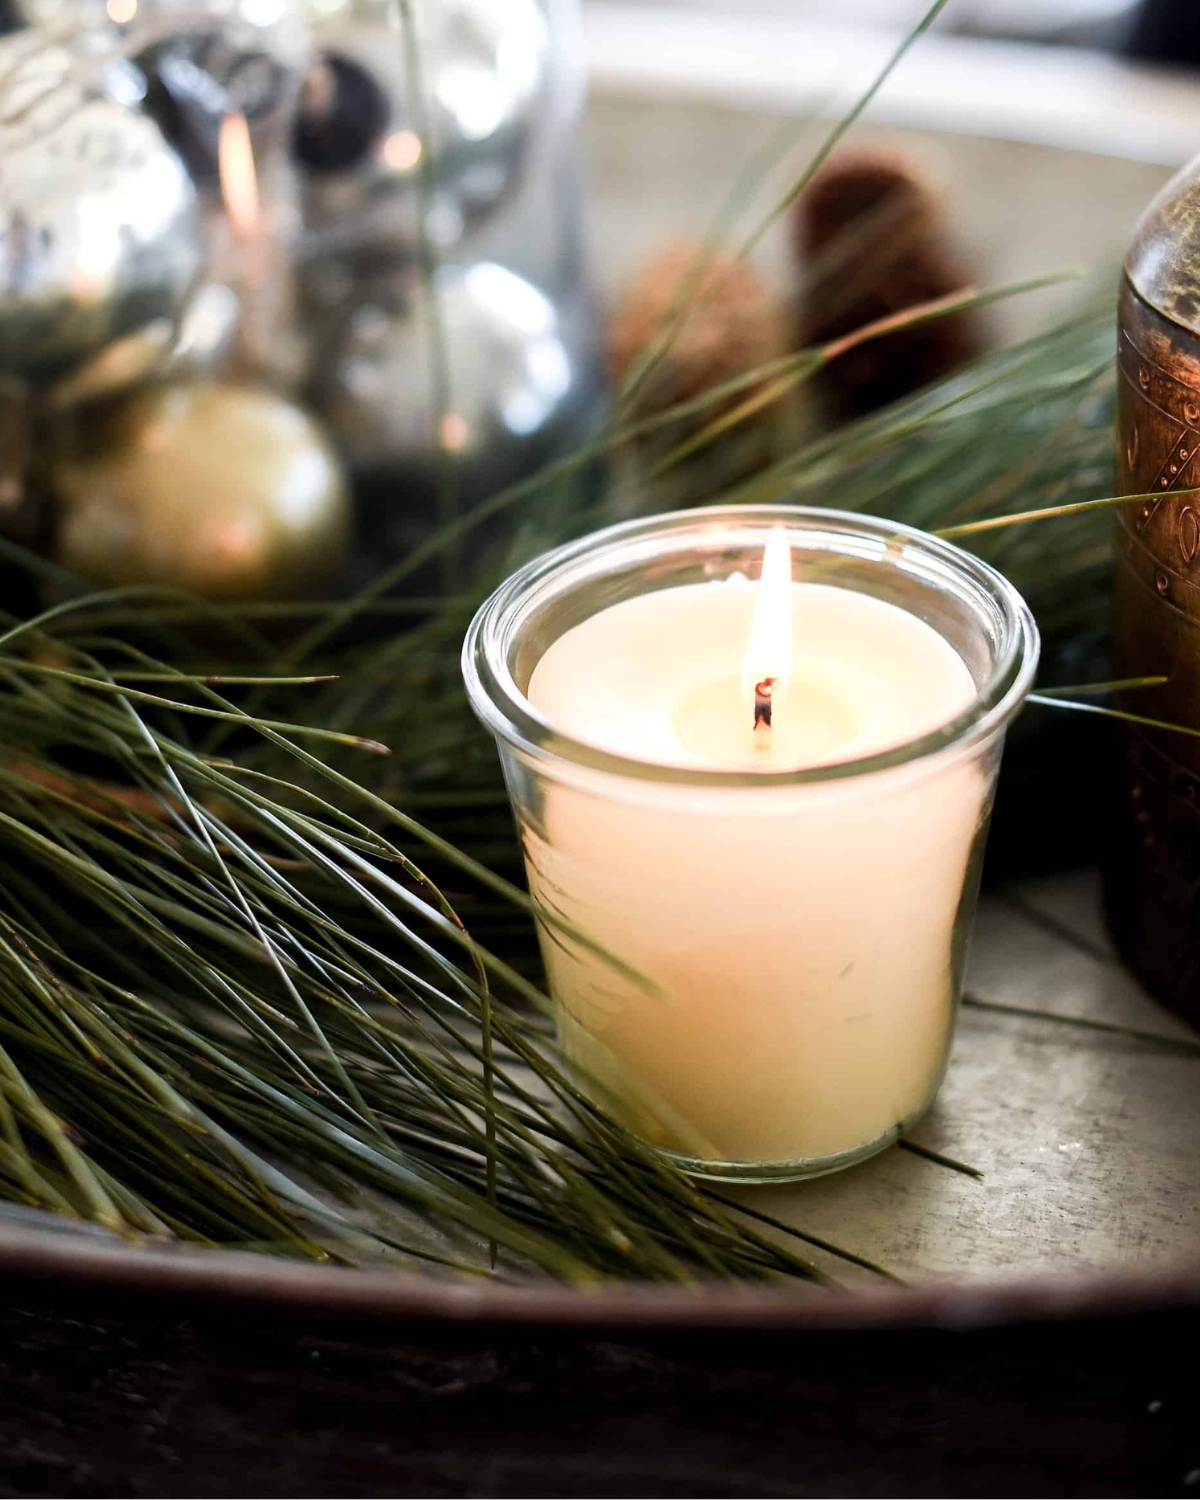
This year I decided to whip up a batch of homemade candles, which are made with beeswax and essential oils. I had forgotten just how easy candles are to make at home! Not only are they easy to make, but when you make candles yourself, you know that there aren’t any yucky chemicals hiding in the fragrances.
I love using essential oils for handmade gifts like this. They are a great way to add scent without turning to artificial fragrances! In these candles I used a mix of sweet orange, cinnamon, and clove. This is a lovely winter citrus blend that goes great in homemade sugar scrubs, body butters, and candles!
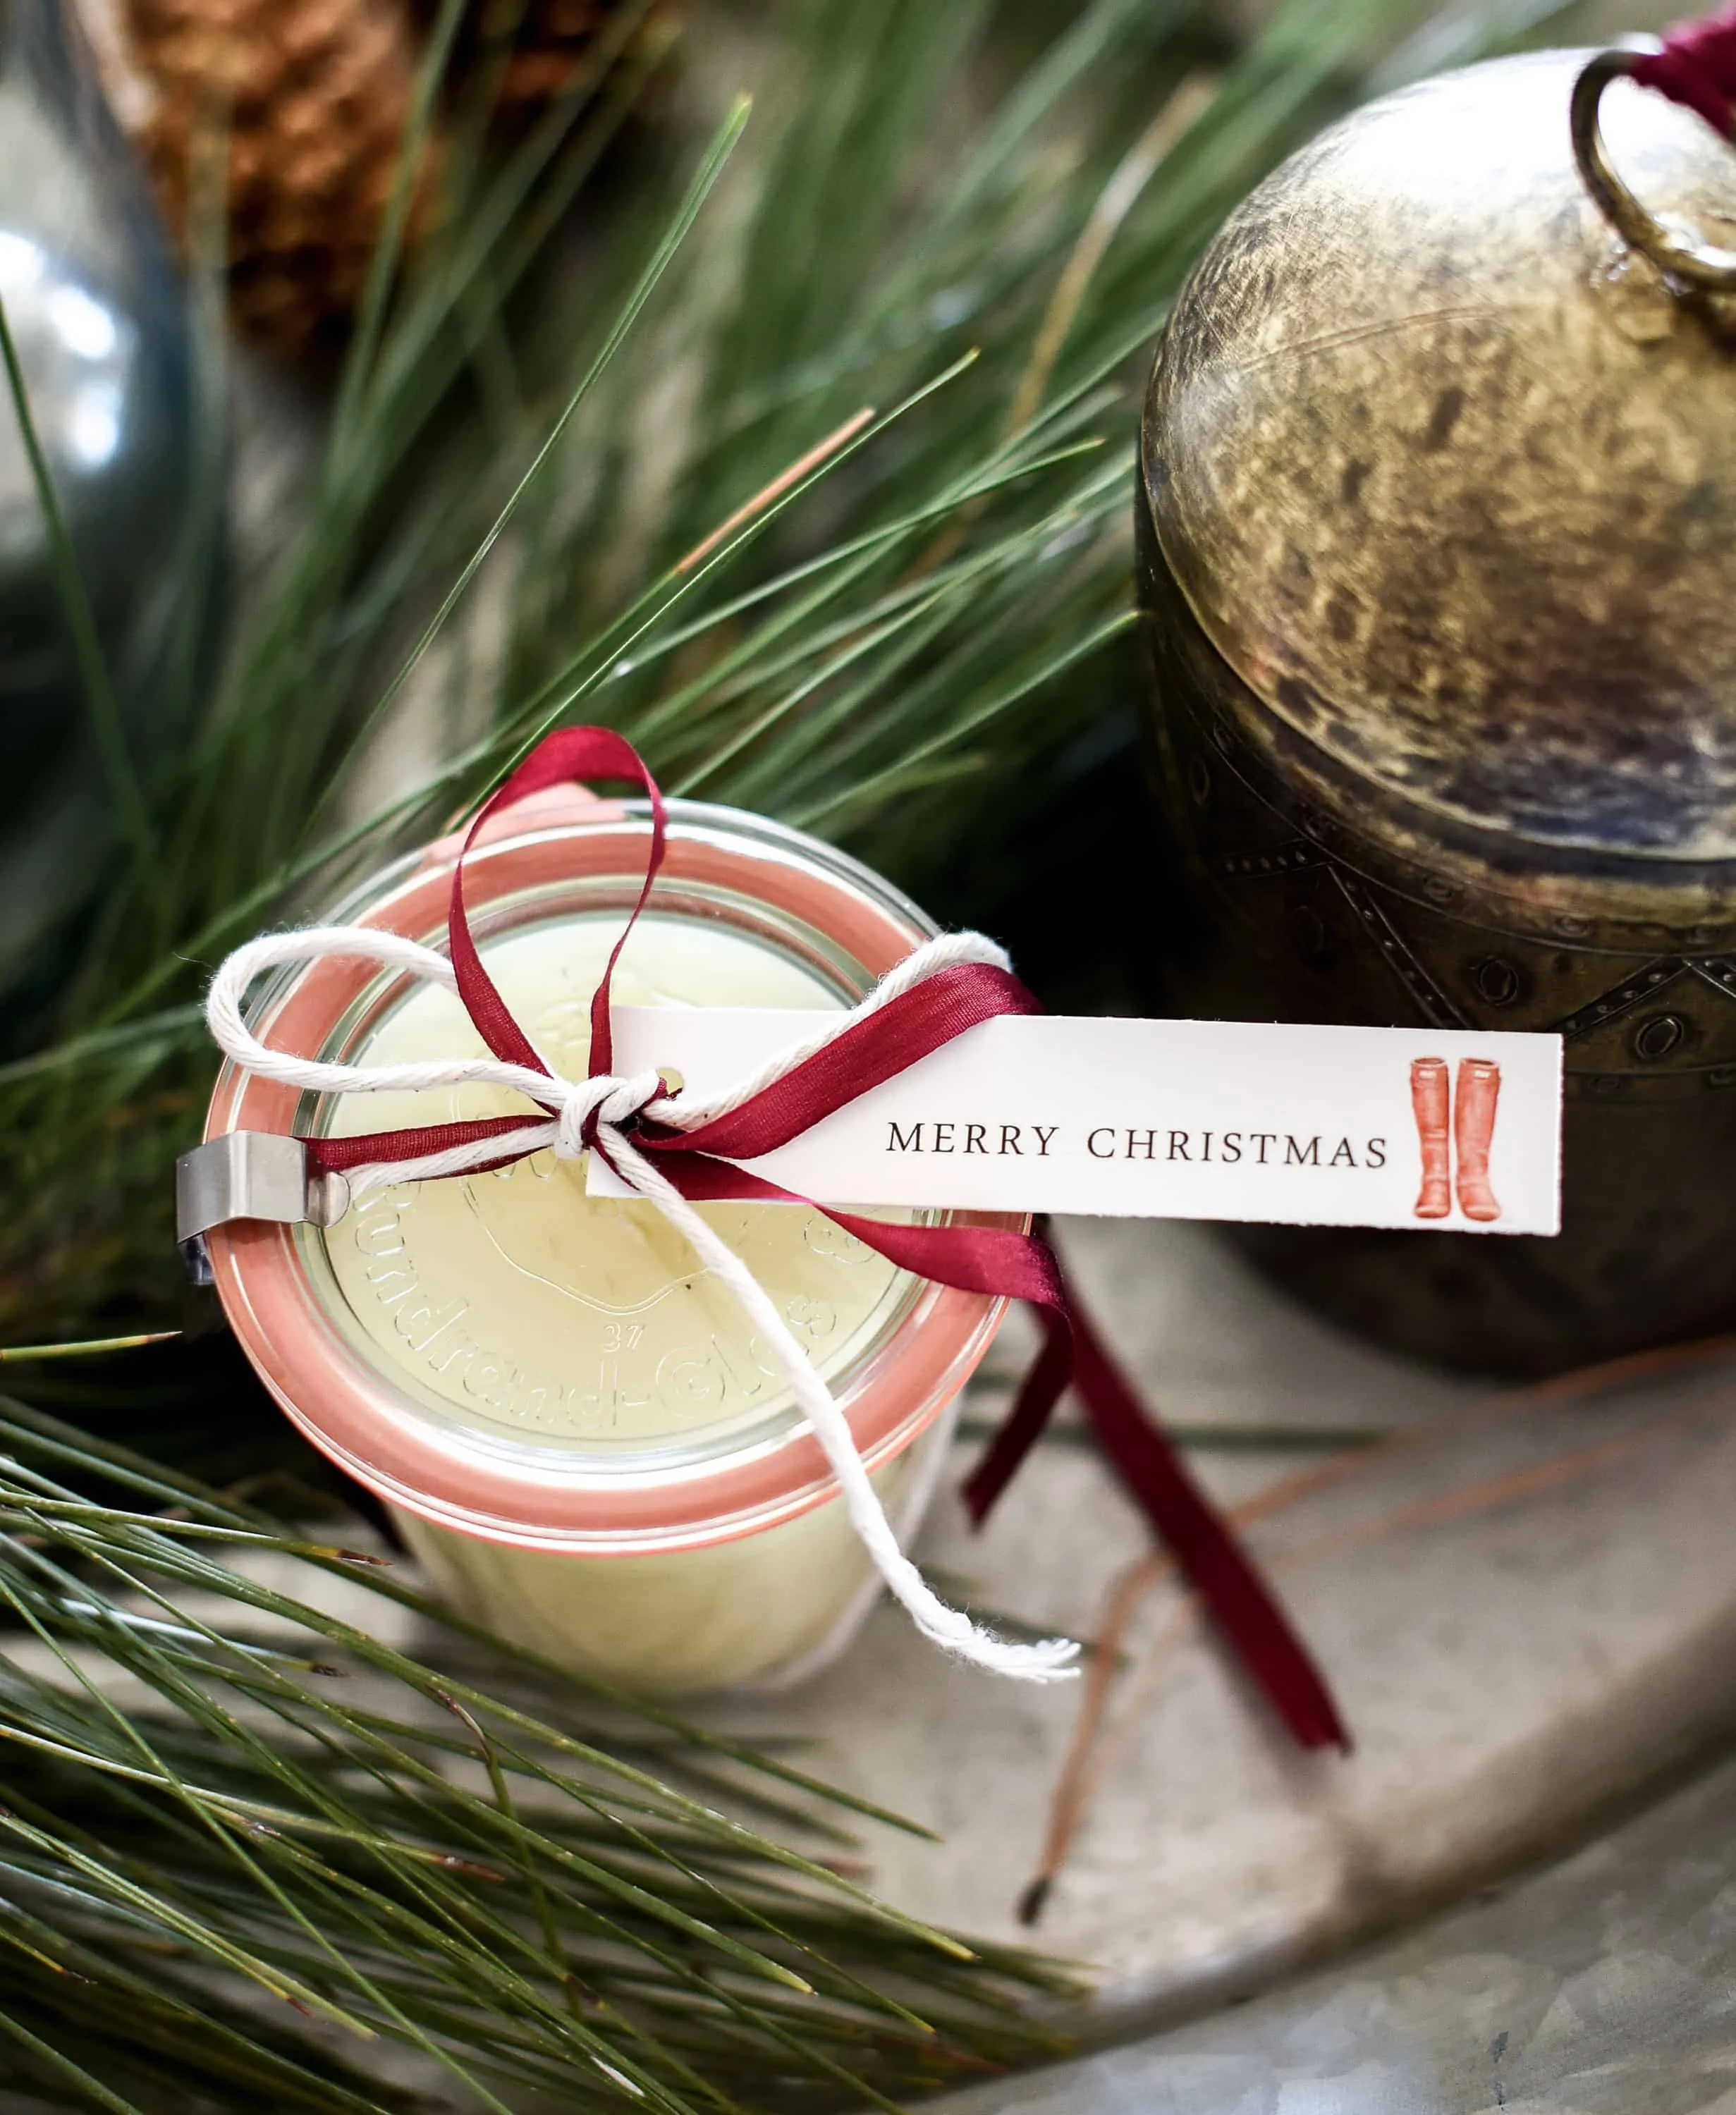
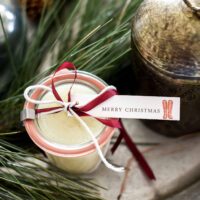
To make these DIY homemade candles even more cute, I used the watercolor clipart Amber’s Artistry painted for us and turned them into free printable gift tags! I have linked the file below the recipe so that you can download the tags and use them too! Just print them onto card stock and use a paper trimmer to cut them out!
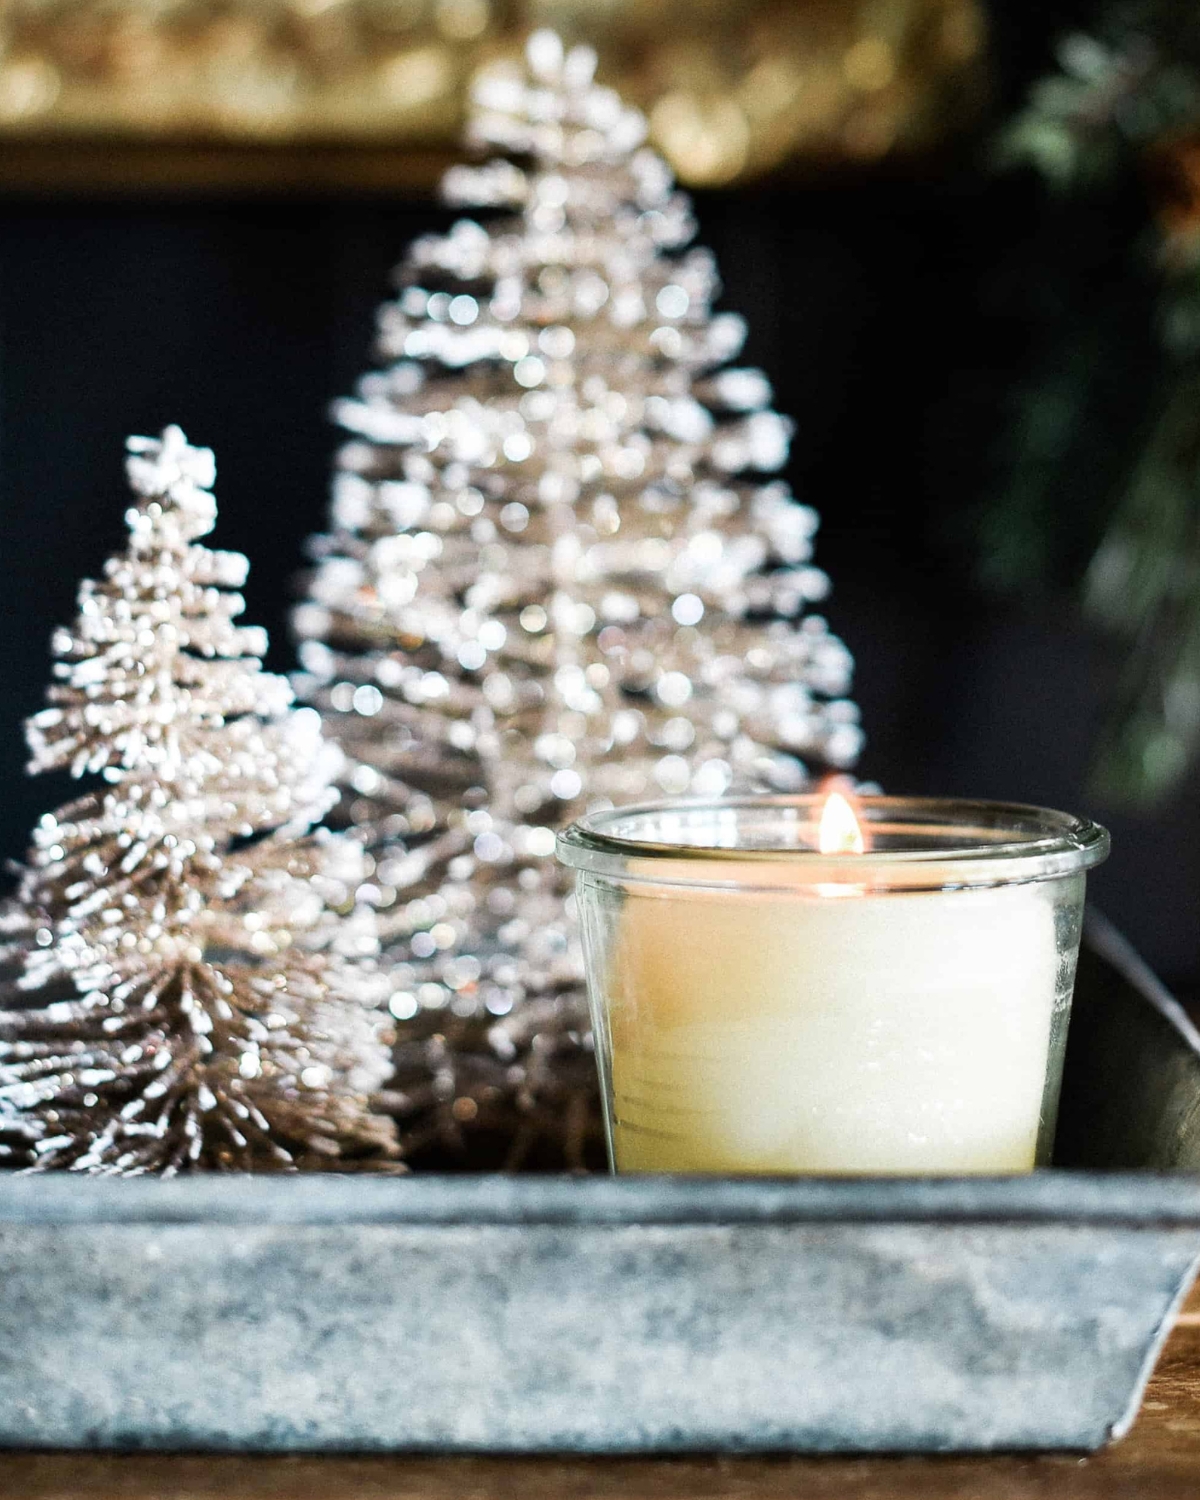
Homemade Candles
Equipment
- Printer
- Scissors
Materials
- 1 lb 4 cups beeswax pellets
- candle wicks
- essential oils sweet orange, clove, spruce
- glass jars
- free printable gift tags
Instructions
- Pour 4 cups of beeswax into a mason jar or Pyrex measuring cup. Use something that you don’t mind dedicating to your craft closet, as it will be difficult to get whatever you use here clean again.If you want a more efficient way to melt larger amounts of wax, you could also use a crockpot liner for an easy cleanup.
- Microwave the wax in 2-3 minute increments. Stirring between. Similarly to melting chocolate. It should take about 9 minutes total.If you're doing this for the first time, using a double boiler is the easiest way to melt your wax if you don't have a microwave. A melting pot is another good option if you want to invest in a candle-making kit.
- Once the wax is completely melted, add essential oils of choice. I used 40 drops sweet orange, 10 drops spruce, and 5 drops clove.Remember, the amount of wax used should complement the amount of oil—too much oil can overwhelm the scent.
- Set out the candle molds you’d like to use. I used glass Weck jars.You could also get creative by using tea cups or nice jars you find at thrift stores for a more vintage vibe.
- Add the candle wicks to the glass jars. To do so, dip the metal part of the wick into the melted wax. Place the metal end of the wick into the center of the candle mold, holding into place until the wax dried.You can use a wick sticker for additional support if needed.
- Add candle wick stabilizers. Tape two skewers together on each end, leaving the center open. Carefully slide the skewers over the wick so that the skewers rest at the top of the candle mold, holding the wick in place. Do not pull on the wick, it will come off of the glass. If this happens, just repeat step 5.
- Once the wick & skewers are in place, pour the wax into each mold. Set aside to harden.Make sure you use the right amount of wax so that it fills the container to the desired level without overflowing. You can always adjust by adding more wax later if needed. If you're worried about air bubbles, let the wax mixture cool slightly before pouring it into the jars.
- Once hardened, remove the skewers and trim the wick!Leave about half an inch of excess wick at the top to ensure a clean burn. Wax cool is essential, so allow it to set fully before trimming the wick. This ensures that the wax hardens evenly and reduces any mess.
- Add ribbon & a cute label, and give to friends & family!
You can even create a gift basket to make the present feel extra special. A personal touch is always appreciated, and handmade candles make great holiday gifts that are meaningful and practical. For the best gift presentation, add a little bundle of bath salts and a gift card for a truly unique gift!
Love this! Doing it on a Friday for my essential oils class! Can you add the link to the jars you used? So cute.
Oh fun!! Let me know if you come up with any great scent combinations! Here is the link: https://amzn.to/2S2vzsU
Thank you for this wonderful recipe, resources links, and gorgeous gift tags, Chloe. Merry Christmas to you and your family…and all of your animals. Cheers, Ardith
I suggest you pack them into custom printed Christmas boxes in order to give these candle to your loved ones.
WHAT SIZE GLASS JARS DID YOU USE?