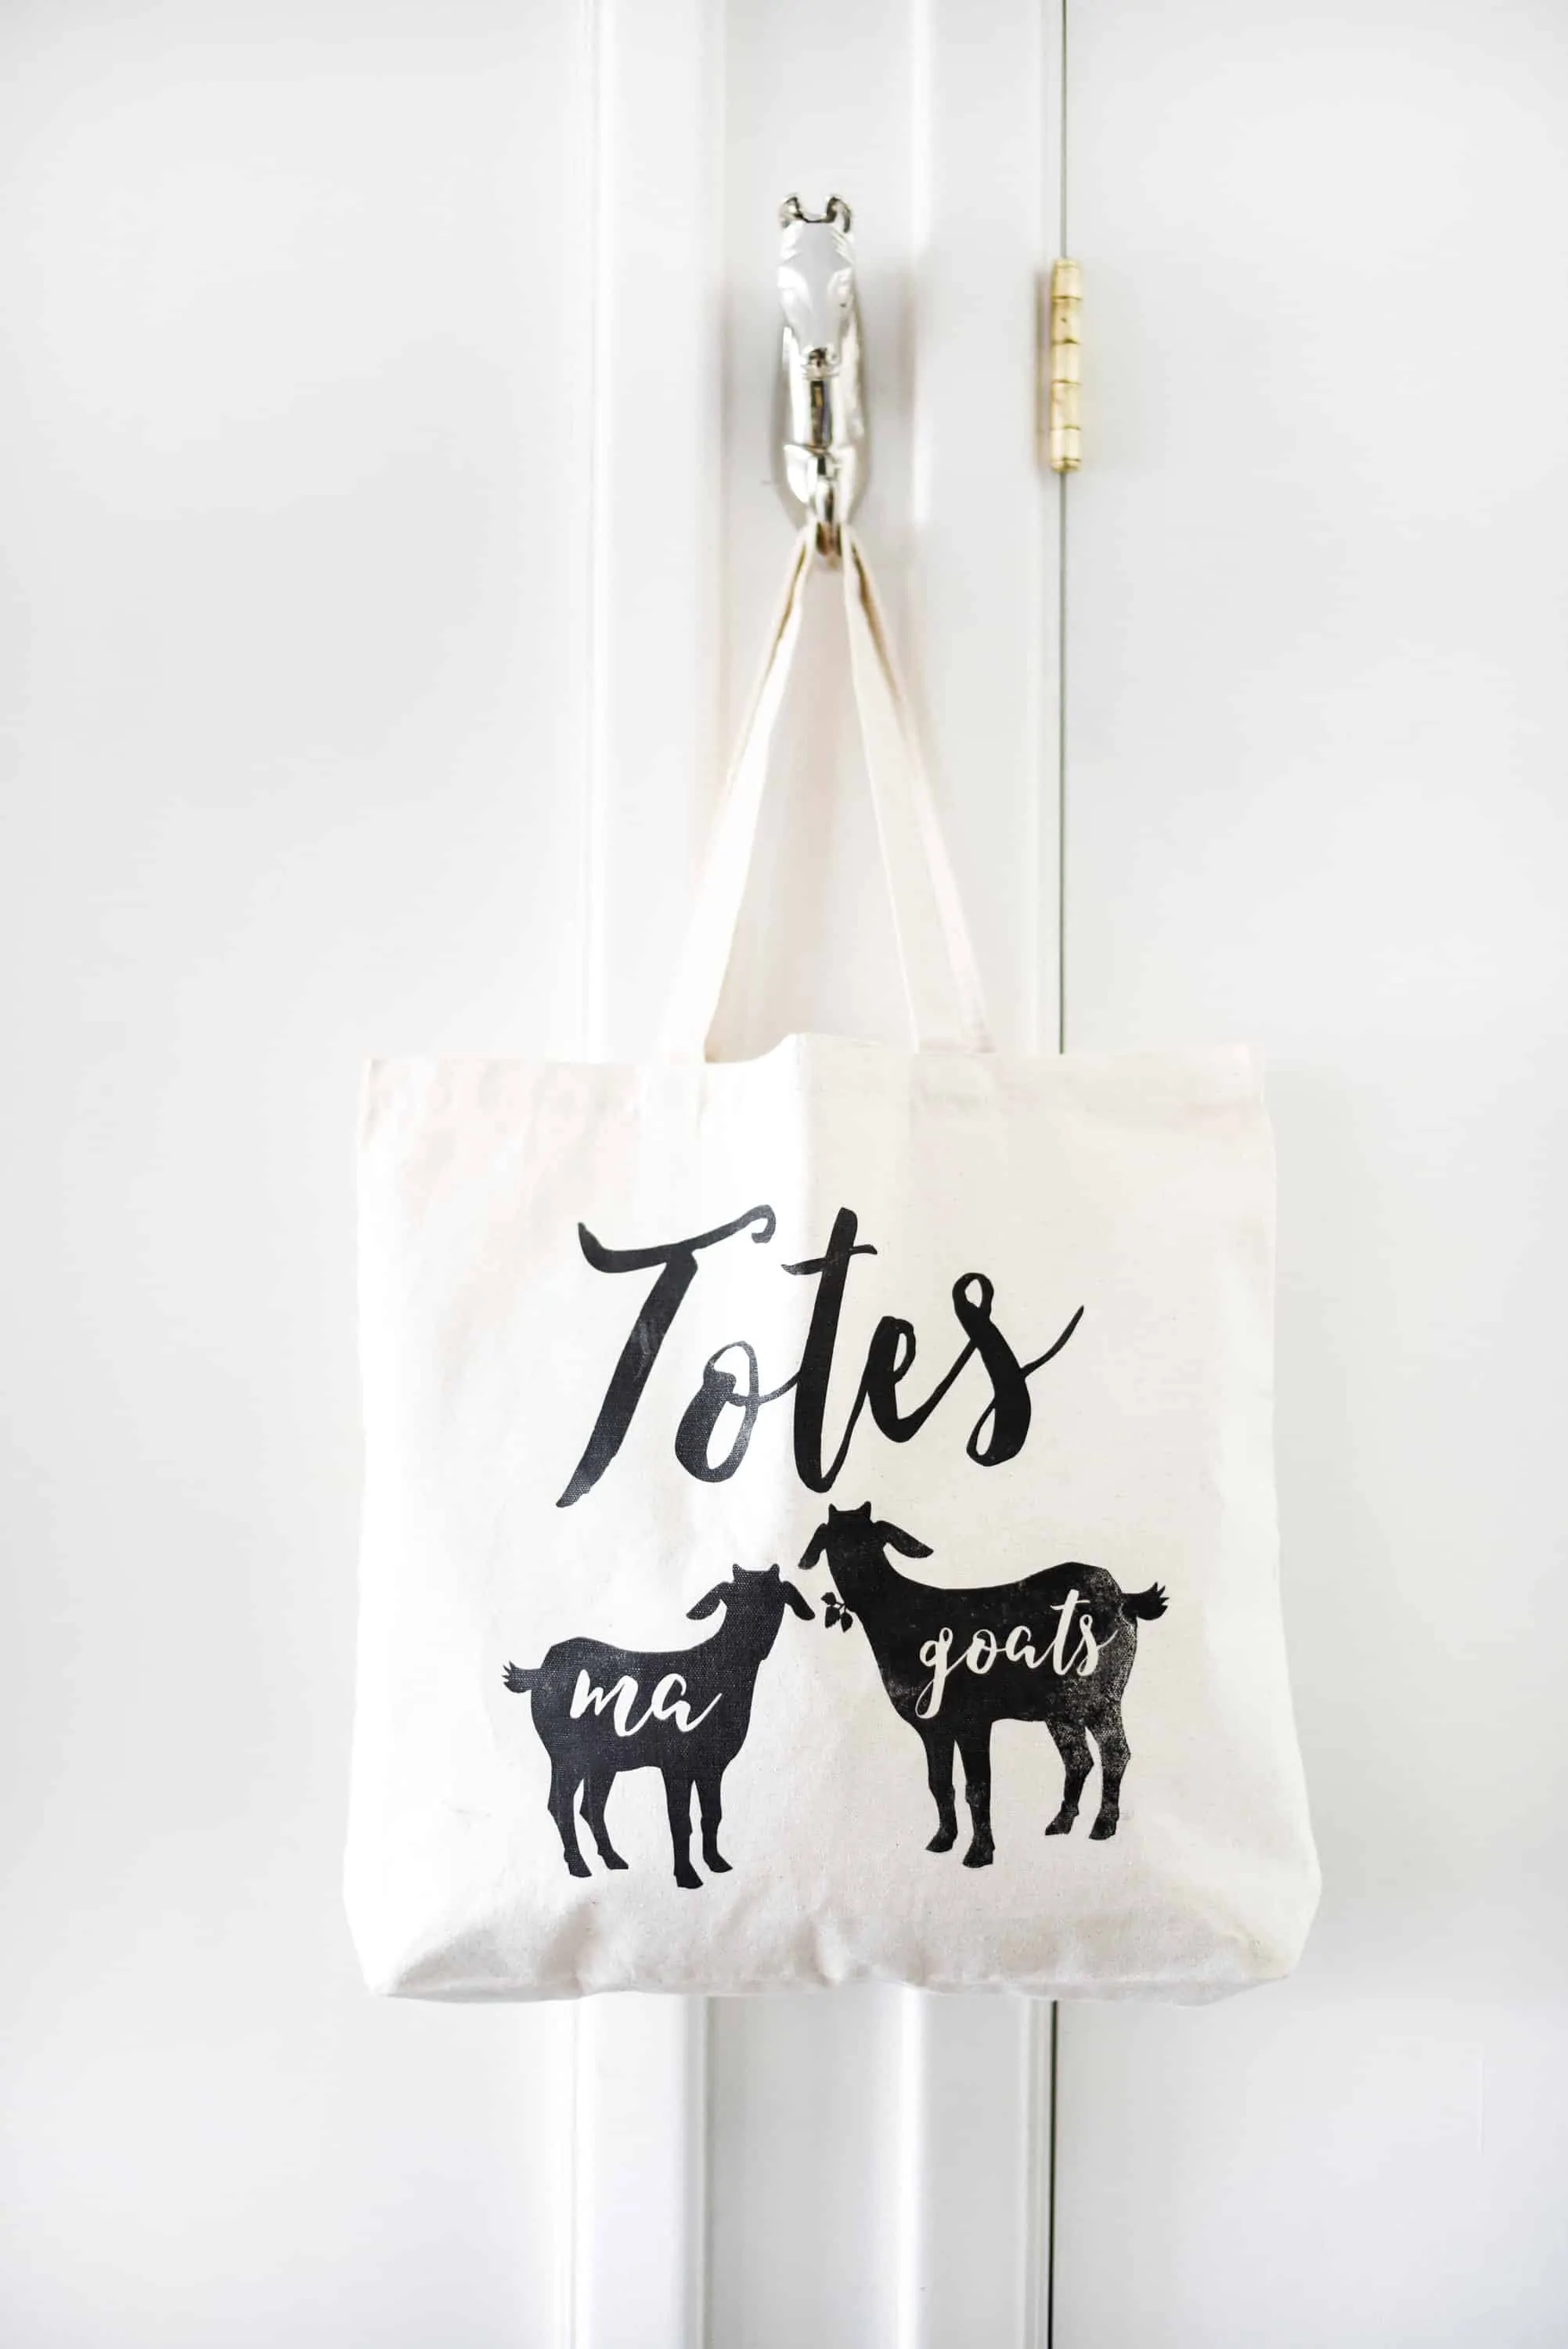
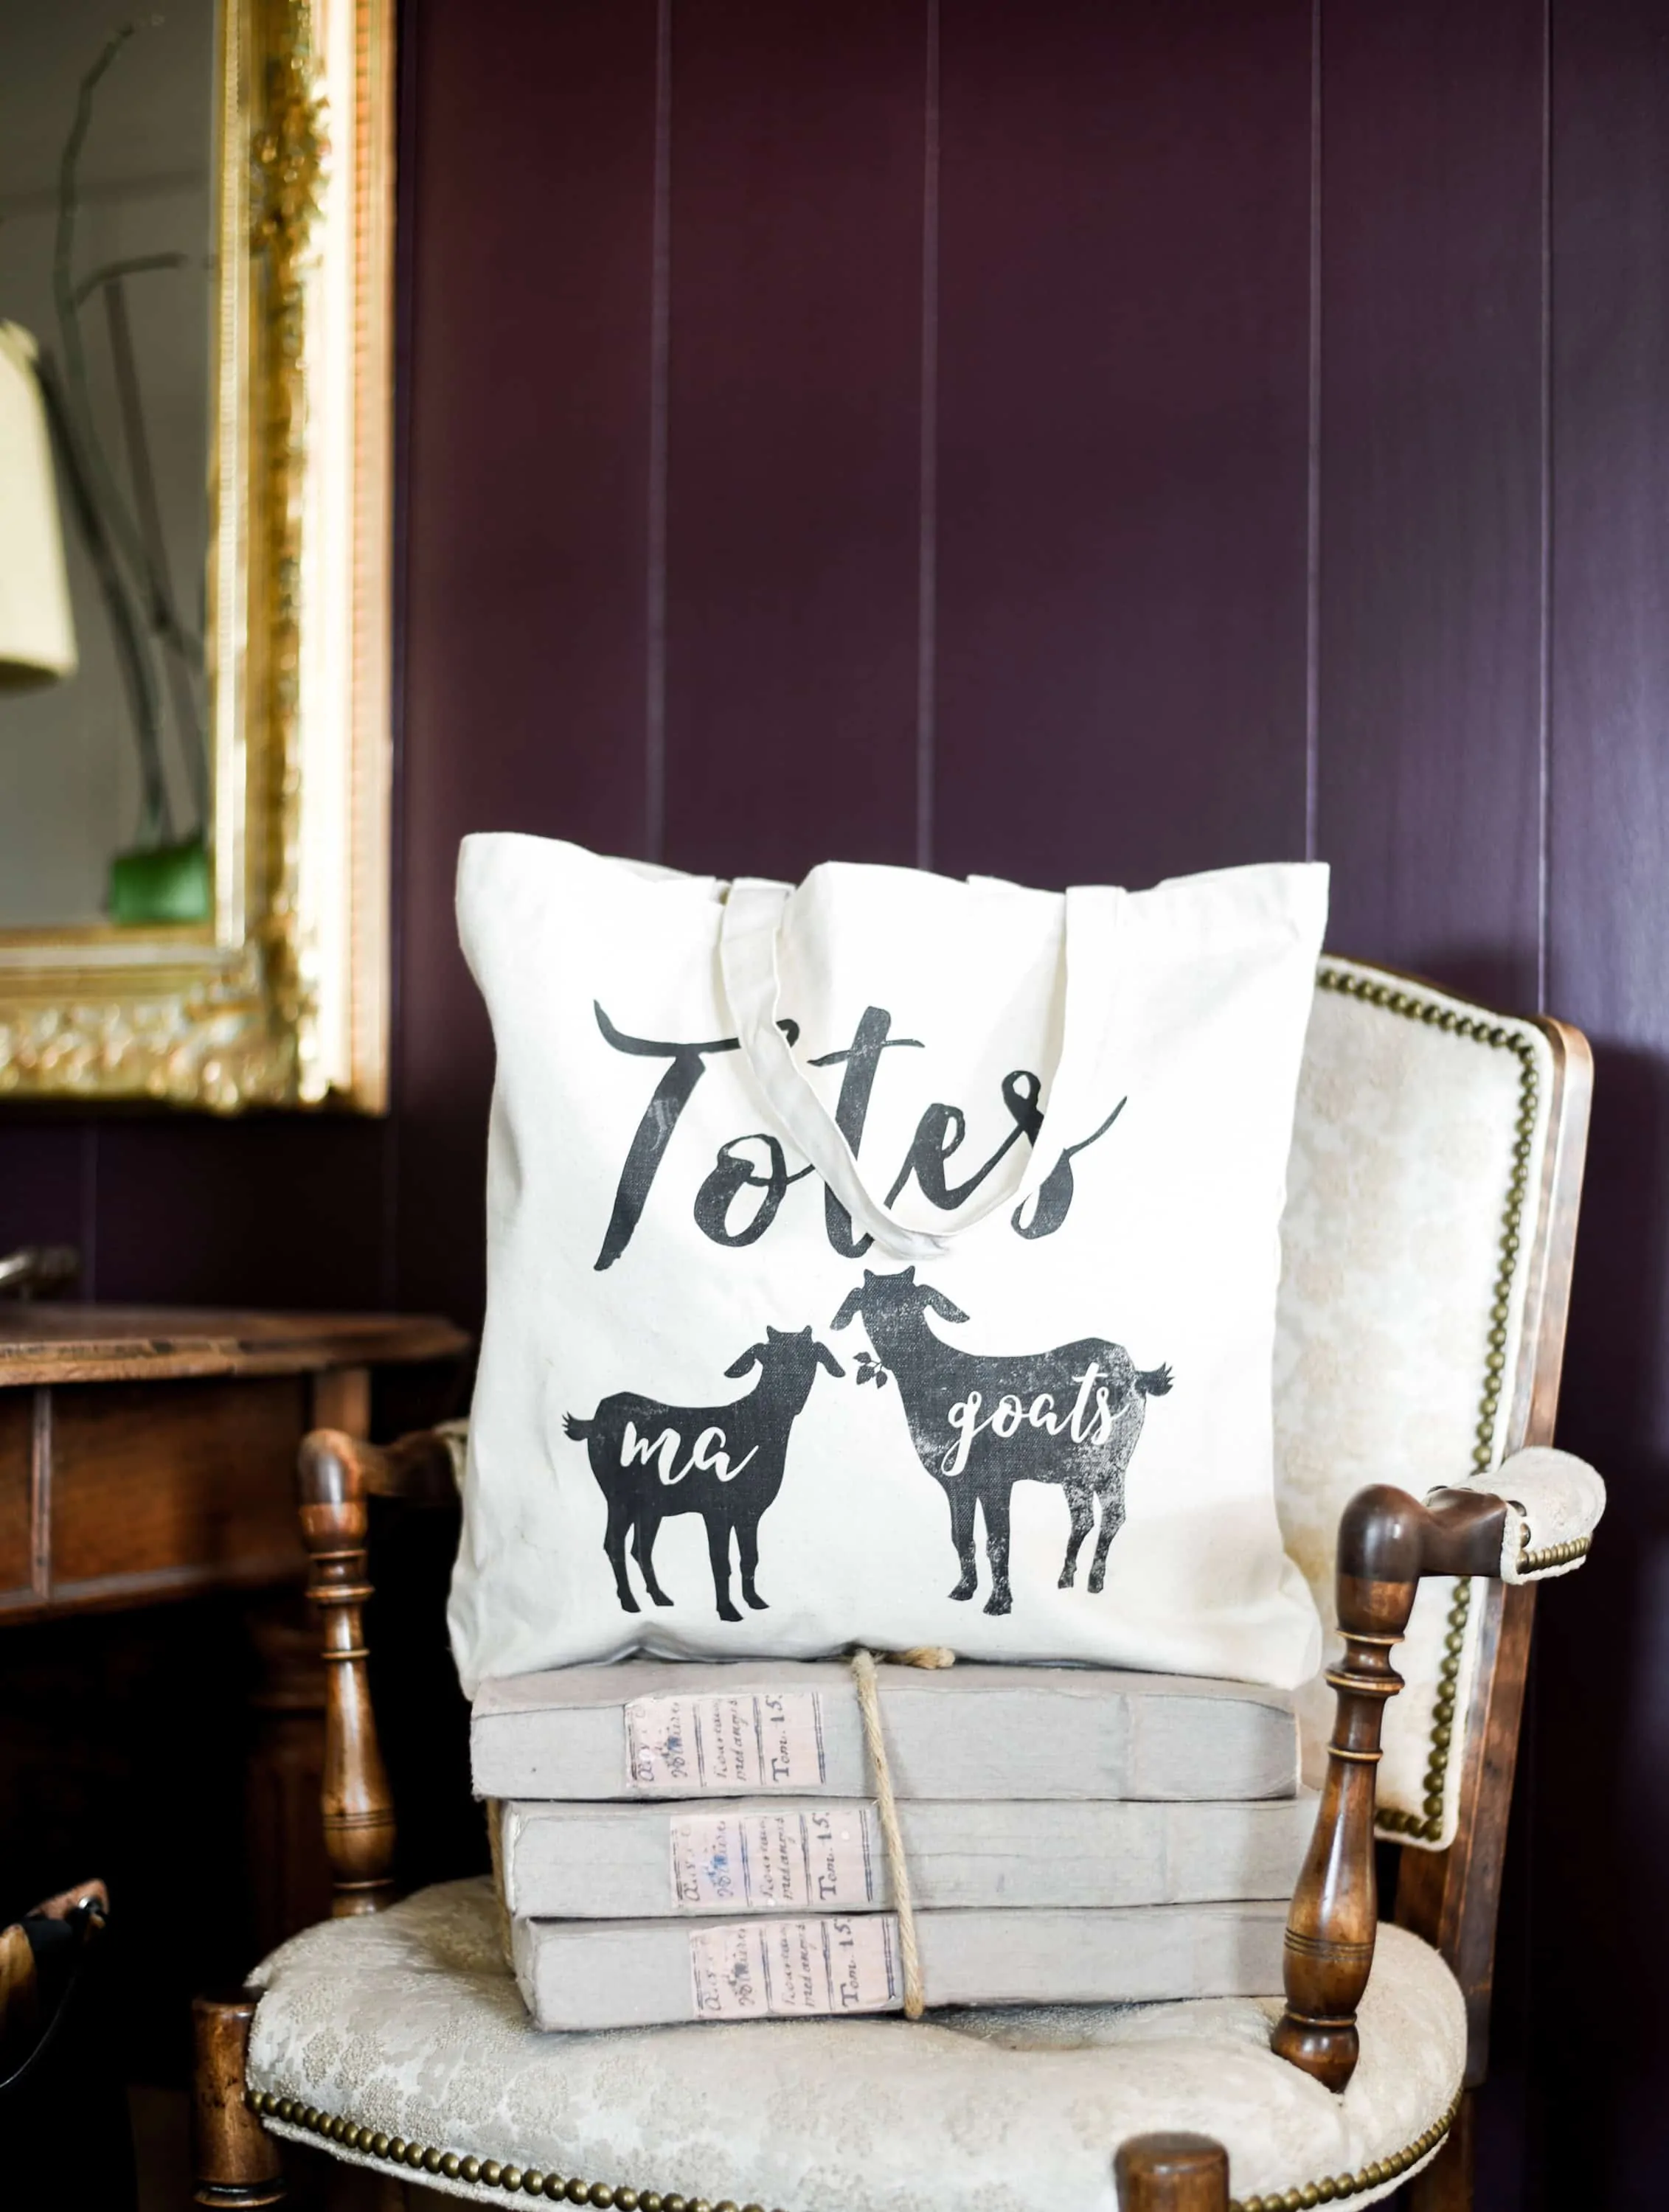
This DIY totes ma goats bag is the perfect gift for goat lovers!
Before I had Elders & Buckwheat, I always loved the saying, ‘totes ma goats’. I am sure some people probably found/find the use of it quite obnoxious, but I blame it on my deep love of goats.
My girlfriends and I started a ‘book club’ up at the ranch, and while we occasionally discuss books, we really just craft. Last week, we made a few darling tote bags for ourselves and for friends – I knew I wanted something goat inspired, and remembered seeing this bag on Etsy. I put my own spin on it, and created my own graphic, then transferred it onto my tote.
I love using Lesley Riley TAP paper, it’s my absolute favorite transfer paper because of its reliability. I think it is sold out most places right now, but I spoke with the production company, and it should be back in stock sometime this month!
I love how my bag looks a bit worn and vintage, just the way I like things, well broken in (read: loved). This DIY bag would be the perfect gift for goat lovers, and takes only about 5 minutes to make. If you’re not into DIY, you can always purchase one!
DIY Totes Ma Goats Bag
Use my affiliate links below to shop the supplies:
- Canvas Bag (has a zipper!)
- TAP Paper
- Sharp Scissors (my very favorite!)
- HOT Iron
- Free Download (goat graphic source)
Instruction:
Step 1: Download the free graphic, and print onto TAP paper. I suggest testing your printer on a piece of regular paper first, make sure everything fits and your printer likes the graphic.
Step 2: Use sharp scissors to trim as much white off as possible.
Step 3: Iron the tote bag so that all wrinkles are removed!
Step 4: Place the graphic face down onto the tote. Adjust the paper until you have just the right placement, then use your HOT iron with NO steam, and begin the transfer process. This can be kind of tricky, I made a full video with tips and tricks, you can watch it below!

Hi. I’m trying to find the graphic, but can’t. Can someone help me? Thanks!