Shiplap: it’s everywhere. Open up instagram, Pinterest, or a design magazine and I guarantee you will see this timeless wall paneling that has been around for hundreds of years.
While shiplap is most commonly seen in farmhouses, it’s a design element that can be thoughtfully used in a variety of styles and spaces. In this blog post you’ll learn the history of shiplap, how to implement it in your design, and the common design mistakes many people make when adding it to their homes.
Isn’t it funny how design cycles work? As an interior designer who serves clients across the globe, I spend my days immersed in trends. Wall paneling became a 1960s fad that we’ve spent years ripping out, however, it doesn’t have to feel dated. In fact, adding wall paneling creates dimension and interest to an otherwise bland space.
The trick is: use the proper style. And yes, there are options! Each paneling style brings something different. Shiplap has a relaxed feel, nickel gap reads clean and modern, and beadboard adds a softness and charm.
You only need to pick what matches your space, not what’s trending on Pinterest. Before we talk about where to use each style, let’s define what shiplap really is because half the rooms tagged as “shiplap” aren’t actually shiplap.
Table of contents
What Is Shiplap?
There’s a good chance what you’re calling shiplap isn’t actually shiplap.
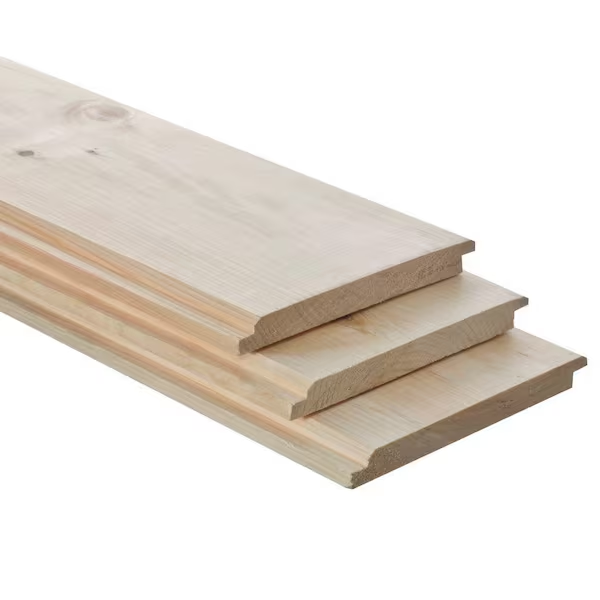
Real shiplap has a specific construction: wooden boards with L-shaped “rabbeted” edges that overlap each other. These overlapping joints were originally designed to create a waterproof seal. When installed, you’ll notice a distinctive shadow line between each board, creating that characteristic stepped profile.
But scroll through social media, and you’ll spot plenty of improperly titled spaces. What most people call “shiplap” these days is often just simple horizontal planking, nickel gap boards, or v-groove paneling.
There’s nothing wrong with nickel gap or v-groove paneling; they’re great options, but it’s important to make the distinction between the styles.
The confusion makes sense: these styles all create horizontal lines on your walls, add dimension, and can be considered “wall paneling”.
However, if we’re being technical (and sometimes we need to be), true shiplap serves a structural purpose. Those overlapping edges actually do something useful. They keep the boards from warping and pulling away from your wall.
The thing is, both options can look amazing on a wall. Real shiplap brings that authentic farmhouse look, while alternatives offer a cleaner, more contemporary look.
The Types of Wall Paneling
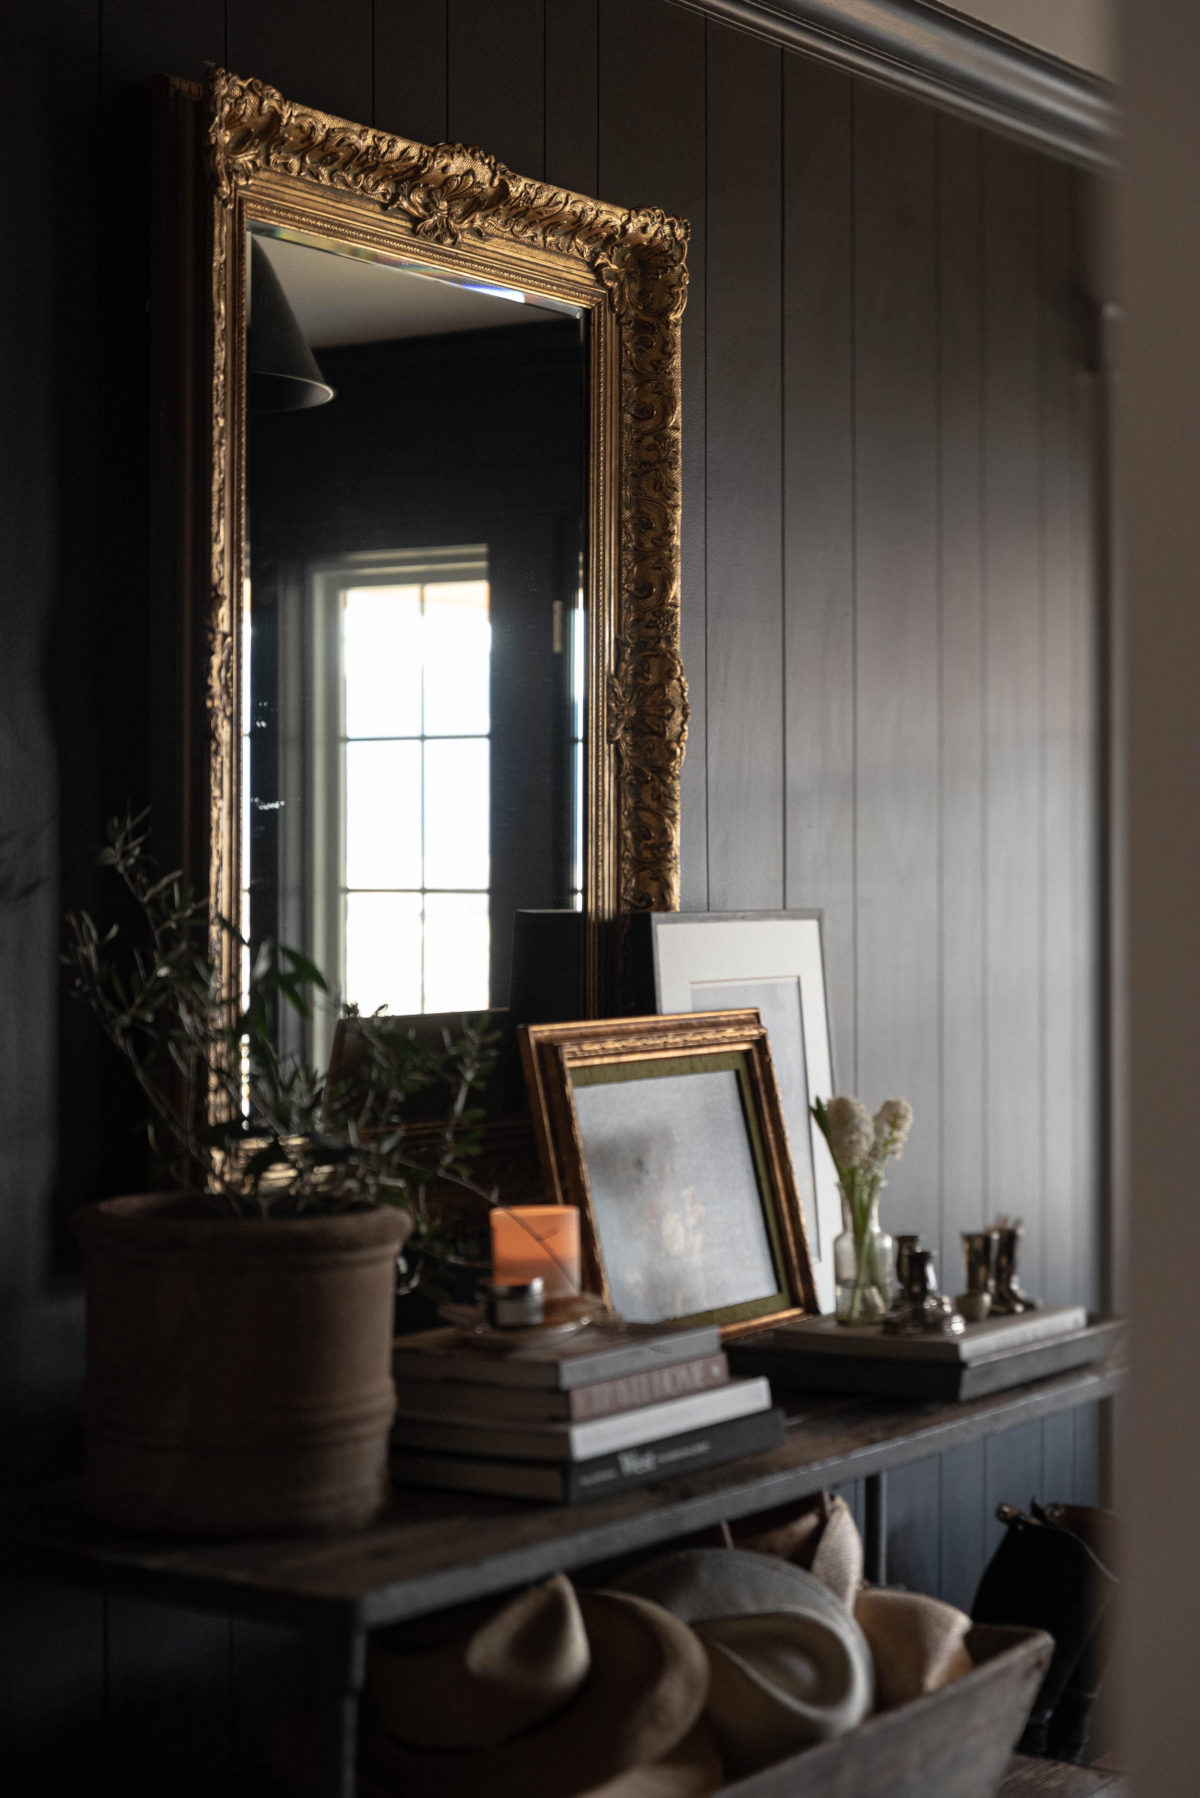
There is much more variety of wall planks than most people realize. While shiplap gets more attention thanks to modern farmhouse style trends (Fixer Upper and Joanna Gaines!), several other paneling options have specific advantages and may be more appropriate for your home.
Nickel gap paneling

Nickel gap is similar to shiplap, and gets its name from the appearance of a “nickel sized gap” between each plank. It’s a very clean and contemporary look.
Traditionally, nickel gap doesn’t overlap, but most nickel gap available today does overlap (like shiplap – pictured on the left).
Nickel gap creates clean, defined joint lines that add subtle visual interest to a wall.
V-Groove characteristics
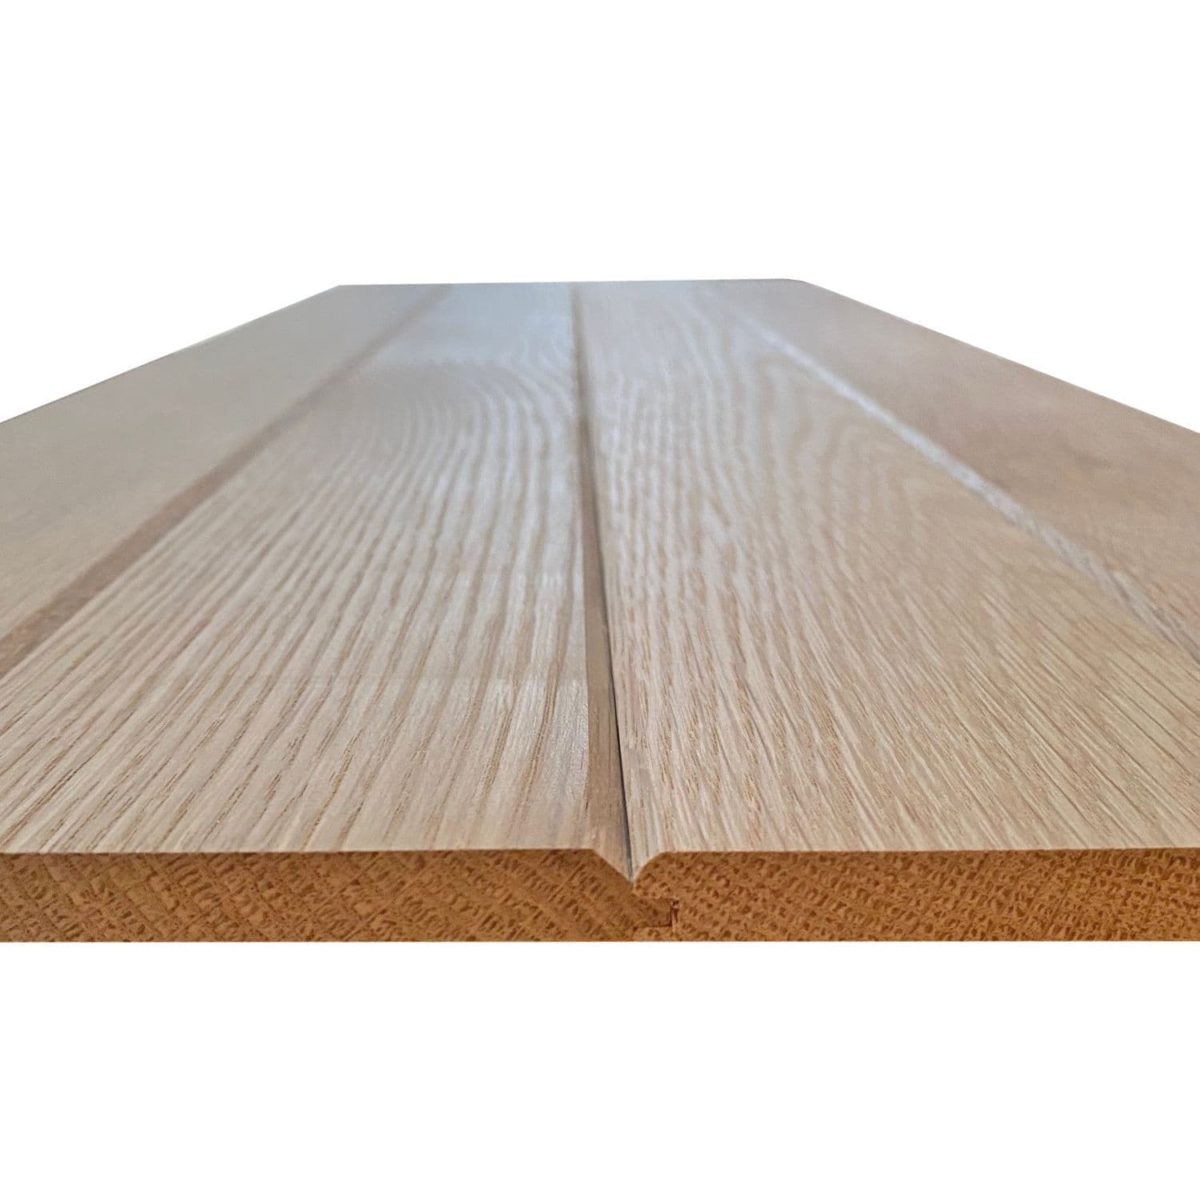
V-groove paneling creates a deeper definition between boards. Instead of flat edges, the face of the board angles down on both sides, creating a V where the boards meet.
The deeper grooves throw more shadows, and is a bit more of a traditional or rustic look.
Beadboard options
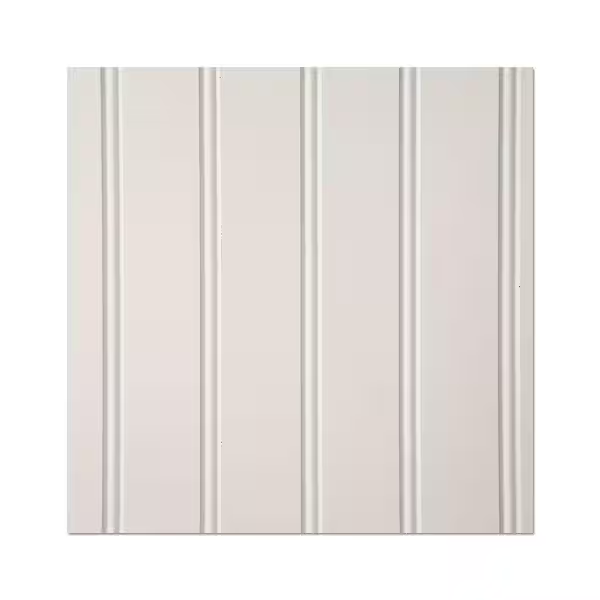
Traditional beadboard features narrow wood planks with rounded ridges running vertically between grooves.
Modern versions come in wider panels while maintaining the classic beaded detail.
Beadboard is a wonderful option for bathrooms, mudrooms, and used as wainscoting. It offers a traditional, soft look with a slight feminine feel.
The right paneling type depends on several factors
- Room Style and Architecture
- Desired Level of Detail
- Installation Location
- Budget
For a more rustic look, traditional solid wood shiplap or v-groove works well. Beadboard wainscoting adds sophisticated detail to more formal spaces. Nickel gap brings visual interest to contemporary spaces.
Planning Your Shiplap Project
Architectural considerations
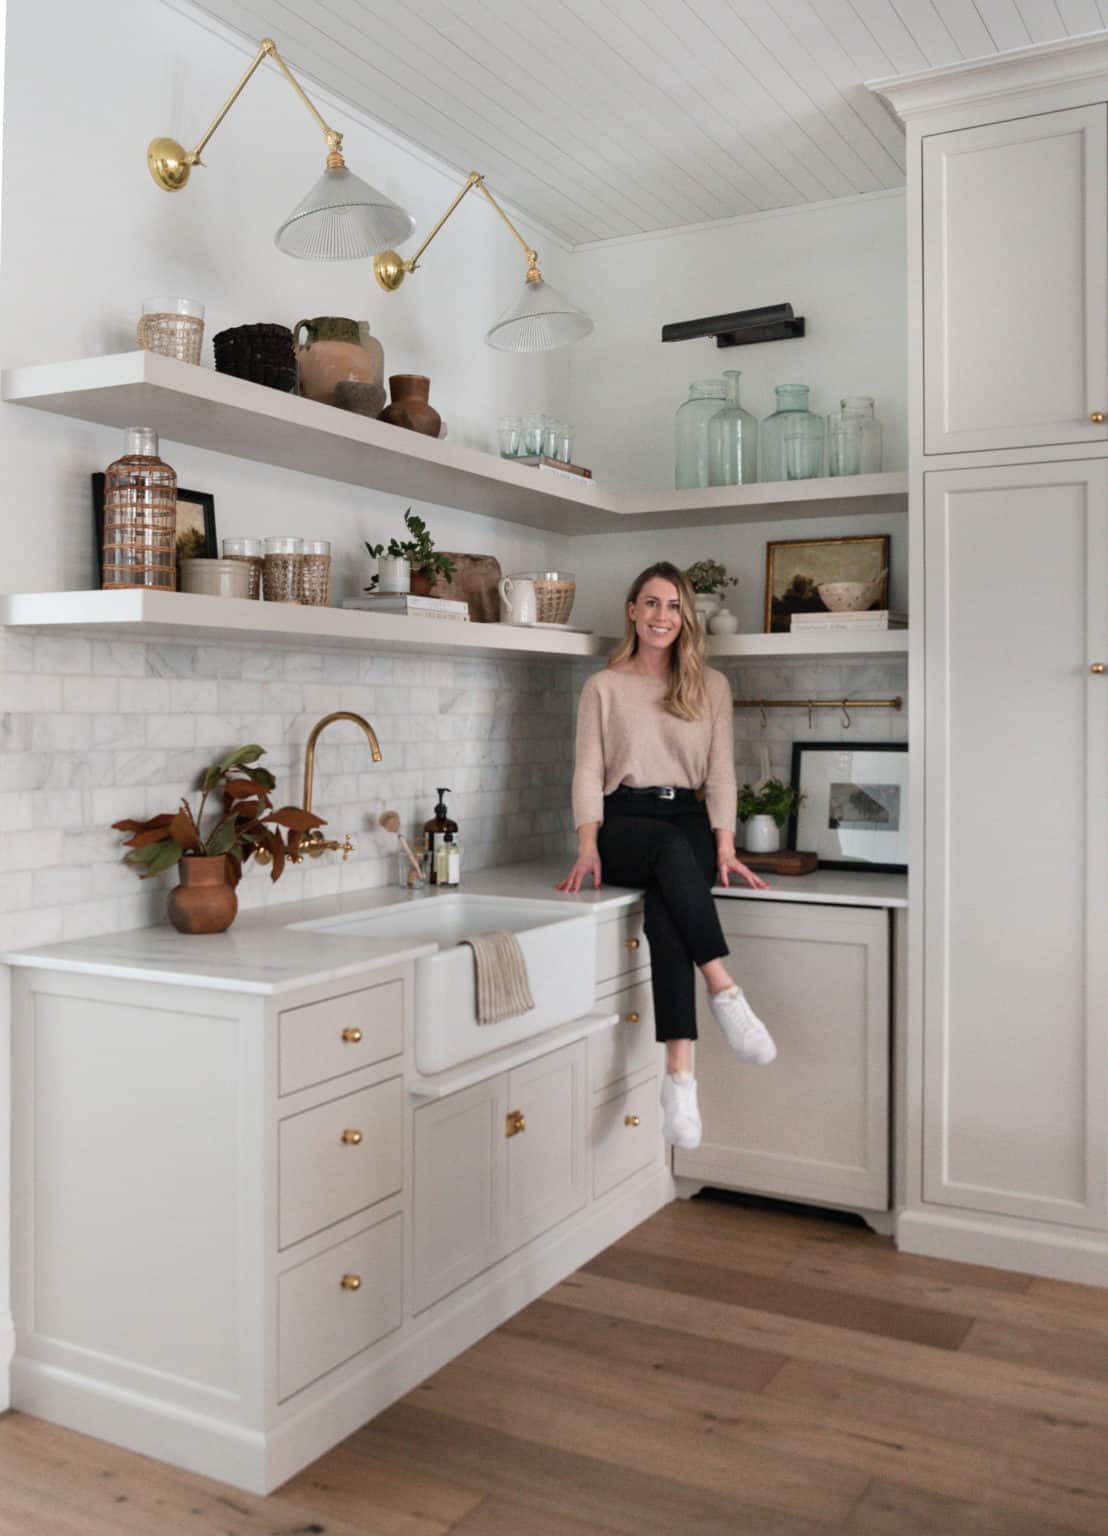
Before adding wall planks to your home, take a moment to assess your space’s architectural style. The popularity of shows like Fixer Upper has led many homeowners to install shiplap walls where they really don’t fit.
I cannot stress this enough: your home’s architecture should guide your paneling choices.
True shiplap works naturally in coastal homes, rustic cabins, and modern farmhouse style builds. However, if you’re working with a Victorian or Mid-Century Modern home, consider alternatives that honor your home’s character. < Read that again if you need to!
For Colonial or Georgian-style homes, traditional raised panel wainscoting often makes more sense than shiplap.
Contemporary homes can benefit from sleek modern designs – try nickel gap for clean lines and dimension. As a designer, I prefer this look with the clean finish of walnut.
Mediterranean or Spanish Revival? Think about smooth stucco or textured plaster instead of wall paneling which is more appropriate for the style.
When shiplap does make sense, consider its orientation.
Vertical installation can add height to a room, while horizontal placement emphasizes width. For a small space, vertical panels can create an illusion of taller ceilings.
What about an accent wall? As an interior designer, I find accent walls to be dated and lacking. I suggest committing to installing it throughout the room rather than creating a single shiplap accent wall. This goes for painted accent walls as well!
Allow your home’s existing architecture to lead the way, and resist following trends that might feel out of place in your space.
Not confident which paneling style best suits your home? I’d happily help you choose accurate options to enhance your home’s architectural character. Book a virtual session with me!
Design decisions
Which way should shiplap boards run? There’s no right or wrong answer here. Again, it depends on the overall look you’re attempting to achieve.
Horizontal shiplap boards provide a casual coastal or farmhouse vibe, you’ll see this often in casual spaces like laundry rooms, children’s bedrooms, or TV rooms.
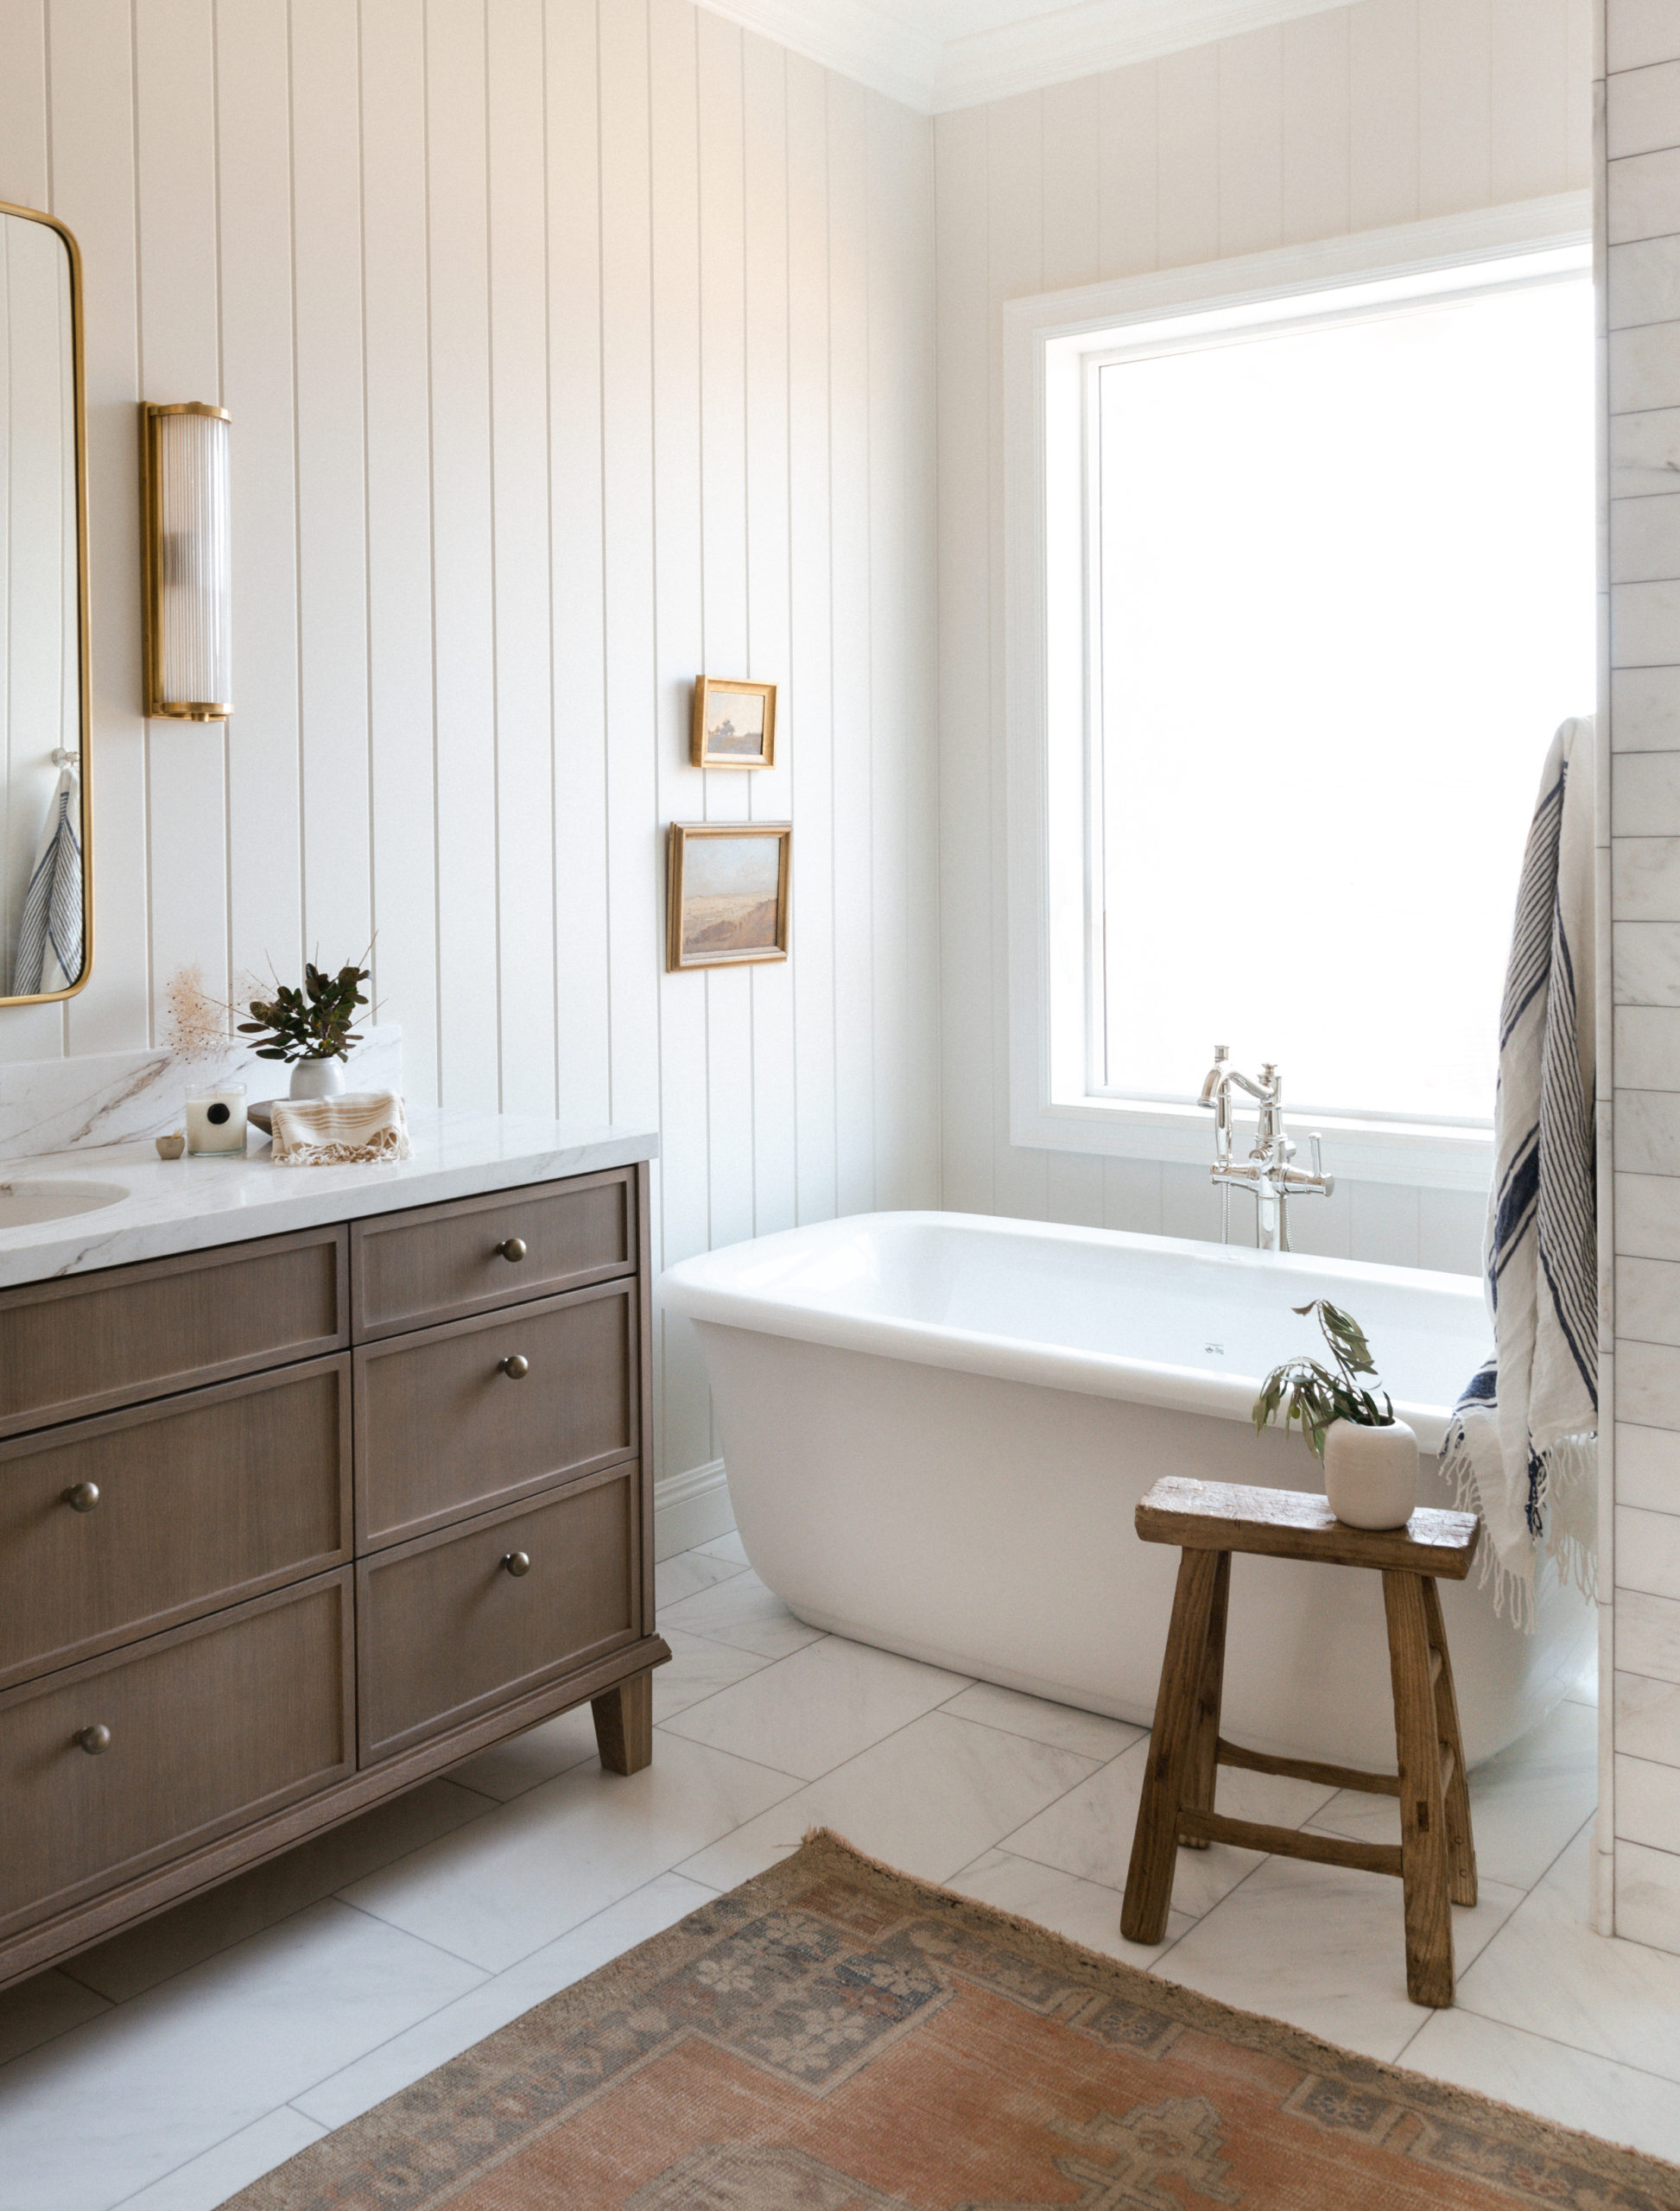
Vertical shiplap draws the eye upward – perfect for rooms with lower ceilings or narrow hallways that need a lift. It’s also a bit more formal and looks great when finished with crown molding.
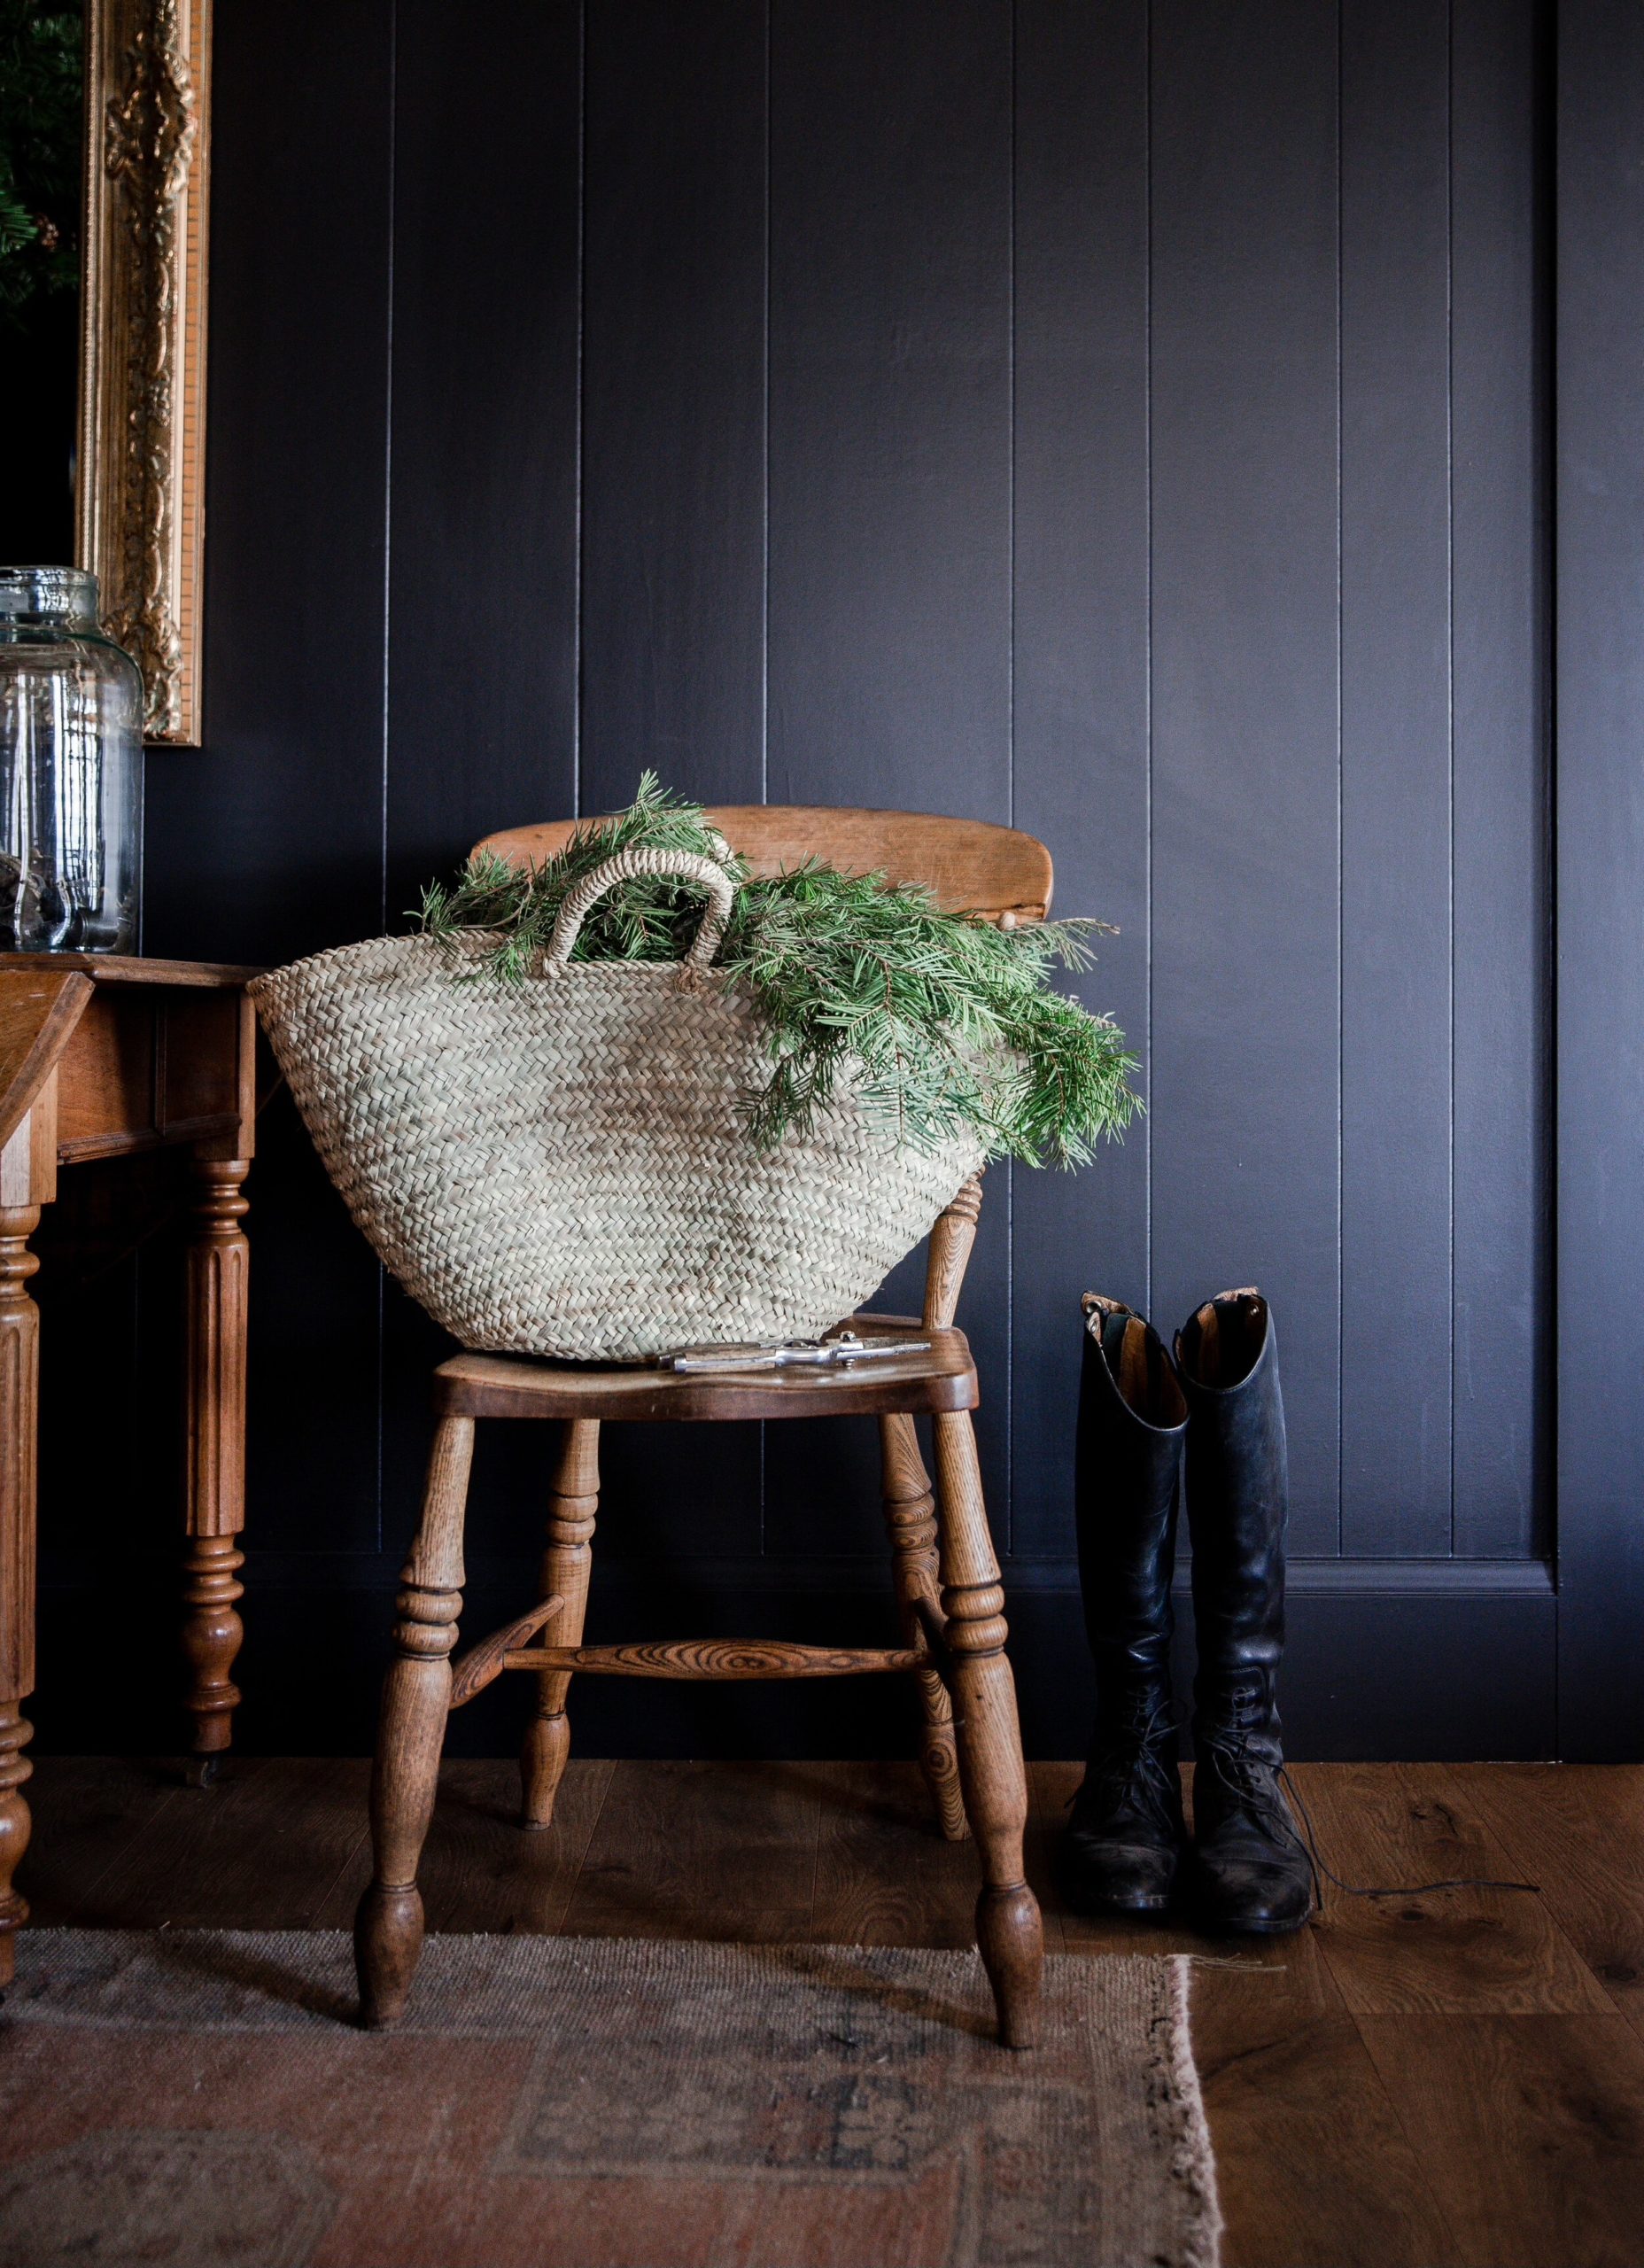
Color also matters. While white shiplap walls remain popular, don’t avoid colors that complement your home’s palette!
Read More: How to Pick the Perfect Paint Palette
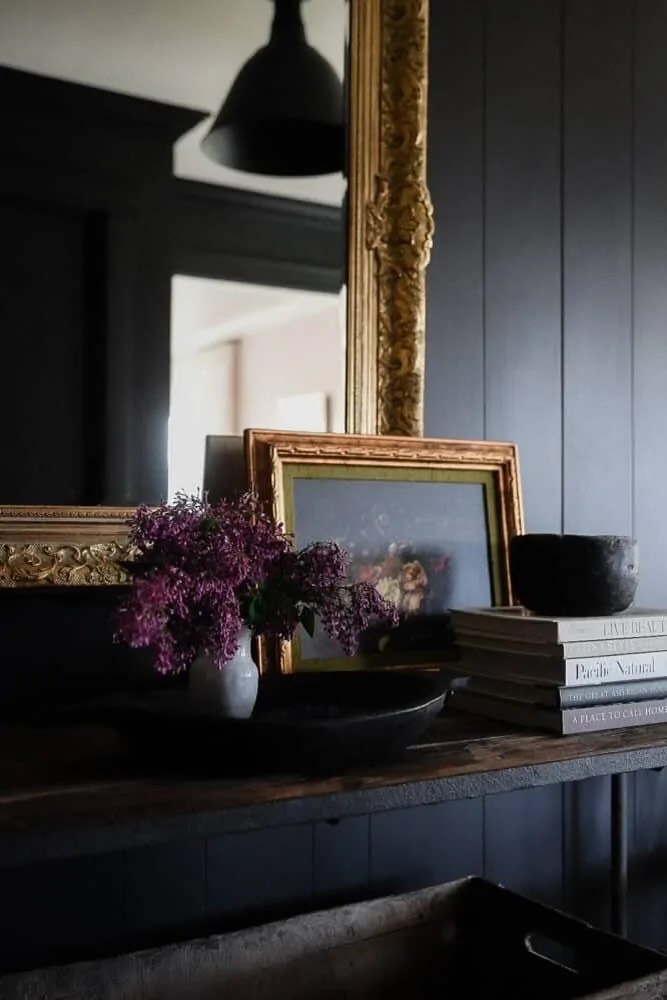
Navy or charcoal can transform a library or dining room, and I’ve seen soft greens and blues transform bathrooms and bedrooms.
Design Tip: When selecting rooms for shiplap, start with spaces that suit the addition of a wall panel.
Primary bedrooms, mudrooms, family rooms – these spaces were made for shiplap. Skip formal dining rooms or contemporary spaces with sleek walls make more sense.
Here’s why I always recommend full-room installation over accent walls: shiplap accent walls often feel disconnected and can date quickly. Full coverage creates a look that flows naturally with your home’s architecture. If budget is a concern, go all-in on a smaller space instead of half-stepping in a larger one.
Installation Best Practices
Installing shiplap isn’t difficult, but it does require prep work and attention to detail. Most DIY shiplap wall problems happen because someone got impatient with the prep work. Here’s what you need to know before you start hammering away.
Pre-Installation requirements
Your tool list isn’t long, but you’ll need the right ones:
- Nail gun and air compressor
- Stud Finder
- Circular saw and miter saw
- A chalk line (helps keep everything straight)
- Level and measuring tape
wood type
For the type of wood, medium-density fiberboard is less expensive, but real natural wood will give you the most luxurious and professional look.
Before you begin, clear the room completely. Remove existing baseboards (carefully, if you’re reusing them) and any wall decor. Then, give your walls a good cleaning.
Installation guidelines
- Proper Wall Coverage
When laying shiplap horizontal, start at the bottom of the wall with your first board, it’s the foundation for everything else.
When you hit studs (that’s where your stud finder comes in handy), secure each piece properly. Be sure to secure the paneling into the studs of your walls.
- Trim
For trim, it’s essential to plan for outlets and switches. As my dad always told me: measure twice and cut once; this is very important.
When you reach the top of the wall, that last board might need ripping down to size. Take your time to cut a straight line for a clean, finished look.
- Installing Baseboards
Keep your baseboards simple but complementary to your trim style. Crown molding is classic for ceiling trim, but a simple square trim can look great for a more modern finish. The key is consistency with your home’s existing trim work.
Quick tip: Fill nail holes before painting. It’s a small detail that makes a huge difference in the final look.
Design Tips
Many people DIY shiplap, and of course, I love a good DIY, but there’s an art to shiplap, and I’d rather help you get it right the first time! Let’s talk about making smart design choices that will still feel relevant five years from now.
Color and finish
As a designer, I can’t stress this enough: white isn’t your only option here. Using color can truly transform a space, especially when it comes to wall paneling and shiplap. Gloss enamel sheen works well in bathrooms, you can even try a high gloss for an elevated look in a library or entry.
For a farmhouse look, stick with classic whites or creams. Here’s my guide for selecting the best white paint color for your home.
When painting, use a foam roller, or better yet: paint sprayer, for smooth coverage.
Common mistakes to avoid
Here’s what not to do:
Don’t do an accent wall. Either commit to the whole room or ship all together. An accent wall will instantly date your house and make it feel cheap.
Also remember: context matters. Shiplap in an ultra-modern condo? Probably not the best option. But in an old house with some character? That makes sense. It’s about respecting your home’s architecture.
Trim work makes or breaks the whole project. Those existing baseboards need to work with your new walls. Half-done trim looks… well, half-done. And please don’t skip the crown molding if your ceiling height allows for it.
Lastly, don’t install shiplap just because it’s trendy. Sure, Joanna Gaines made it popular, but choose it because it works for your space and your style. Trends fade, but good design lasts.
What is your design style?
Take our complimentary quiz to find your design aesthetic and the perfect accompanying white paint color in less than two minutes!
Maintenance and Care
Shiplap may not need constant attention, but since you’ve put in the work to install it right, let’s talk about maintaining it.
Cleaning and upkeep
Because shiplap naturally has crevices, it’s important to keep dust out. Using a microfiber duster with an extension handle is a great way to maintain.
For painted shiplap, warm water and mild soap work fine for deeper cleaning. Don’t soak the wood, a damp cloth is all you need.
Watch those gaps between boards. They can collect everything from dust to pet hair. A vacuum attachment or compressed air can help clear them out.
What to do long-term
Paint touch-ups are inevitable. Keep your paint code handy – matching white is harder than you think. Check those boards occasionally for any loose nails or separating seams.
In bathrooms or humid areas, you’ll need to stay vigilant. Even with proper sealing, moisture can cause problems. Look for any warping or discoloration; that’s your warning sign.
If you go with natural wood, expect some aging. It’s not a bad thing – many people love that weathered look. But if you want to maintain the original appearance, you’re looking at refinishing every few years.
The good news? Properly installed and maintained shiplap can last decades. Just don’t fall into the “install and forget” trap. A little regular attention keeps those walls looking sharp for years.
Conclusion
Overall, shiplap is a wonderful way to add texture and interest to your home.
If you’re planning to complete it on your own, don’t rush into it. Take time with the planning – measure twice, account for your baseboards and trim.
If you want shiplap to feel natural in your home, pick a style that makes sense for the architecture of your house, nail the installation (literally and figuratively), and keep it clean. That’s it. And if you’re on the fence about using shiplap, start small. A mudroom or laundry room allows you to experiment without committing to a whole house.
One last thing: start with quality materials and don’t skip the prep work. Maybe do skip the Pinterest-perfect all-white everything. Some of my favorite projects used shiplap in unexpected ways – dark colors and interesting patterns mixed with other textures.
You’ve got this. Good design isn’t about following trends but creating spaces that work for how you live!
Explore all about Paints and Finishes
Be sure to check out our paint-related articles to dive deeper into color trends, techniques, and tips for your next project! Whether you’re looking to refresh your living room or discover the best finishes for your exterior, we’ve got you covered. Stay inspired and get the best advice for all your painting projects!
Designer’s Review: Sherwin Williams Pure White SW7005
The Best Red Paint Color Ideas to Transform Your Space
A Designer’s Guide to the Best Warm White Paint Colors
How to Choose the Best Interior Paint Colors for Your Home
A Green Bathroom Remodel You’ll Love
instant download
Little Black Book of Color
Download our free paint guide! Get our expert guidance for your entire home with our 30 page paint guide.
The exclusive Boxwood Avenue paint guide to achieve a perfectly cohesive palette in your home!
Any recommendation regarding the kind of paint / paint techniques over shiplap? As the knots can often stick out of the paint after some time I am wondering what I can do to minimize that. Thanks :)
I read that Post and got it fine and informative.
kurumsal ev taşıma hizmetleri evden eve nakliye https://www.kadikoyevdeneve.com.tr