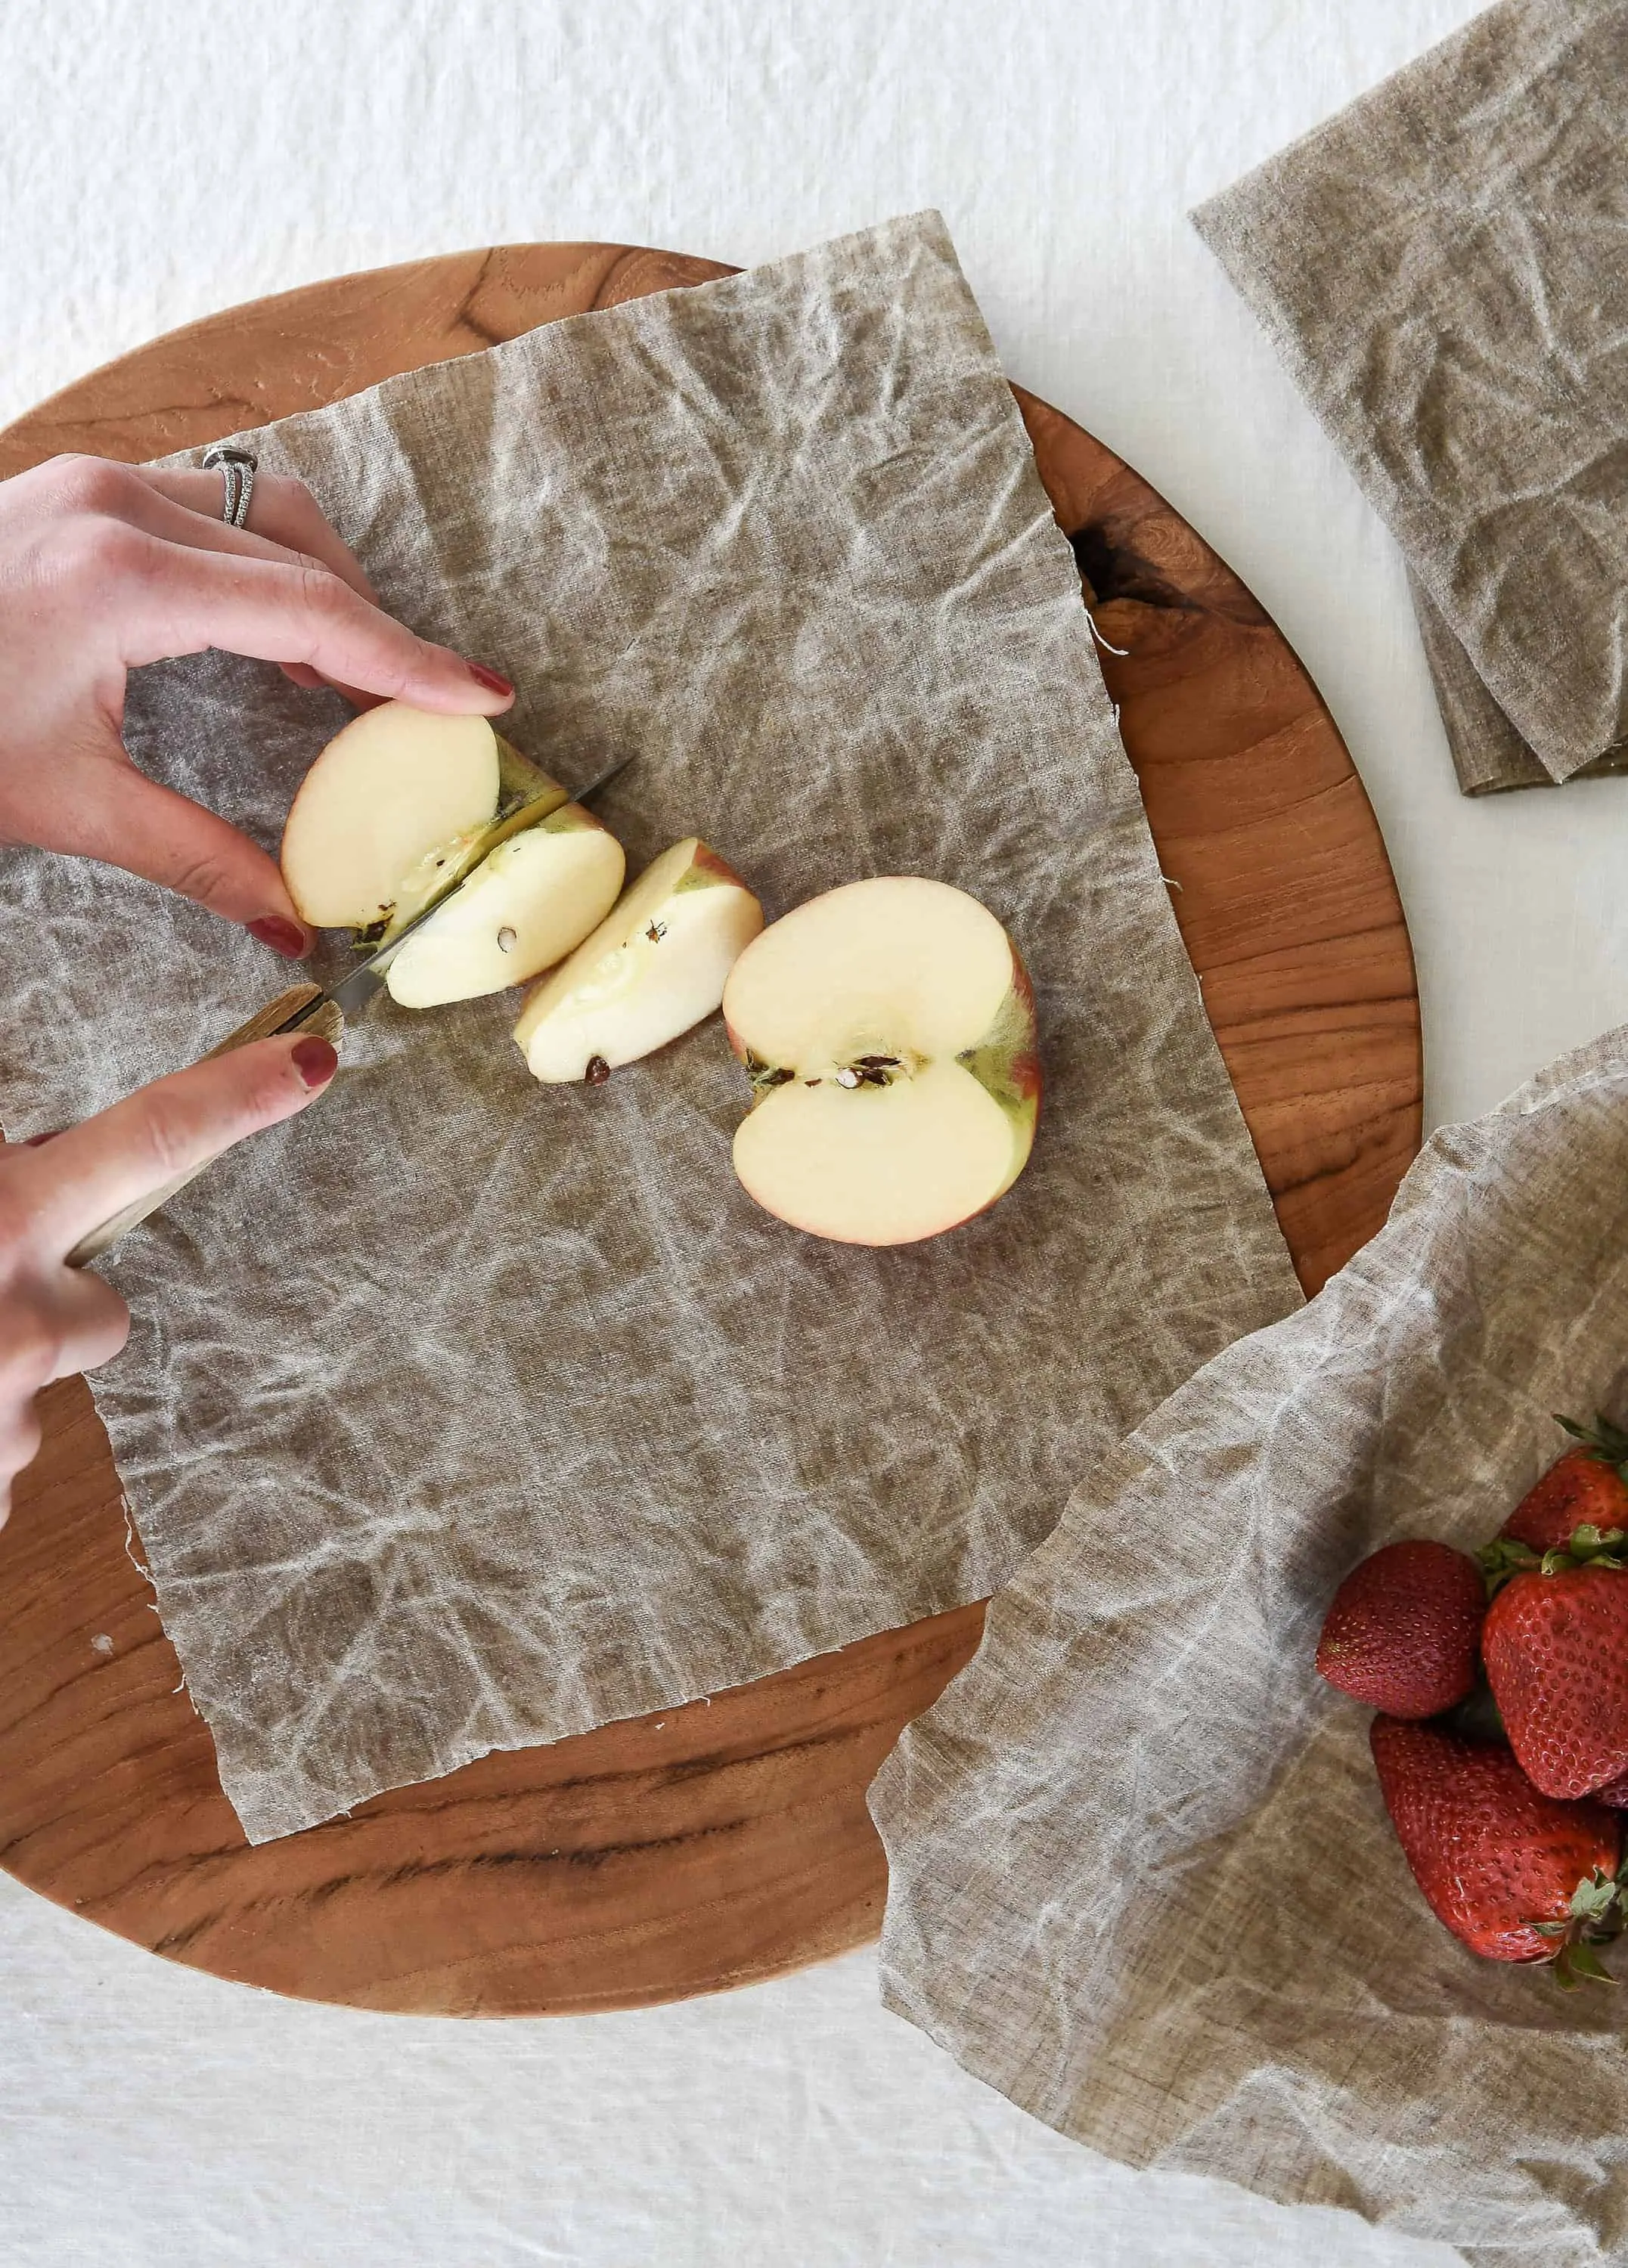
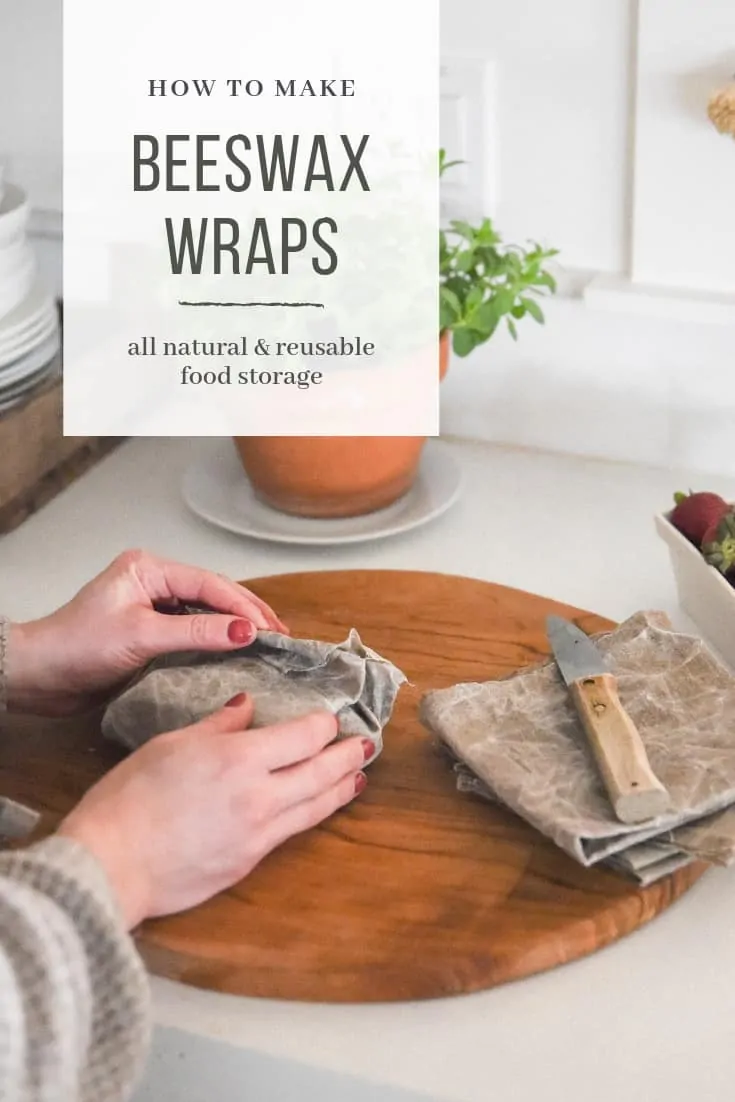
Learn how you can make your own Bee’s Wrap with this DIY beeswax wrap tutorial! This is a great sustainable alternative to plastic wrap!
Homemade Beeswax Wrap – DIY Bees Wrap
I am so excited to share the steps for making your own homemade beeswax wraps!
My friends Sarah from Rocky Hedge Farm and Sarah from She Holds Dearly collaborated on a YouTube video sharing ways to repurpose this inexpensive linen tablecloth from Target! Once you’re done reading this post, I know they’d love for you to go give them a visit! Rocky Head Farm is sharing the steps for making a Japanese linen apron, and She Holds Dearly is teaching us how to turn the table cloth into a beautiful linen throw!
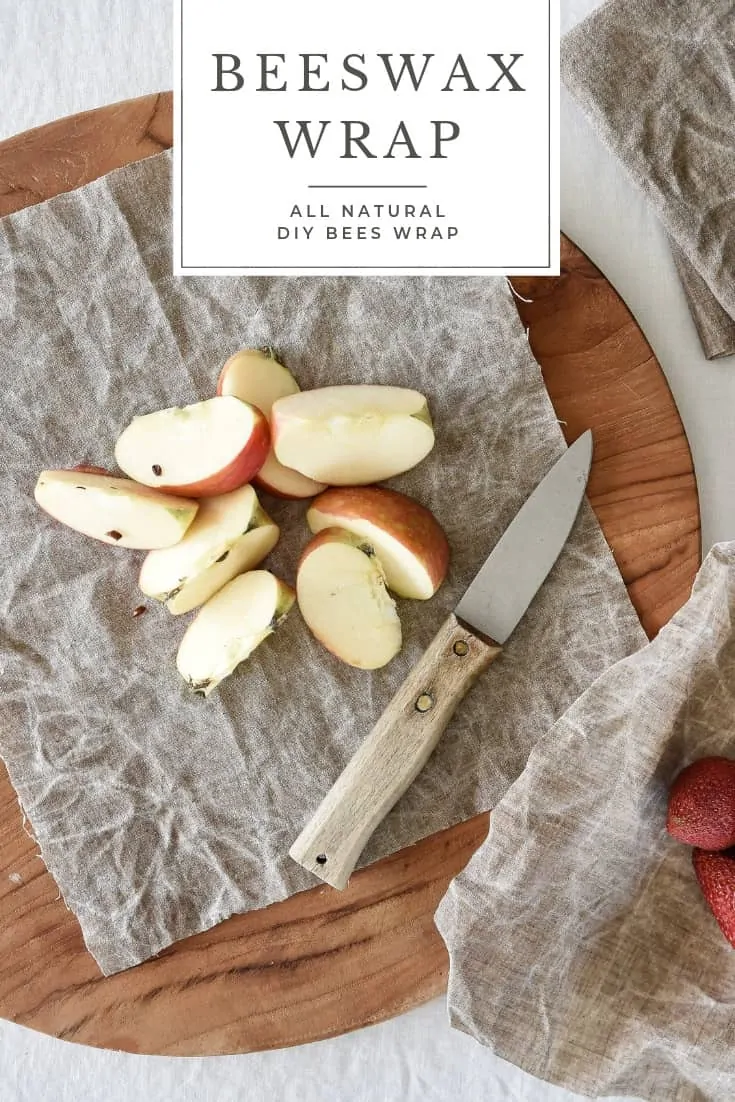
I had been dreaming of making my own beeswax wraps for awhile, and this was the perfect excuse! I love how beautiful these homemade bees wraps are when made with linen! However, you can really use any type of soft fabric (cotton is most commonly used).
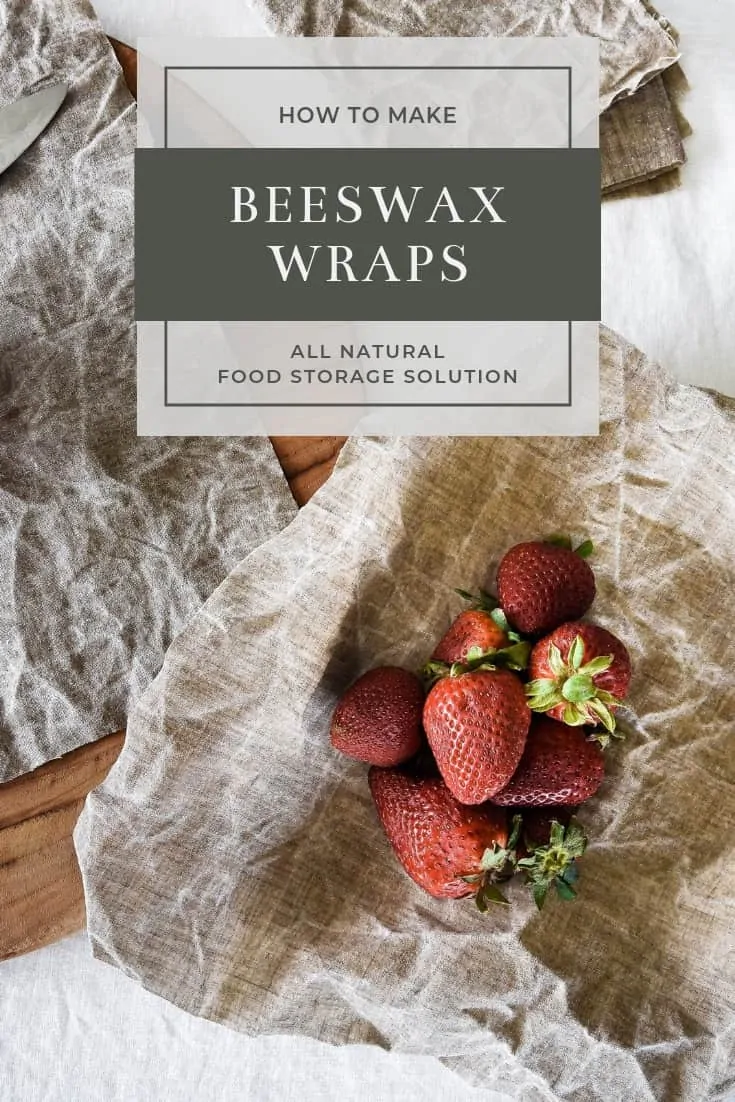
Up-cycle old pieces of fabric or clothing into DIY beeswax wraps with just a little bit of wax and parchment paper. I love beeswax wraps because they are reusable, biodegradable, and contain natural antibacterial properties!
By using beeswax wraps in your kitchen and home you will save money on traditional food storage bags (ziplocks) and plastic wrap. In addition, using beeswax wraps instead of reaching for plastic wrap is an easy way to be a little bit more green in our everyday life!
Beeswax wraps are the perfect alternative to ziplocks and plastic wrap in lunches and our refrigerators. If you generally wrap your kiddo’s sandwiches in a ziplock, use one of your DIY beeswax wraps instead!
What are beeswax wraps?
Beeswax wraps are an alternative to traditional food storage wraps. Beeswax wraps are made of cotton (or other soft fabric) and treated with a coat of beeswax. The fabric absorbs the beeswax and comes pliable and slightly sticky.
The warmth of your hands warms the wax to melt it ever so slightly which allows the wraps to be molded around food like cheese, fruits and veggies, sandwiches, and other everyday food.
When you purchase beeswax wraps from a shop (such as Bee’s Wrap), the wraps are also coated in jojoba oil, and tree resin which help make the wraps a bit more sticky.
You’ll notice that homemade beeswax wraps are just slightly less sticky. You could add a little tree resin to your recipe to make homemade beeswax wraps a little more sticky, but it’s not necessary to enjoy homemade DIY beeswax wraps!
Are Beeswax Wraps Washable?
Beeswax wraps are washable and so easy to clean! I just run mine under a little warm water and use a drop or two of Castile soap (my favorite as you all know) to scrub away any debris.
Can beeswax wraps go in the freezer?
Beeswax wraps can be used in the freezer, but they will not do a great job of preventing freezer burn. If you would like to freeze veggies or fruit, I suggest using a glass container or mason jar. Freezer bags are also a great option, they just aren’t as sustainable.
If you’re freezing something like dough or bread, beeswax wraps can be used.
Can they be used for meat?
You should avoid using beeswax wraps for meat products, especially raw meat. It is perfectly fine to use Beeswax wraps for sandwiches that contain meat.
Are Beeswax wraps reusable?
Yes, yes, and another yes! The beauty of beeswax wraps are that they are completely reusable!
Can beeswax wraps be used in the microwave?
Do not use beeswax wraps in the microwave, the wax will melt and come off onto your food. Although it is not toxic, it wouldn’t be very tasty!
How long do beeswax wraps last?
Beeswax wraps will last for about a year. Once they’ve lost their stickiness, you can compost them or use them as a fire starter.
Are beeswax wraps vegan?
Beeswax wraps are not vegan due to the nature of the wax, which is a byproduct of bees. If you’d like to make vegan beeswax wraps, you can use soy wax instead of beeswax in this recipe.
Are beeswax wraps safe?
Beeswax wraps are perfectly safe! Beeswax was actually one of the first used plastics, and contains natural antibacterial properties!
DIY Beeswax Wrap
Equipment
- Iron
- Scissors
Materials
- Parchment Paper
- Fabric I used this table cloth
- Beeswax
Instructions
- Wash and dry fabric. Iron if needed. I used this linen tablecloth from Target, but any lightweight fabric will work – cotton is most commonly used!
- Measure and cut pieces of fabric to serve as your wraps. Any size will do depending on your needs. I like 12”x12” or use a large mixing bowl to trace a circular shape.
- On an iron safe surface, place a piece of parchment paper that is at least 2” taller and wider than the cut fabric. Place one of your piece of cut fabric over the parchment paper.
- Sprinkle the fabric with beeswax so that the fabric is dotted like sprinkles on a cake. Layer a second piece of parchment paper on top of the fabric.
- Begin to iron. Make sure the heat setting is set to ‘no steam’. Use your iron to melt the wax and spread it out across the fabric so that the fabric is completely coated. Peel back the parchment paper paper to check where you may need a few more pieces of wax (if any). Then cover again and melt until all of the fabric is covered. You want a thin, even layer of wax.
- After the fabric is completely covered, peel the parchment paper off while it’s still hot. This will keep the fabric from sticking to the paper. Be careful not to burn yourself because it will be hot.
- Set the beeswax wrap aside. It will dry quickly!
Notes
YOU MIGHT ALSO LIKE:
Homemade Candles with Essential Oils | DIY Lemon Lavender Candle
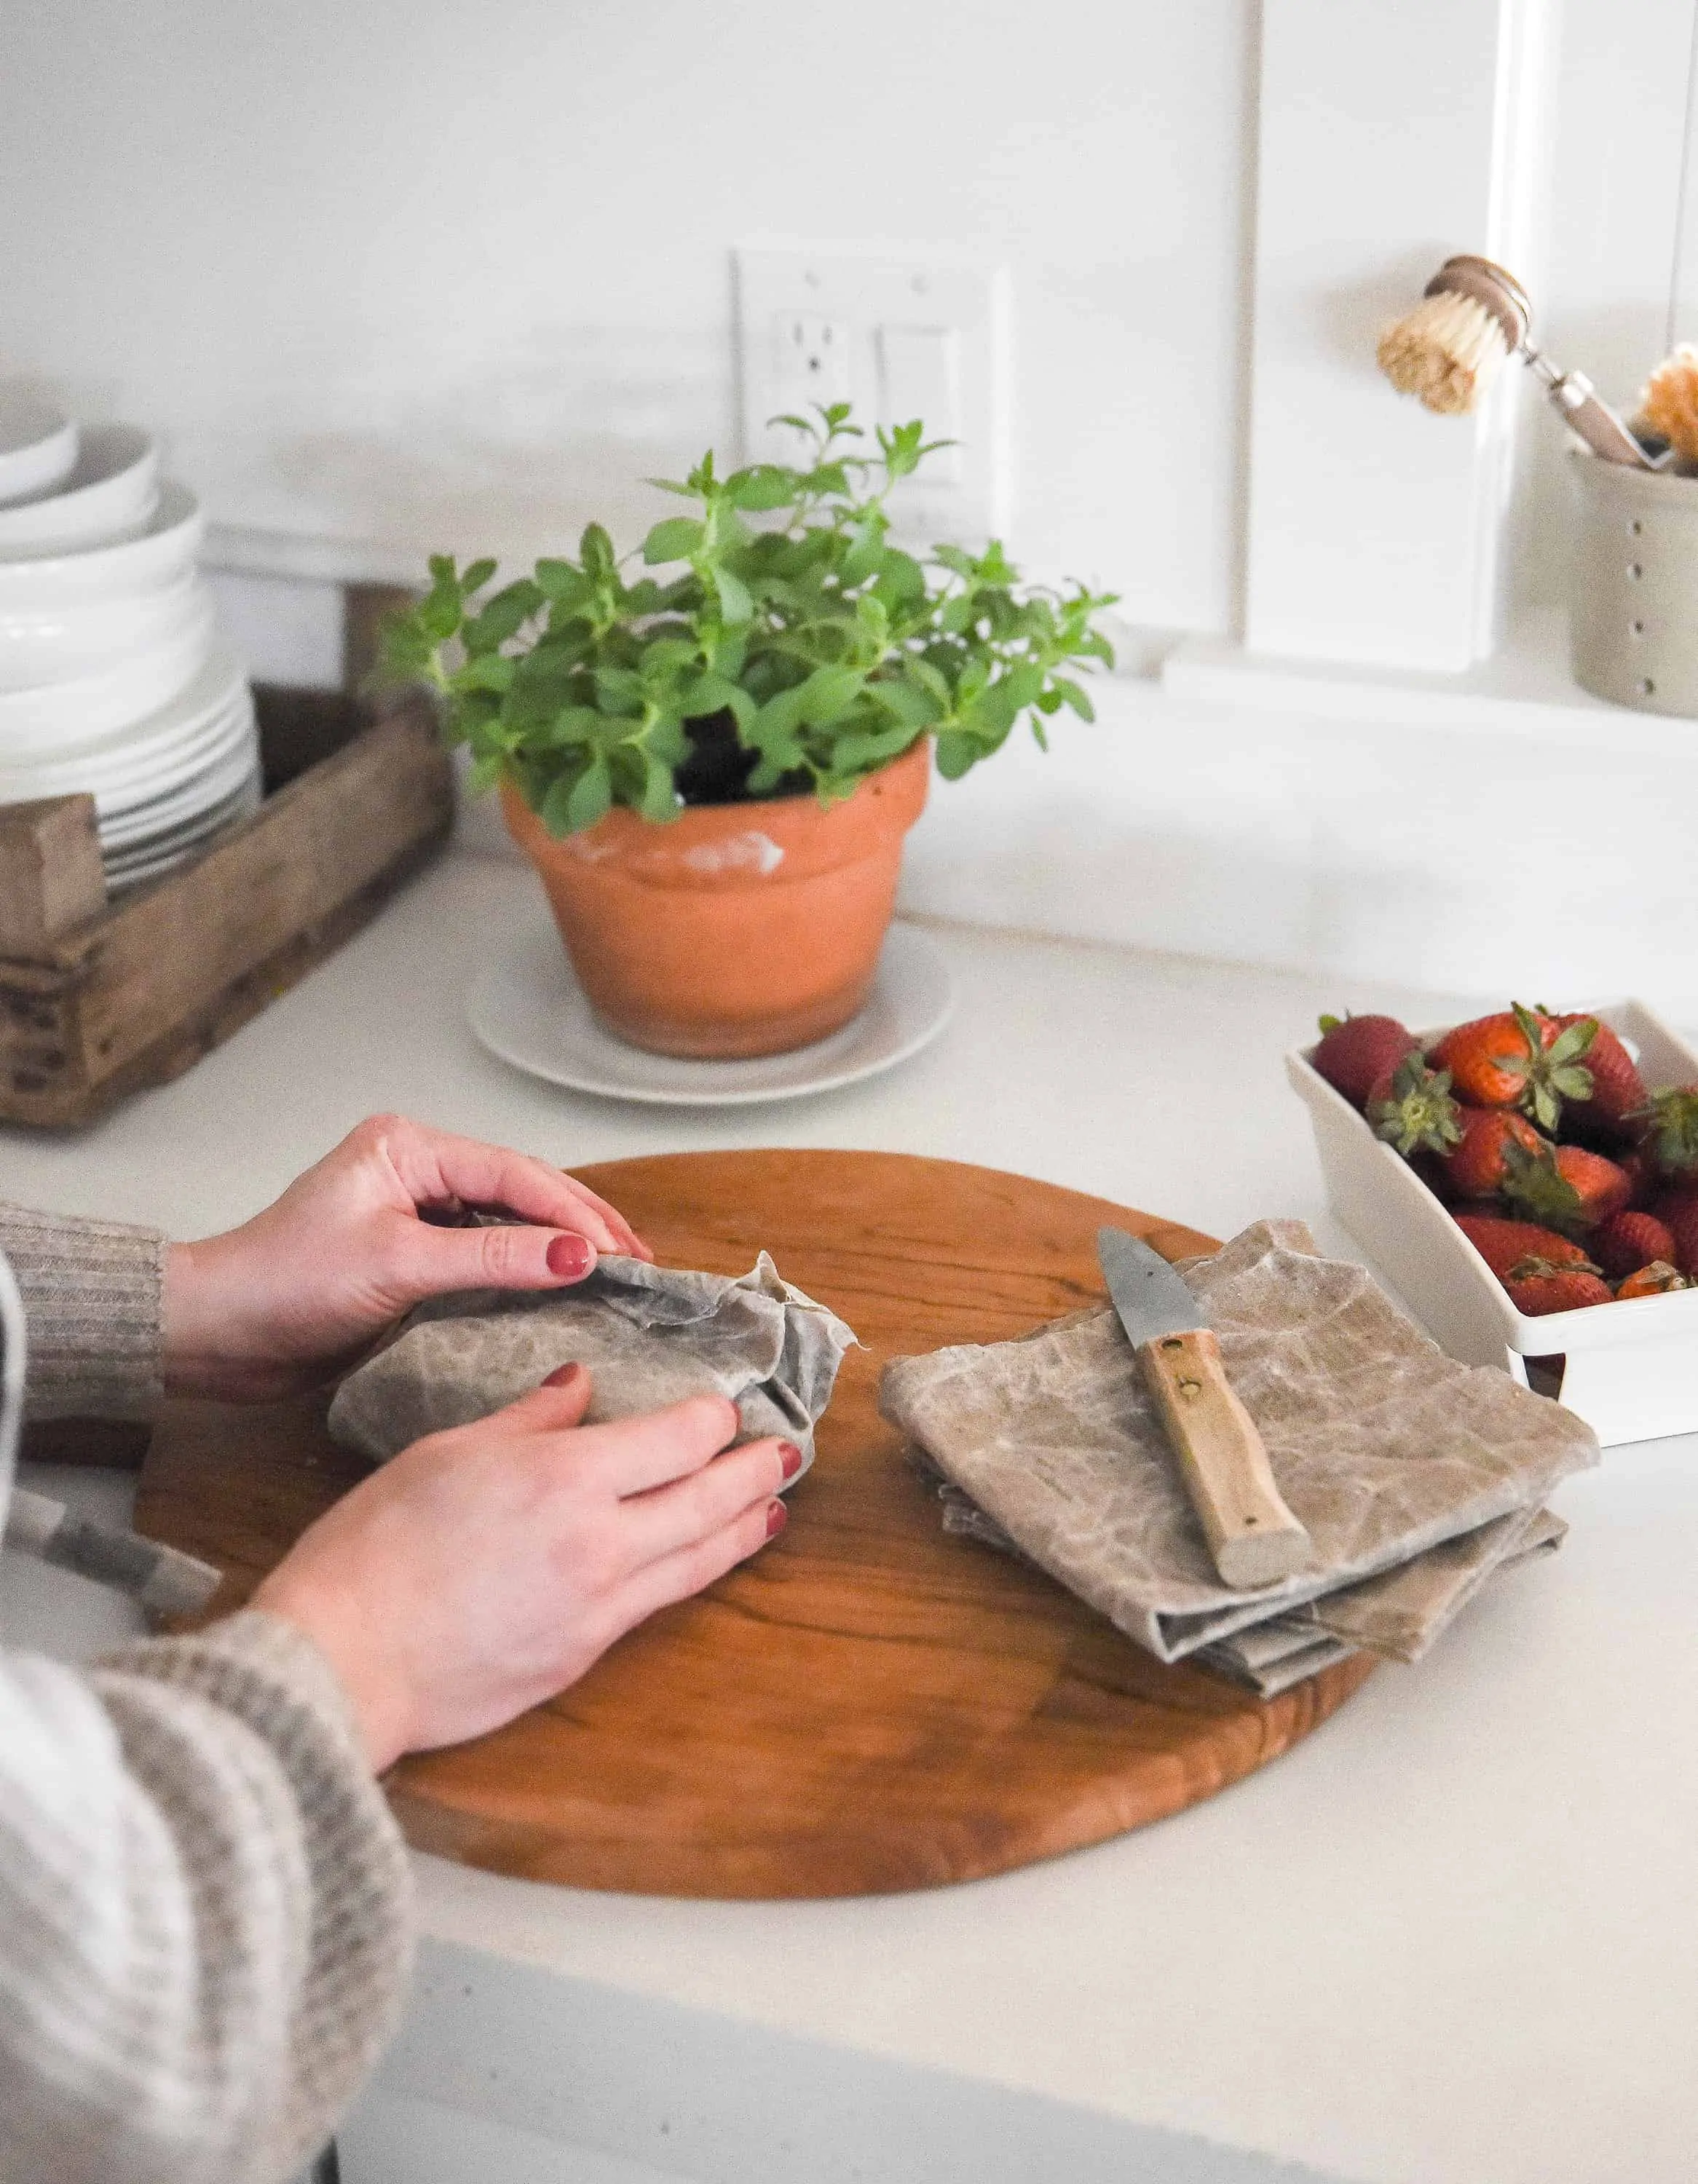
I really like the idea of the beeswax wraps. I definitely want to try to make and use them. How do you store the wraps? Thanks Shelly @influester.hill
Hi Shelly! I hope you have a chance to make these! I fold them up like small napkins and store them in my pantry drawer (next to the tin foil etc…). -Chloe
If you want to use tree resin & jojoba oil, how do you add that?
Hi Chloe! These were fun and really easy to make. But unfortunately they smell so heavily of beeswax, the smell got into my bread so now my bread tastes like beeswax. Did I do something wrong? Is there any way to get rid of the smell so I can actually use these? Thanks!