Learn how to make an easy half apron with this free apron pattern and tutorial using Brother! The personalization with HTV is the cherry on top of this darling project!
This post in partnership with Brother Crafts & Brother Sews, we are so grateful and excited to work with such an amazing brand!
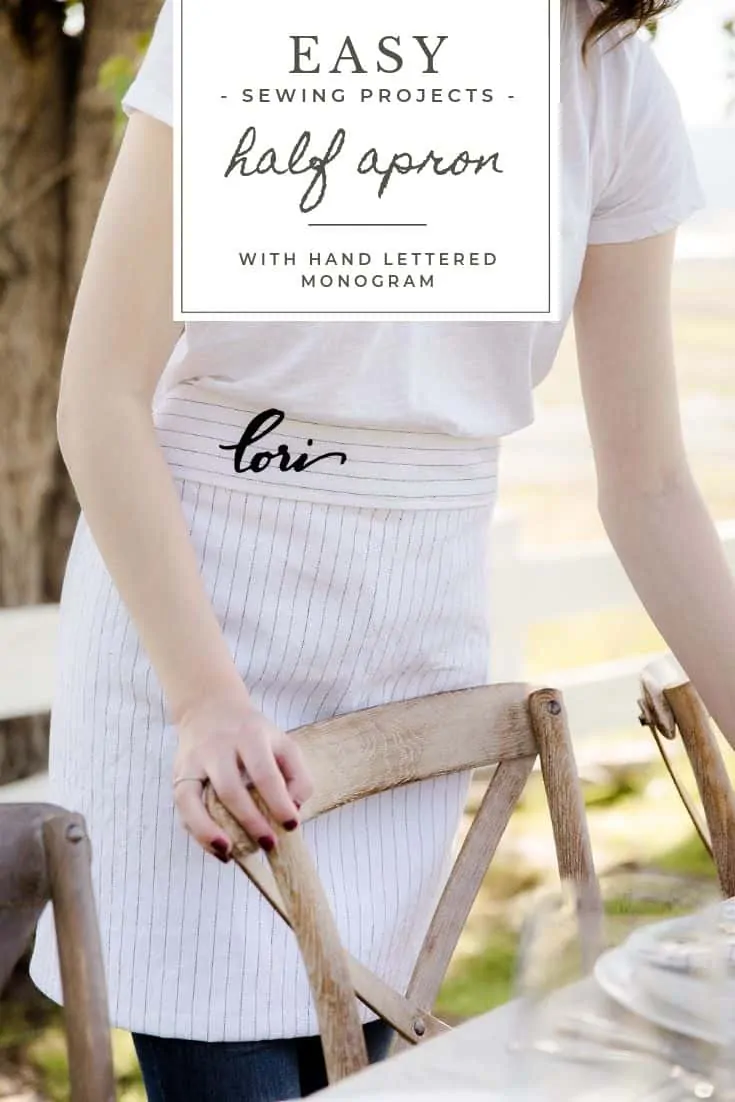
DIY Farmhouse Half Apron
with free tutorial and sewing pattern
Today I am so excited to be partnering with Brother to share this easy half apron tutorial! The striped ticking half apron project that I shared for Mother’s Day years ago continues to be one of the most visited posts on my blog, so I figured it was about time I shared another variation of this project. This time, with a little personalization!
We used our favorite Brother sewing machine (which also monograms!) and the Brother ScanNCut to create this darling farmhouse inspired half apron.
I love that I can use the ScanNCut without having to attach my computer. I have used other cutting machines, and this is a serious selling point for Brother. I love having the ability to save designs directly to the machine, which I can access indefinitely.
The ScanNCut is really neat in the fact that you can scan many things, like your hand writing, and turn it directly into a cuttable graphic!
more easy sewing projects
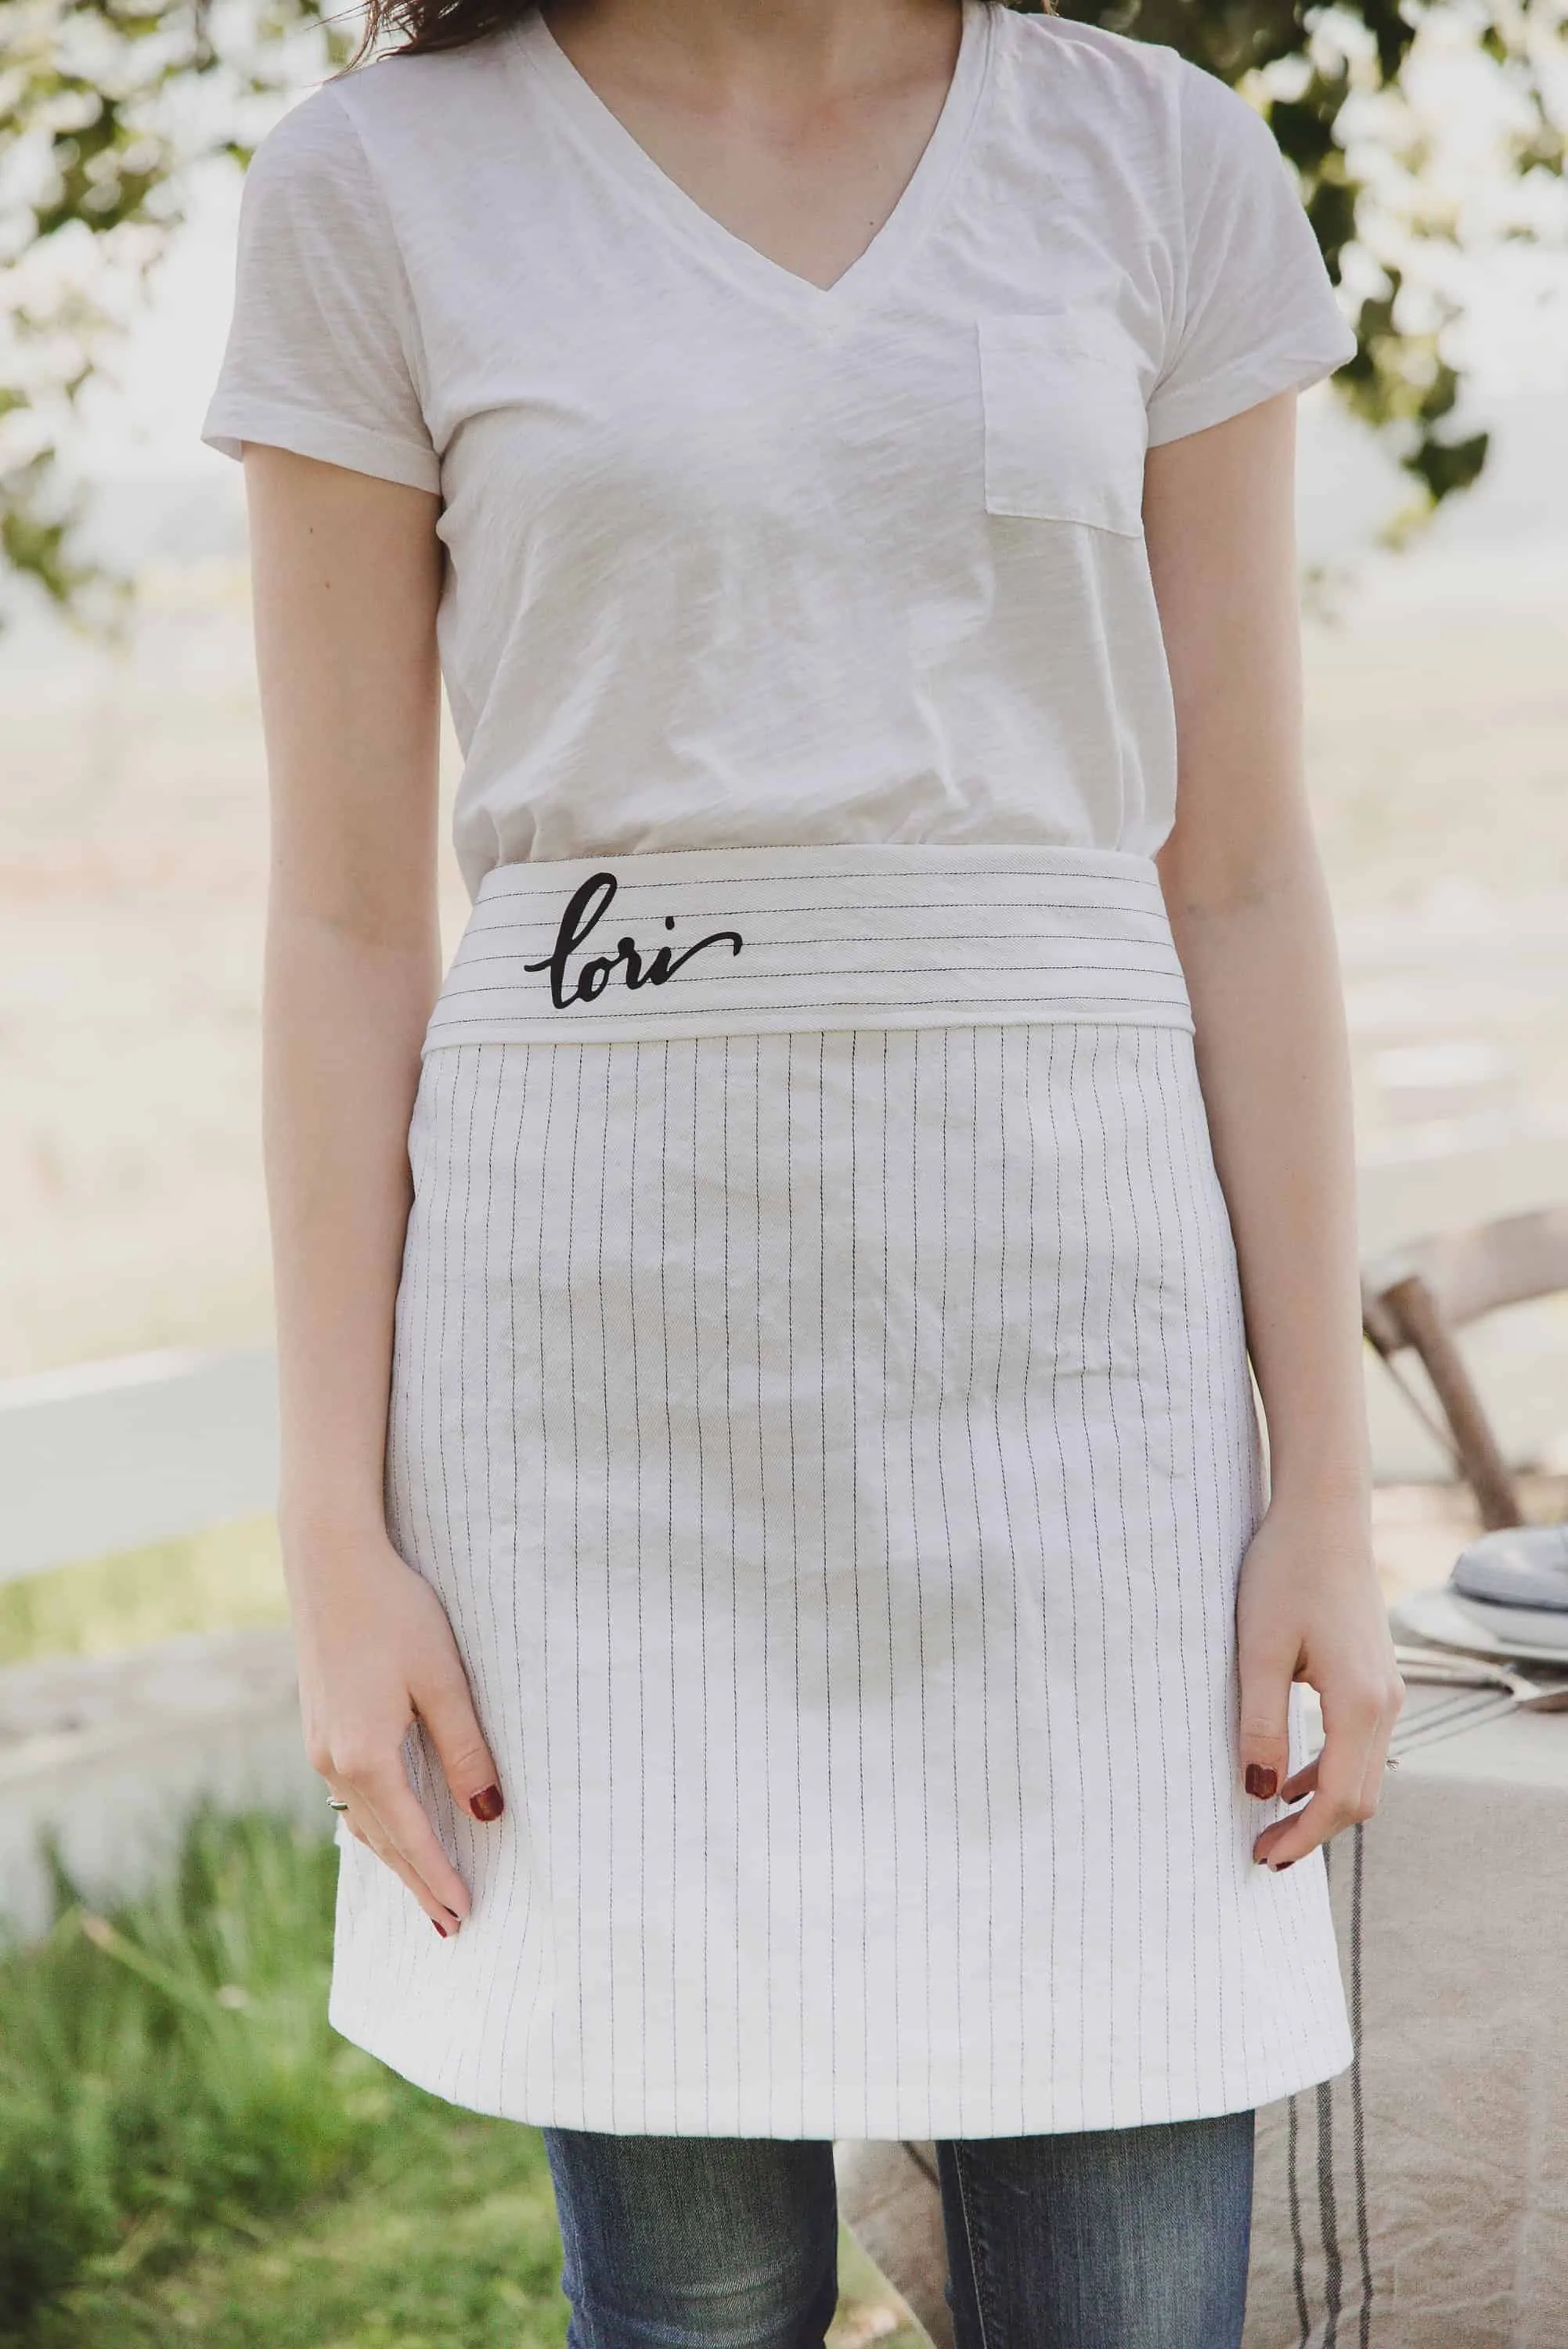
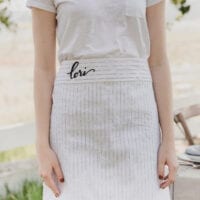
For this apron, we used hand lettering and heat transfer vinyl to add a simple personalization onto the apron. If sewing isn’t your thing, you can always buy a pre-sewn apron and add this personalization to it using HTV!
This is a wonderful bridal or hostess gift! I hope that you enjoy this beyond simple half apron sewing pattern, and if you make one for yourself or a friend, please share a photo with me on Instagram!
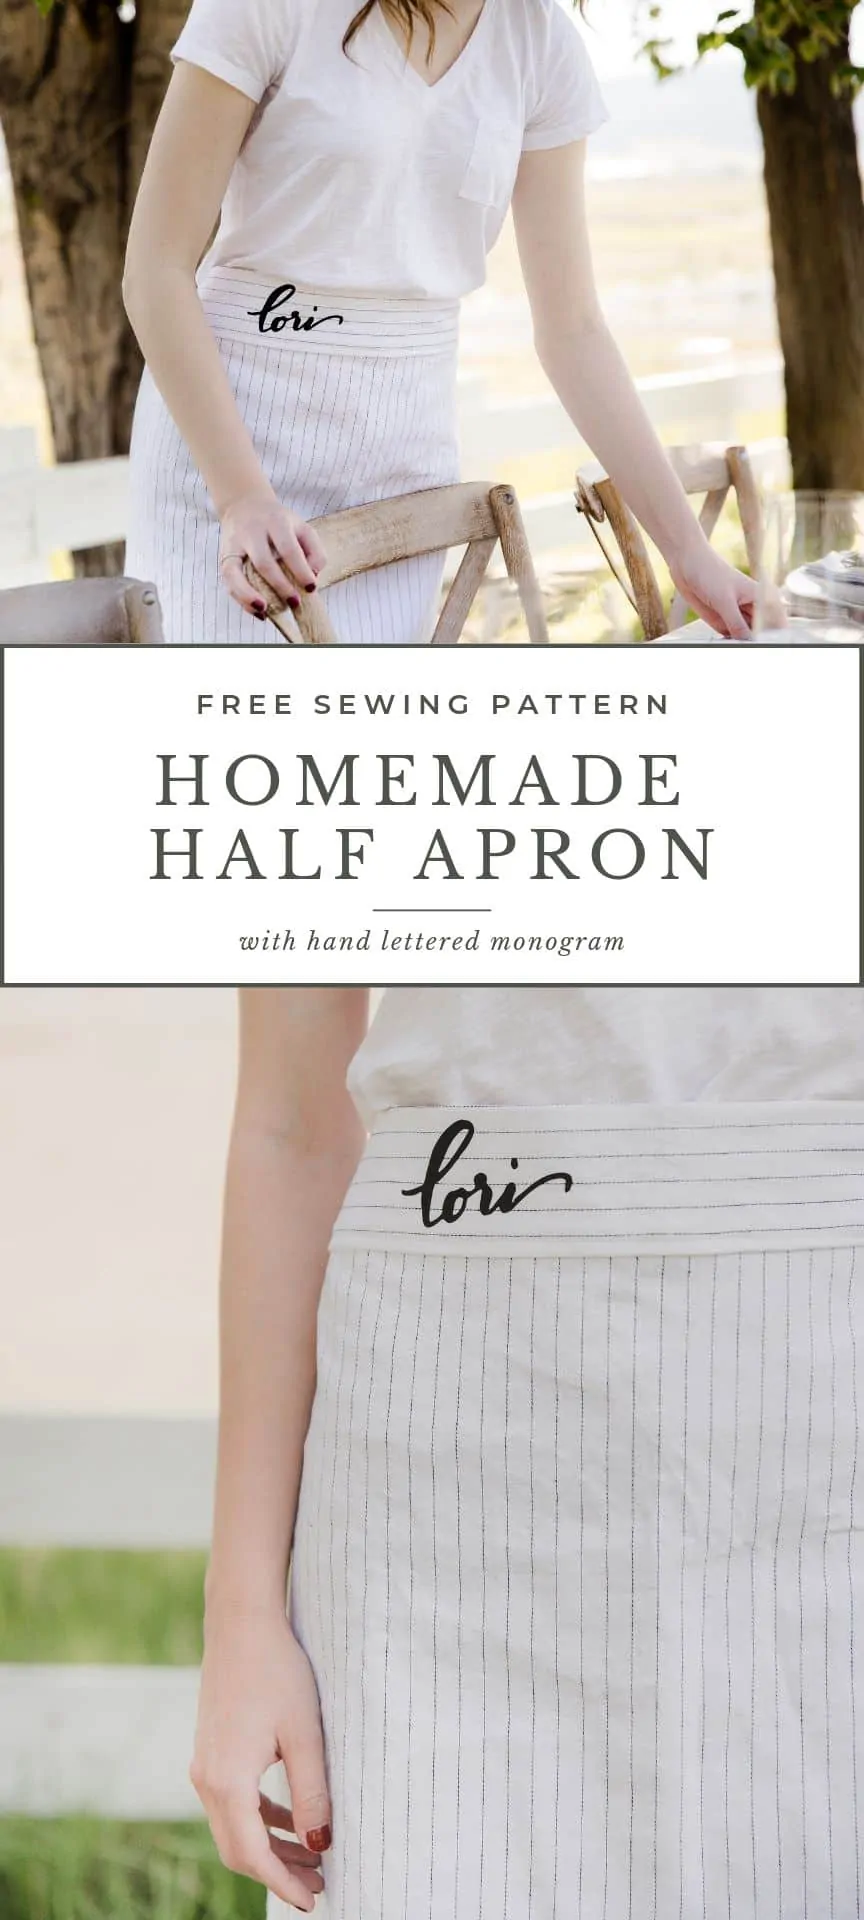
FREE SEWING PATTERN
Homemade Half Apron
with hand-lettered monogram
Easy Half Apron Sewing Pattern and Tutorial
Equipment
- Sewing machine
- Brother ScanNCut
Materials
- About 1 yard of fabric I used striped for easy cutting ;)
- sewing supplies thread, pins, etc…
- heat transfer vinyl
Instructions
- Wash and iron fabric.
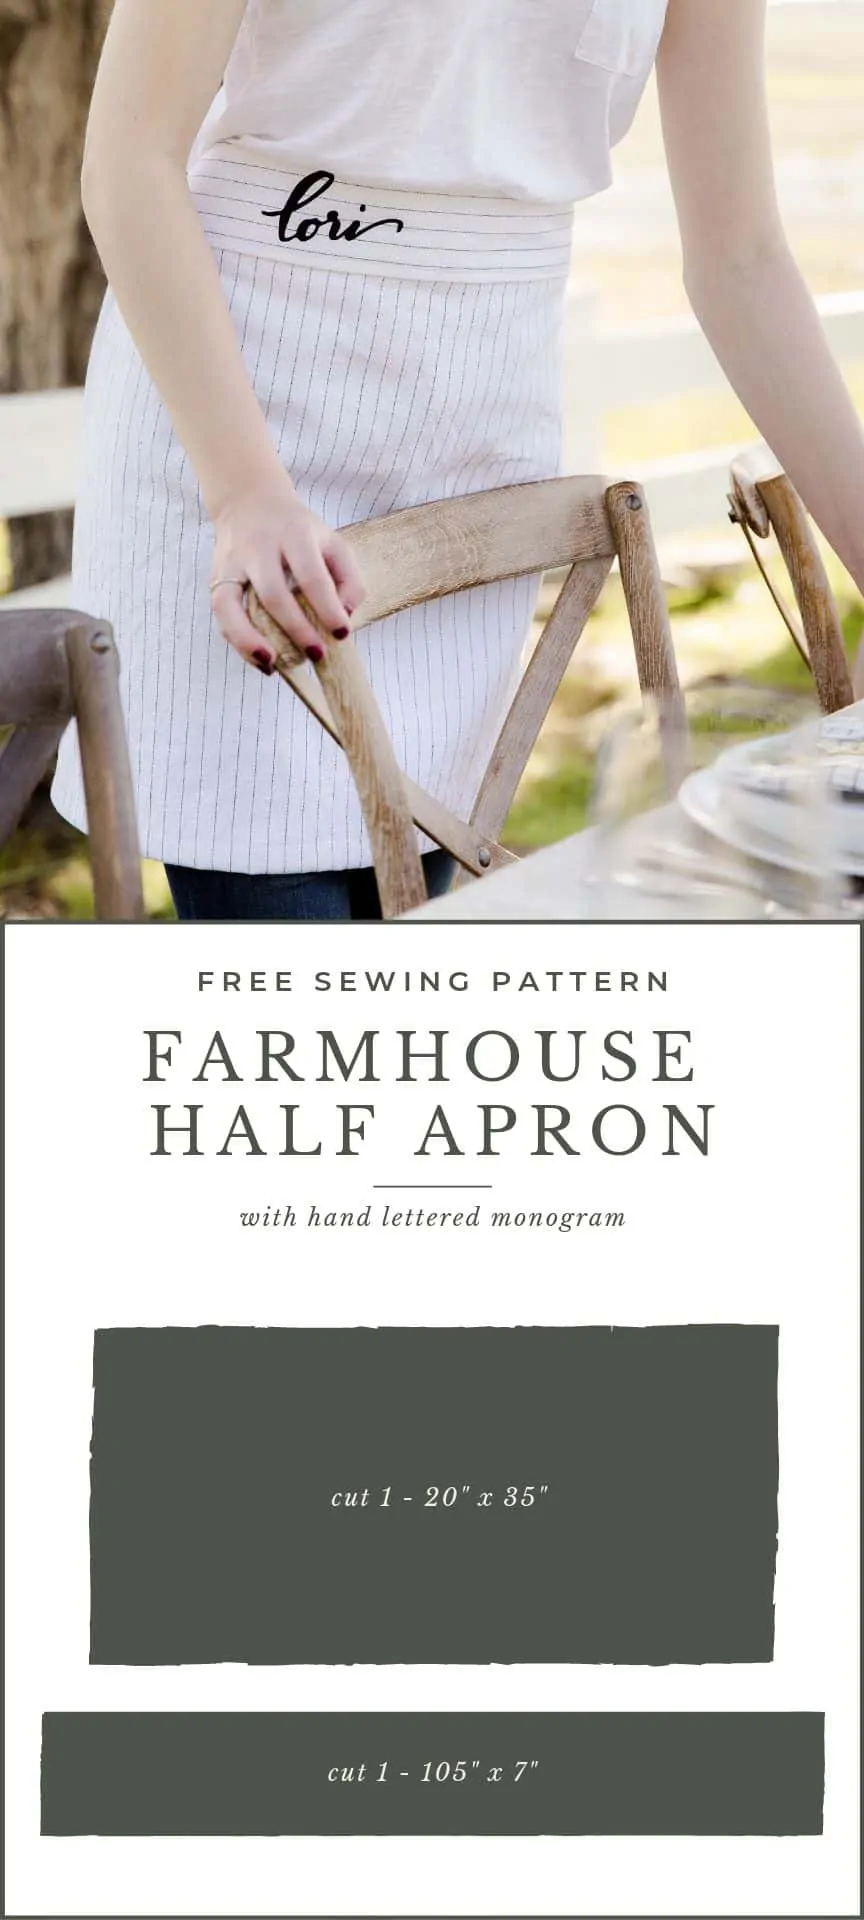
- Begin by cutting out a rectangle that measures approximately 20” x 35”. This is dependent upon how large or small you want your apron, but this is a fairly standard size. This will be known as the ‘apron’ in the rest of the steps.
- Next, cut a long piece of fabric that measures 3 times the longest length of the apron. In this case, 35 x 3 = 105” long inches and about 7” wide. This will serve as your waistband.
- Fold and press a double hem on three sides of the apron, leaving the top of the apron (one of the long sides) unfinished. Pin, but don’t sew yet. We’ll do all of the sewing at the end.
- Prepare the waistband: press a single half inch hem along all edges of the strip folding wrong side to wrong side. Once done, fold the strap in half hot-dog style with the right side showing.
- Find the midpoint of the apron and the midpoint of the strap by folding each piece in half (hamburger style). Sandwich the un-hemmed side of the apron into the folded waistband at the halfway point of each piece and pin the waistband into place.
- Sew around the entire perimeter of the apron, including where the waist band meets the apron, this will finish off the sewing portion of this tutorial! Easy as pie!
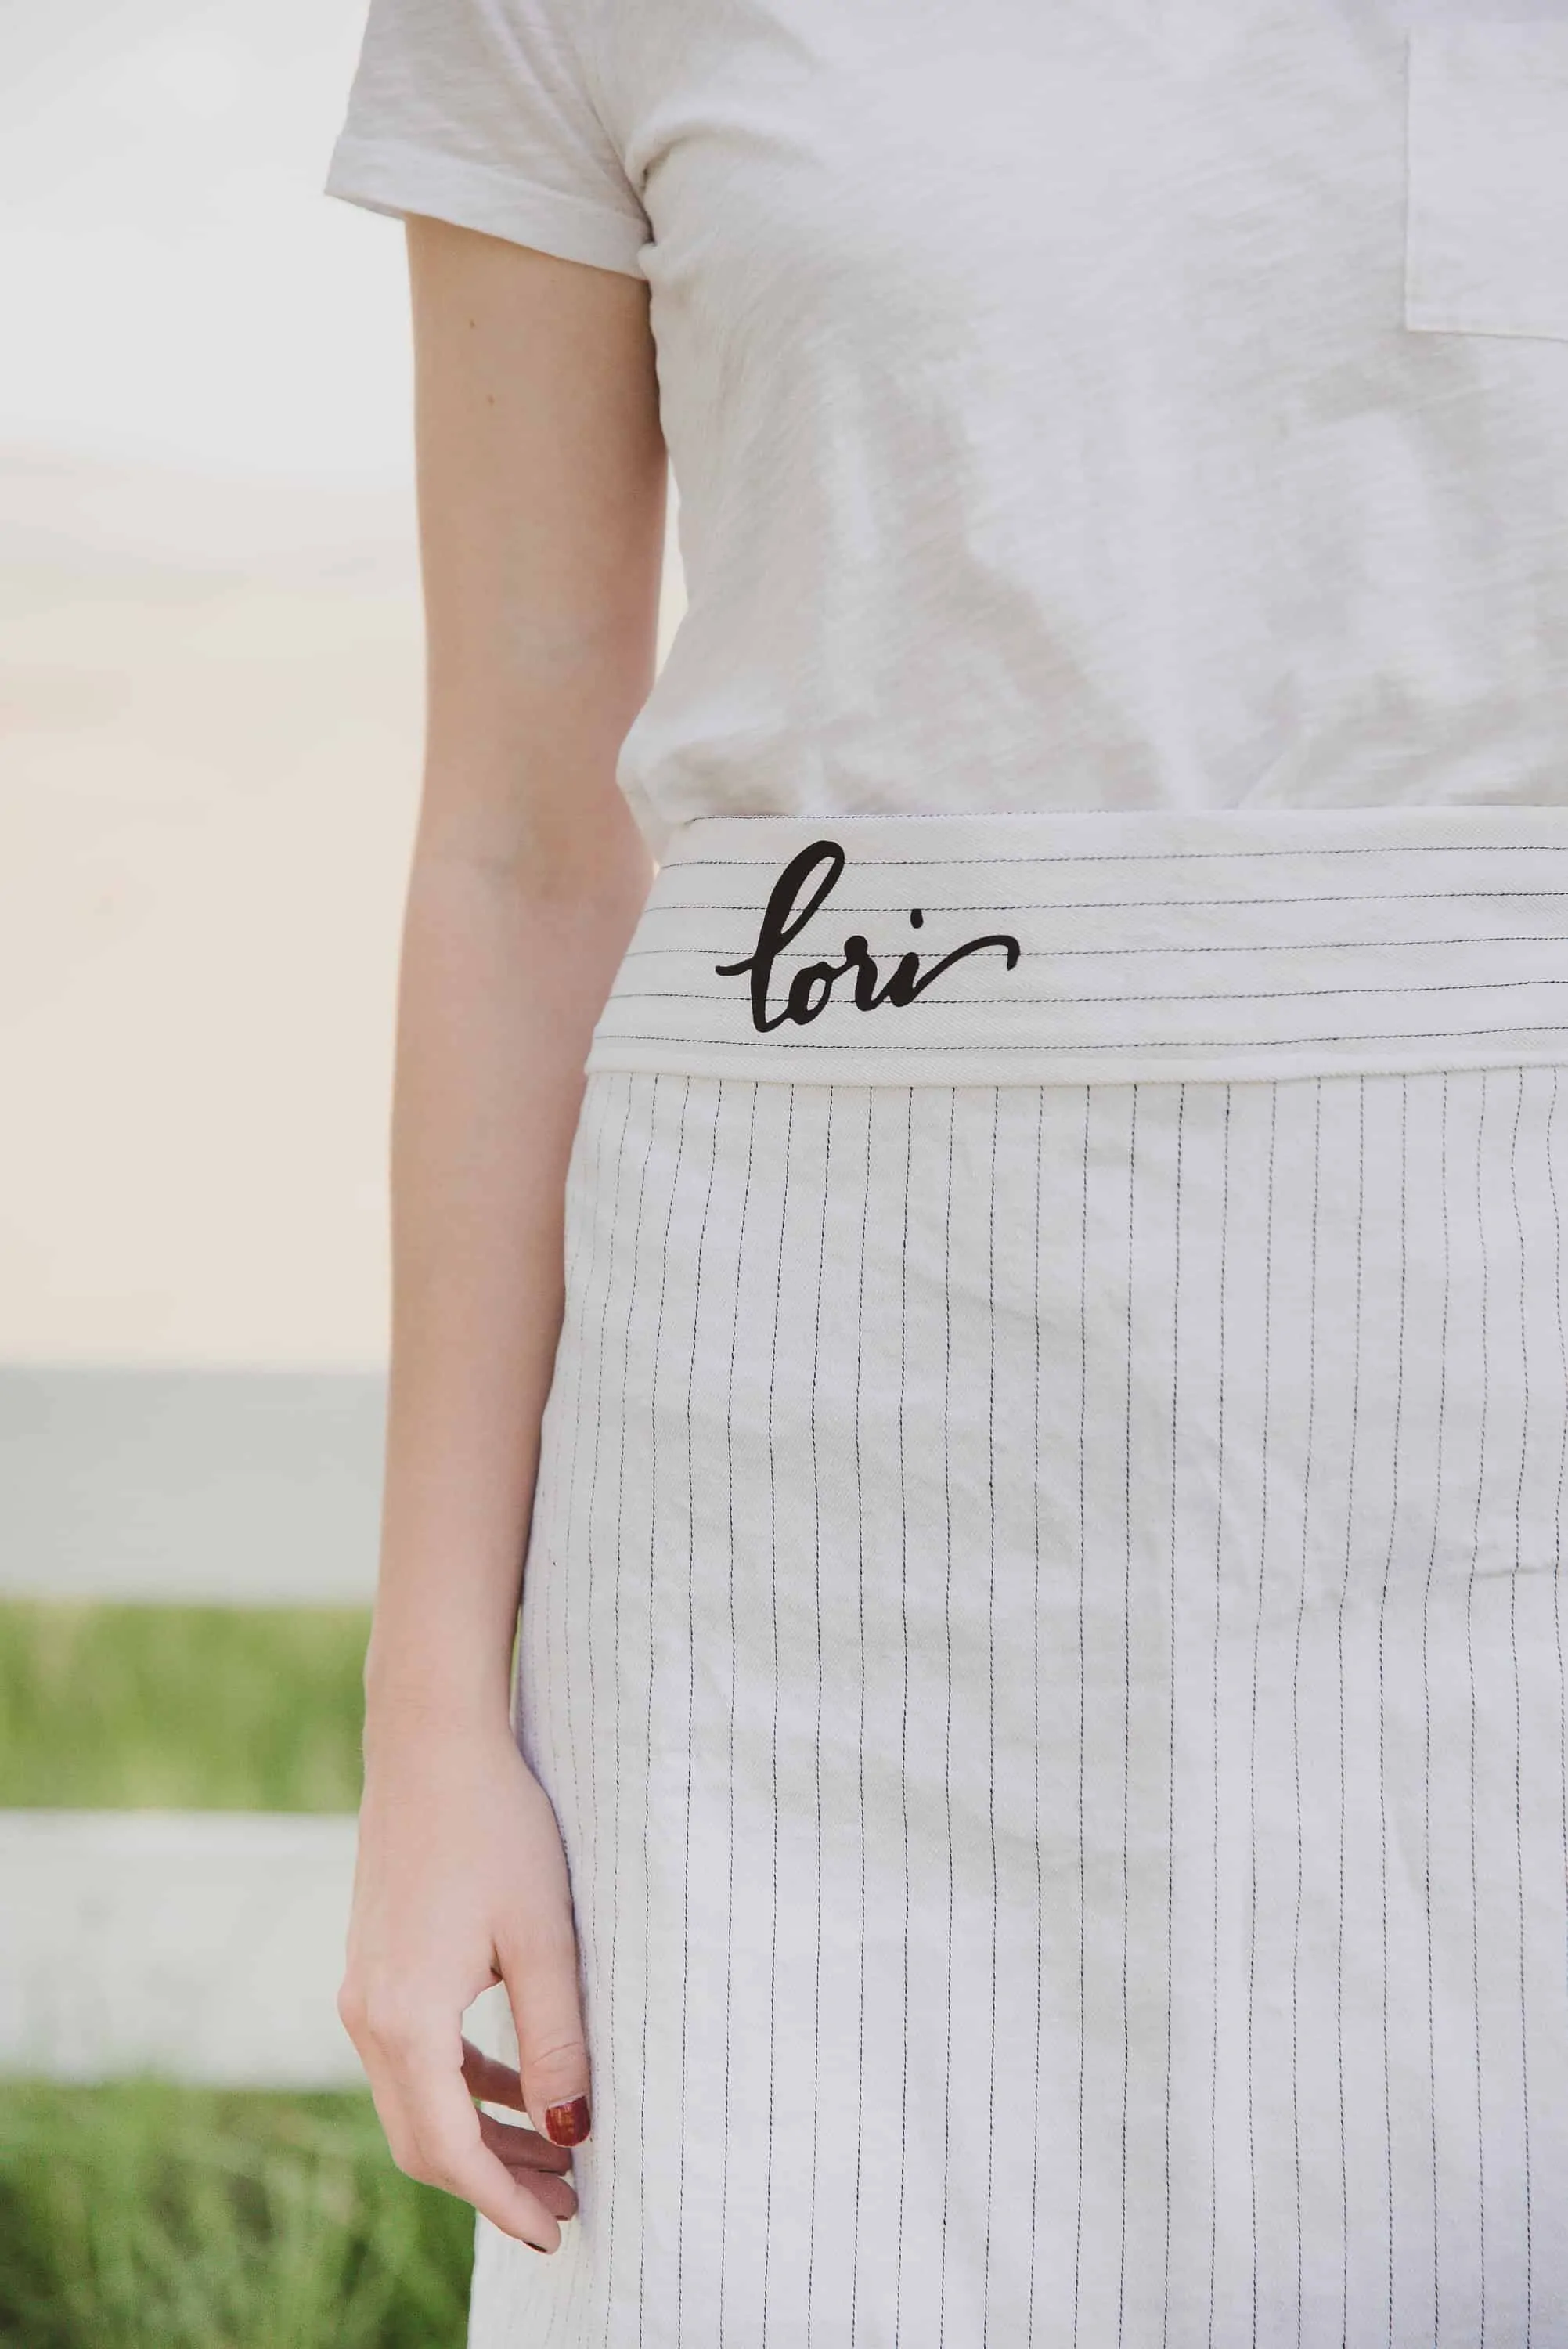
- Now let’s create the monogram: use a sharpie to hand letter your desired word onto plain white paper. Make sure the letters are smooth and fairly thick so that the ScanNCut can register the lettering properly.
- Load the paper onto the machine’s cutting mat. Load the mat into the machine and click “scan” and select “scan to cut”. Once scanned, adjust the area of the scan to only include the word you’d like to add to the apron. Select “save” and the machine will save the graphic directly to the device! No computer needed!
- Open the saved graphic, and adjust sizing as needed. This is a helpful video showing exactly how this is done.
- Once you’ve adjusted the graphic, load HTV onto the cutting mat, and cut the lettering out. Follow the HTV instructions to iron the word onto the apron, and voila!
So so cute! Now I want to make one!
This is adorable. !
Oh thank you so much Lucy!