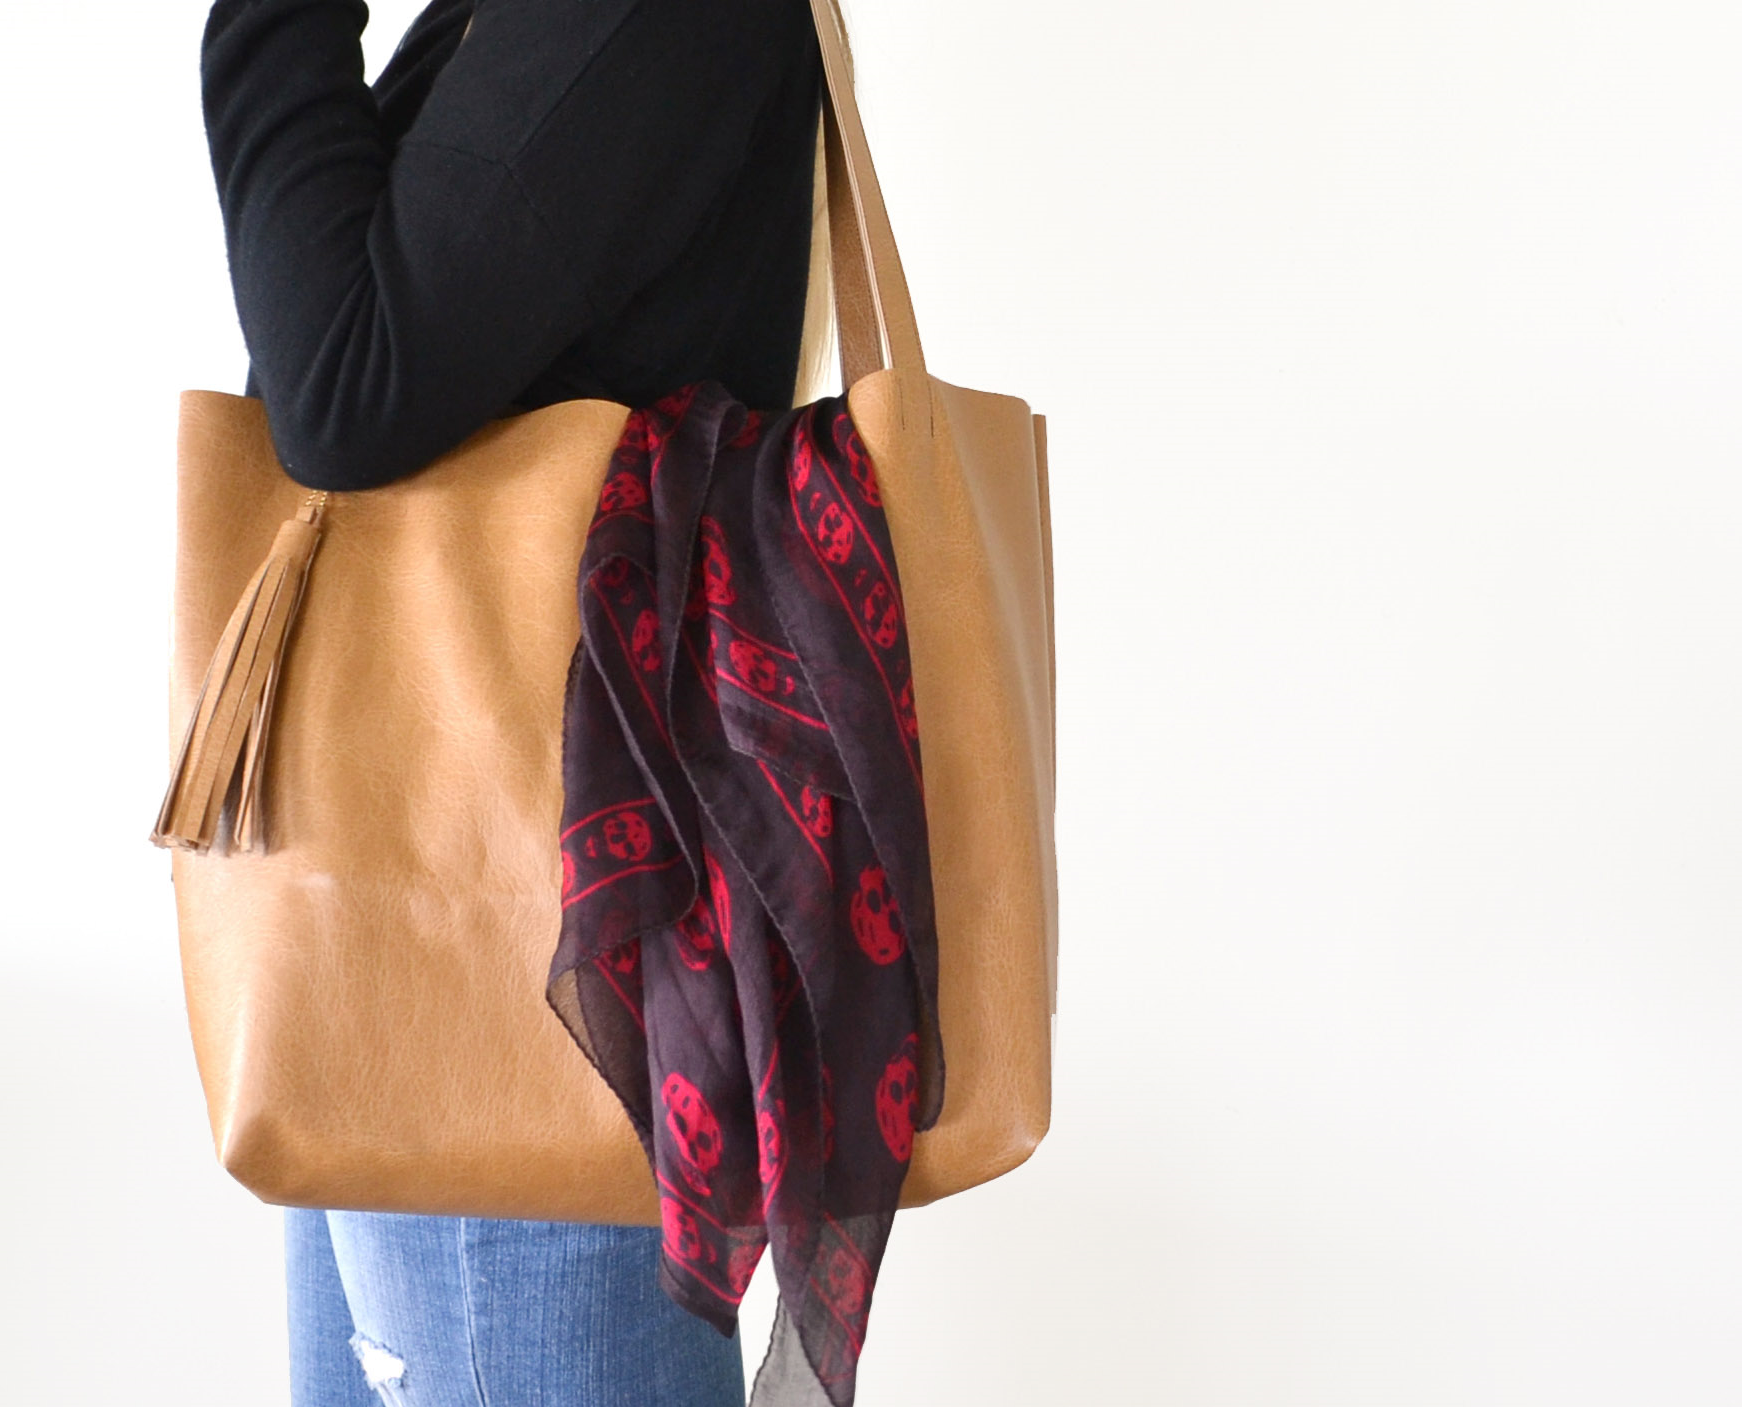
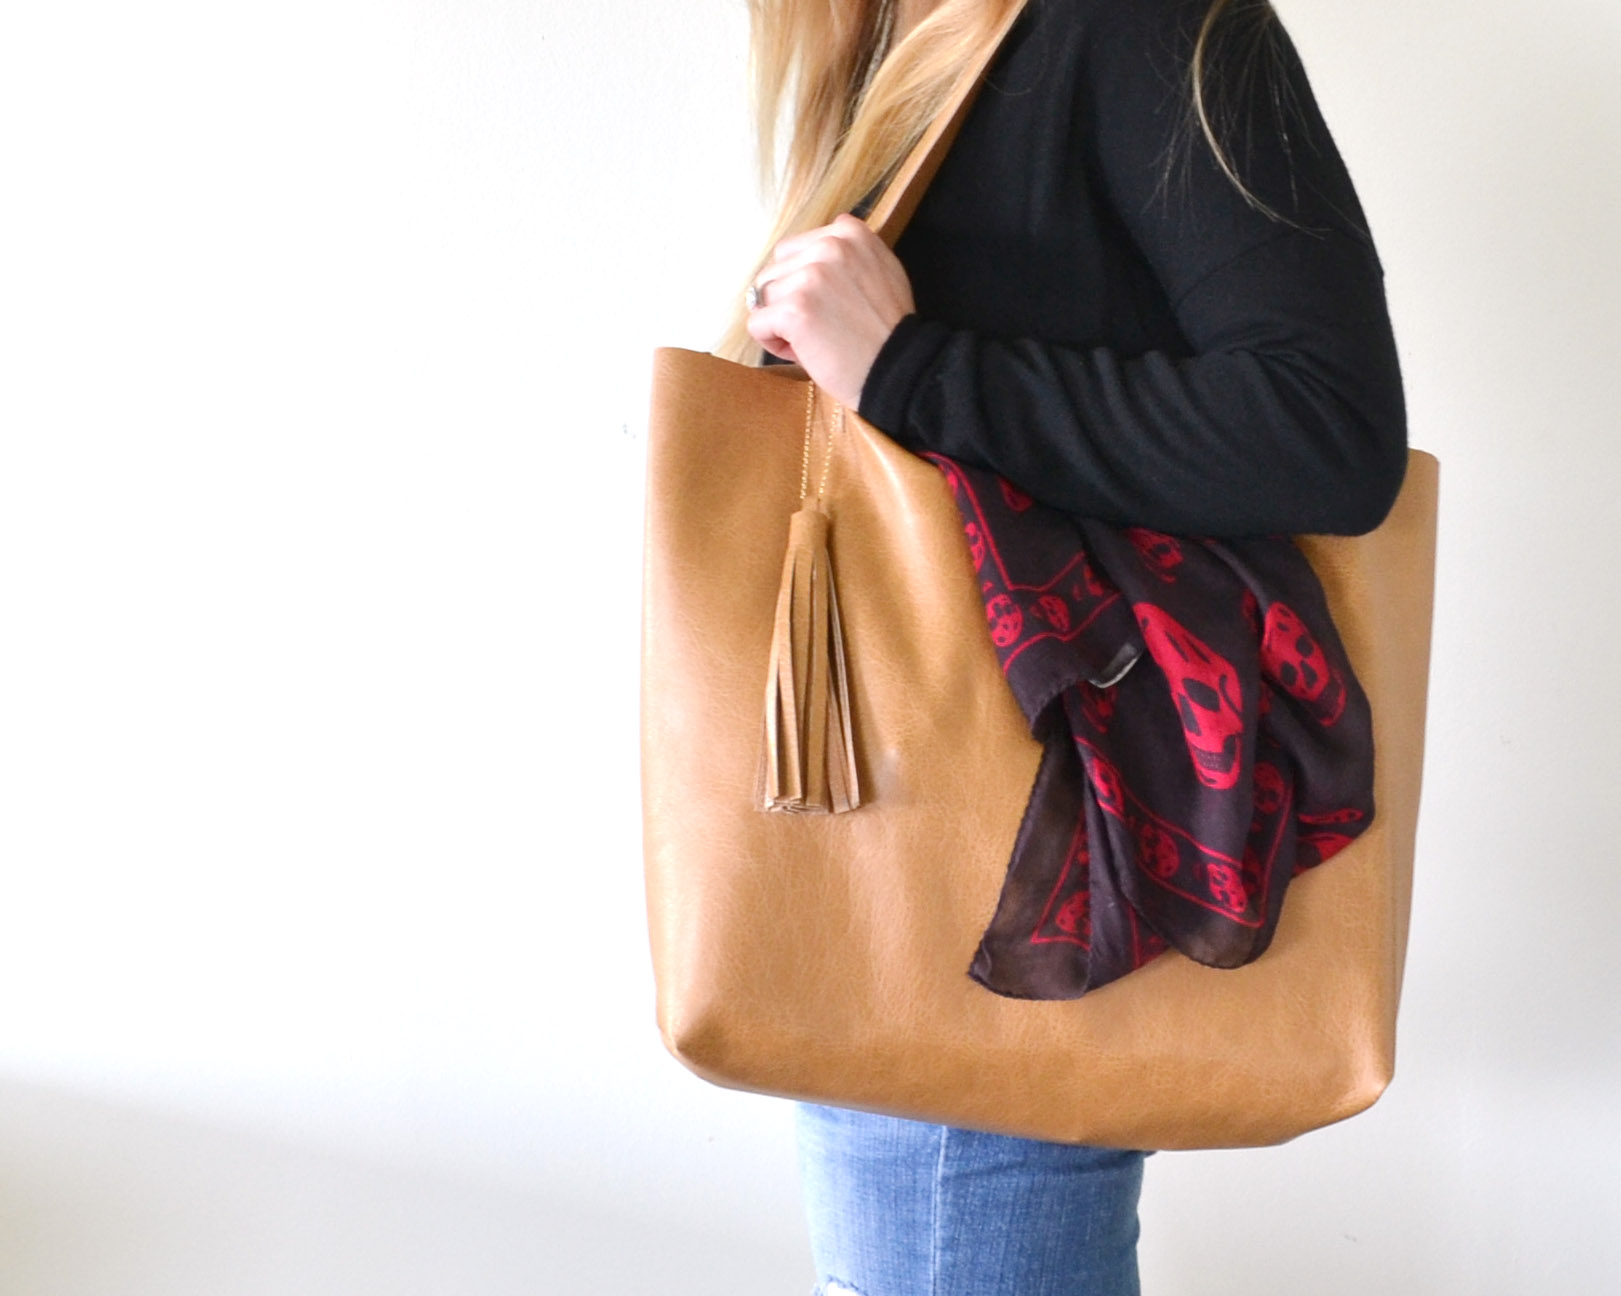
Needing a new bag? This tote bag pattern is so simple! This DIY leather tote bag will become your new favorite accessory!
Tote Bag Pattern for A Handmade Leather Tote
Making your own accessories and clothing can be intimidating, but it doesn’t have to be! This pattern is so easy if you are just getting started and a quick project for a seasoned sewer!
Materials for the Leather Tote Bag Pattern
- 1 yard of leather fabric (or faux leather)
- sewing machine
- fabric/leather glue
- leather needles for your sewing machine (don’t skip this!!)
- marking pen
- ruler
- exacto blade (or if you’re cooler than me and know how to properly use a rotary cutter…)
- painters tape
I bought my leather from a local fabric store, I am pretty sure I used faux leather since it was only about $12/yard.
Here are some other fabrics I found from the web that I think will work for this project:
- very similar leather to shown
- beautifully distressed faux leather
- pink faux leather!
- real leather
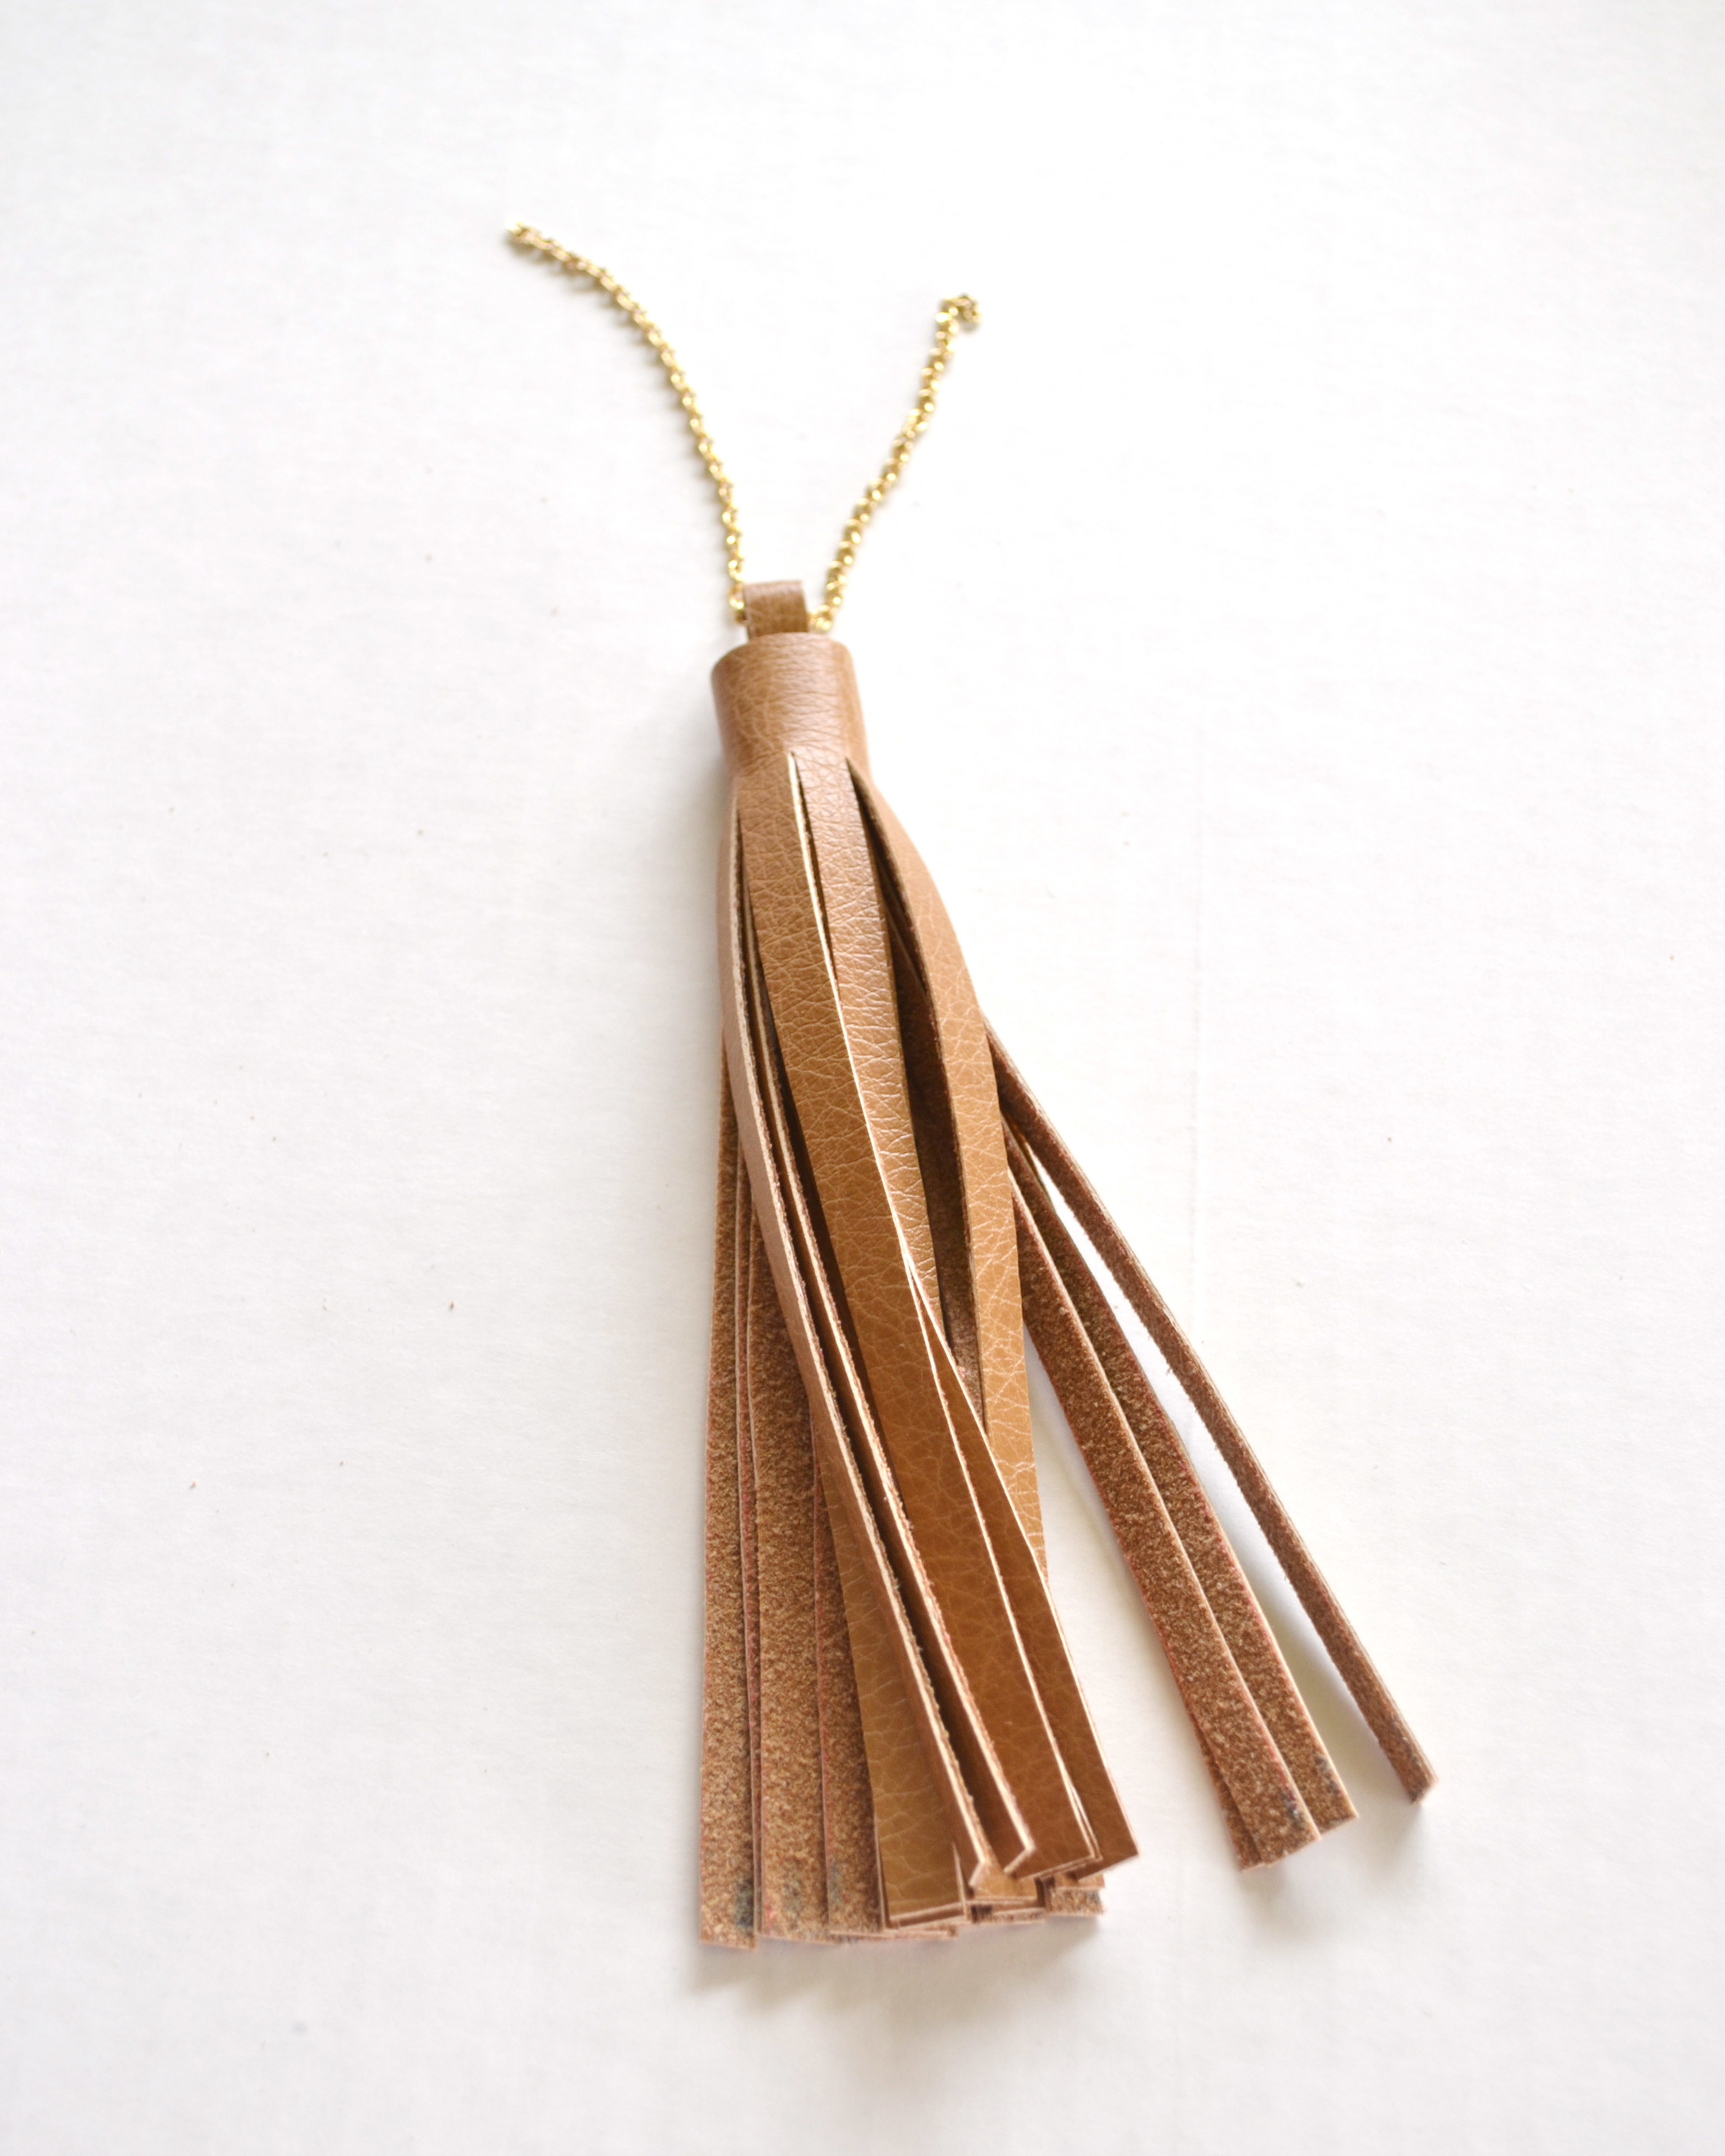
Materials for the Leather Tassel
- gold or sliver chain & jump clasp
- 1 ‘pocket’ piece from pattern
- scissors
- ruler
- marking pen
- leather glue
Time needed: 2 hours
How to Sew a Homemade Leather Tote Bag
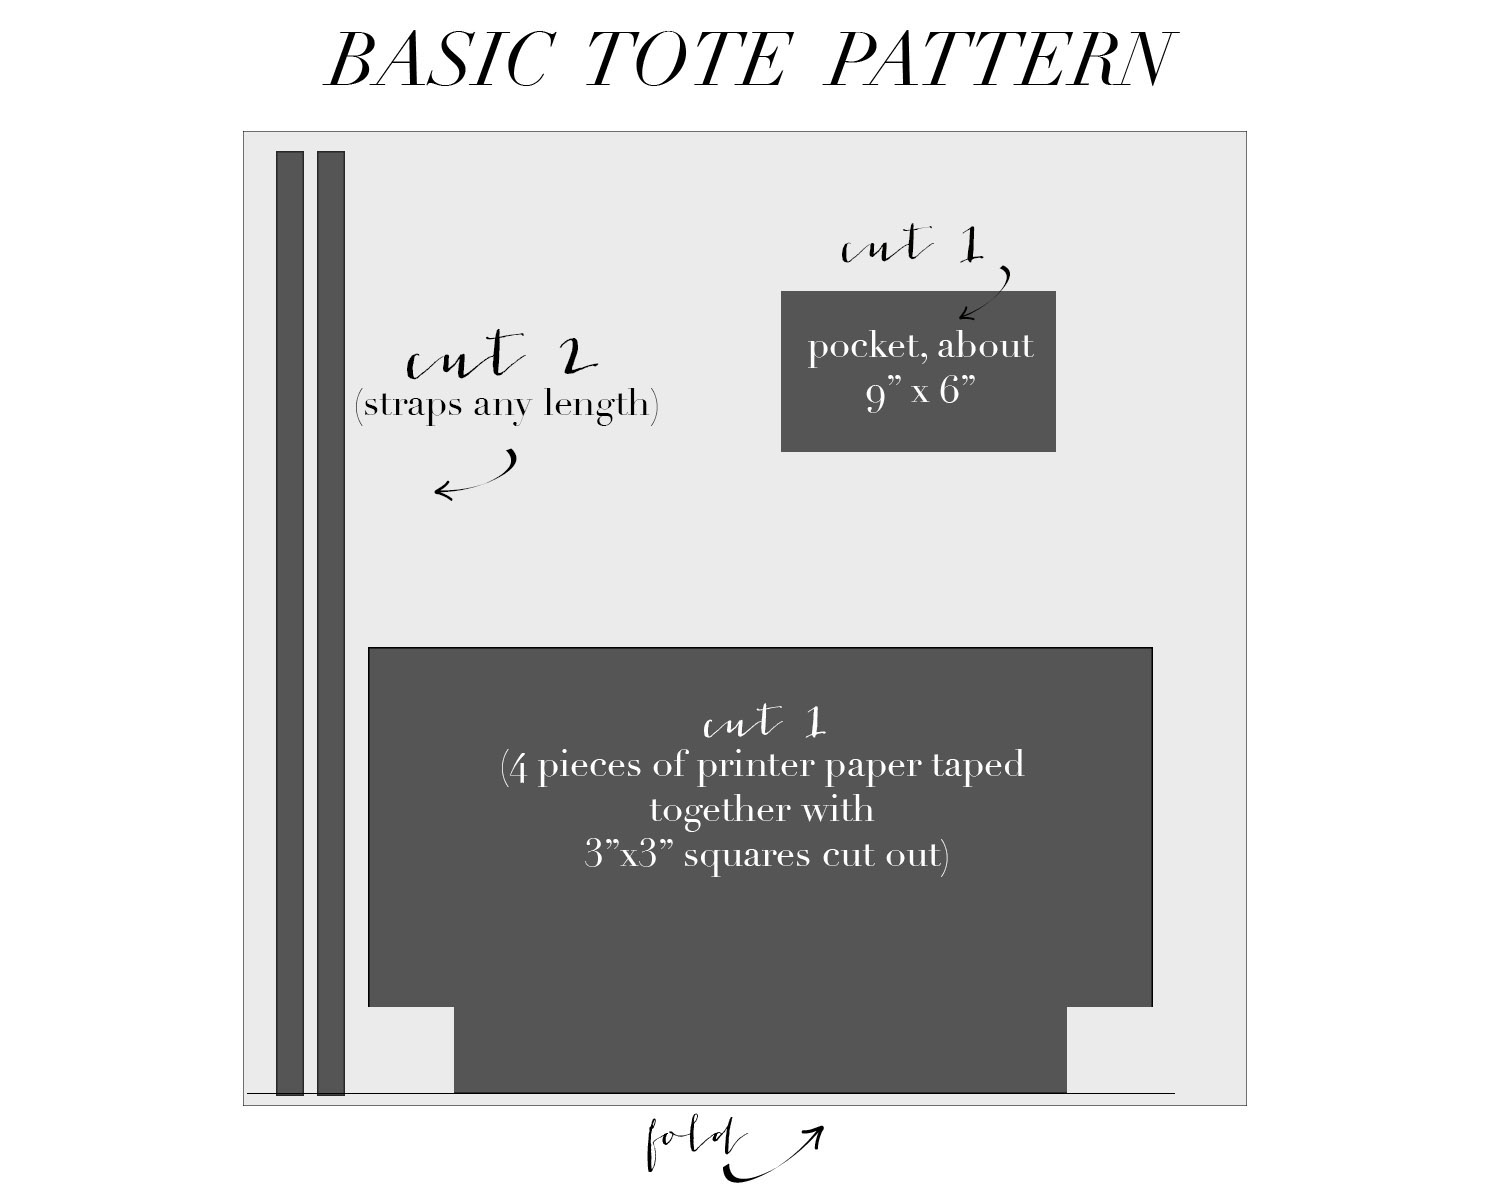
- Tape four pieces of printer paper together to form a large rectangle.
This will be your pattern. Place the edge of your pattern on the fold of your fabric and outline with a marking pen. Cut two 3″x3″ squares on each of the corners on the fold. This is what will create the bottom of the bag.
- Cut the outlined piece.
Use an exacto blade, or scissors if you’re brave, to cut the outlined piece. This is your bag.
- Use painters tape to mark the straps.
I simply cut along the edge of the painter’s tape which made for perfectly straight edges. Cut two straps on the fold so that you really end up with four strap pieces.
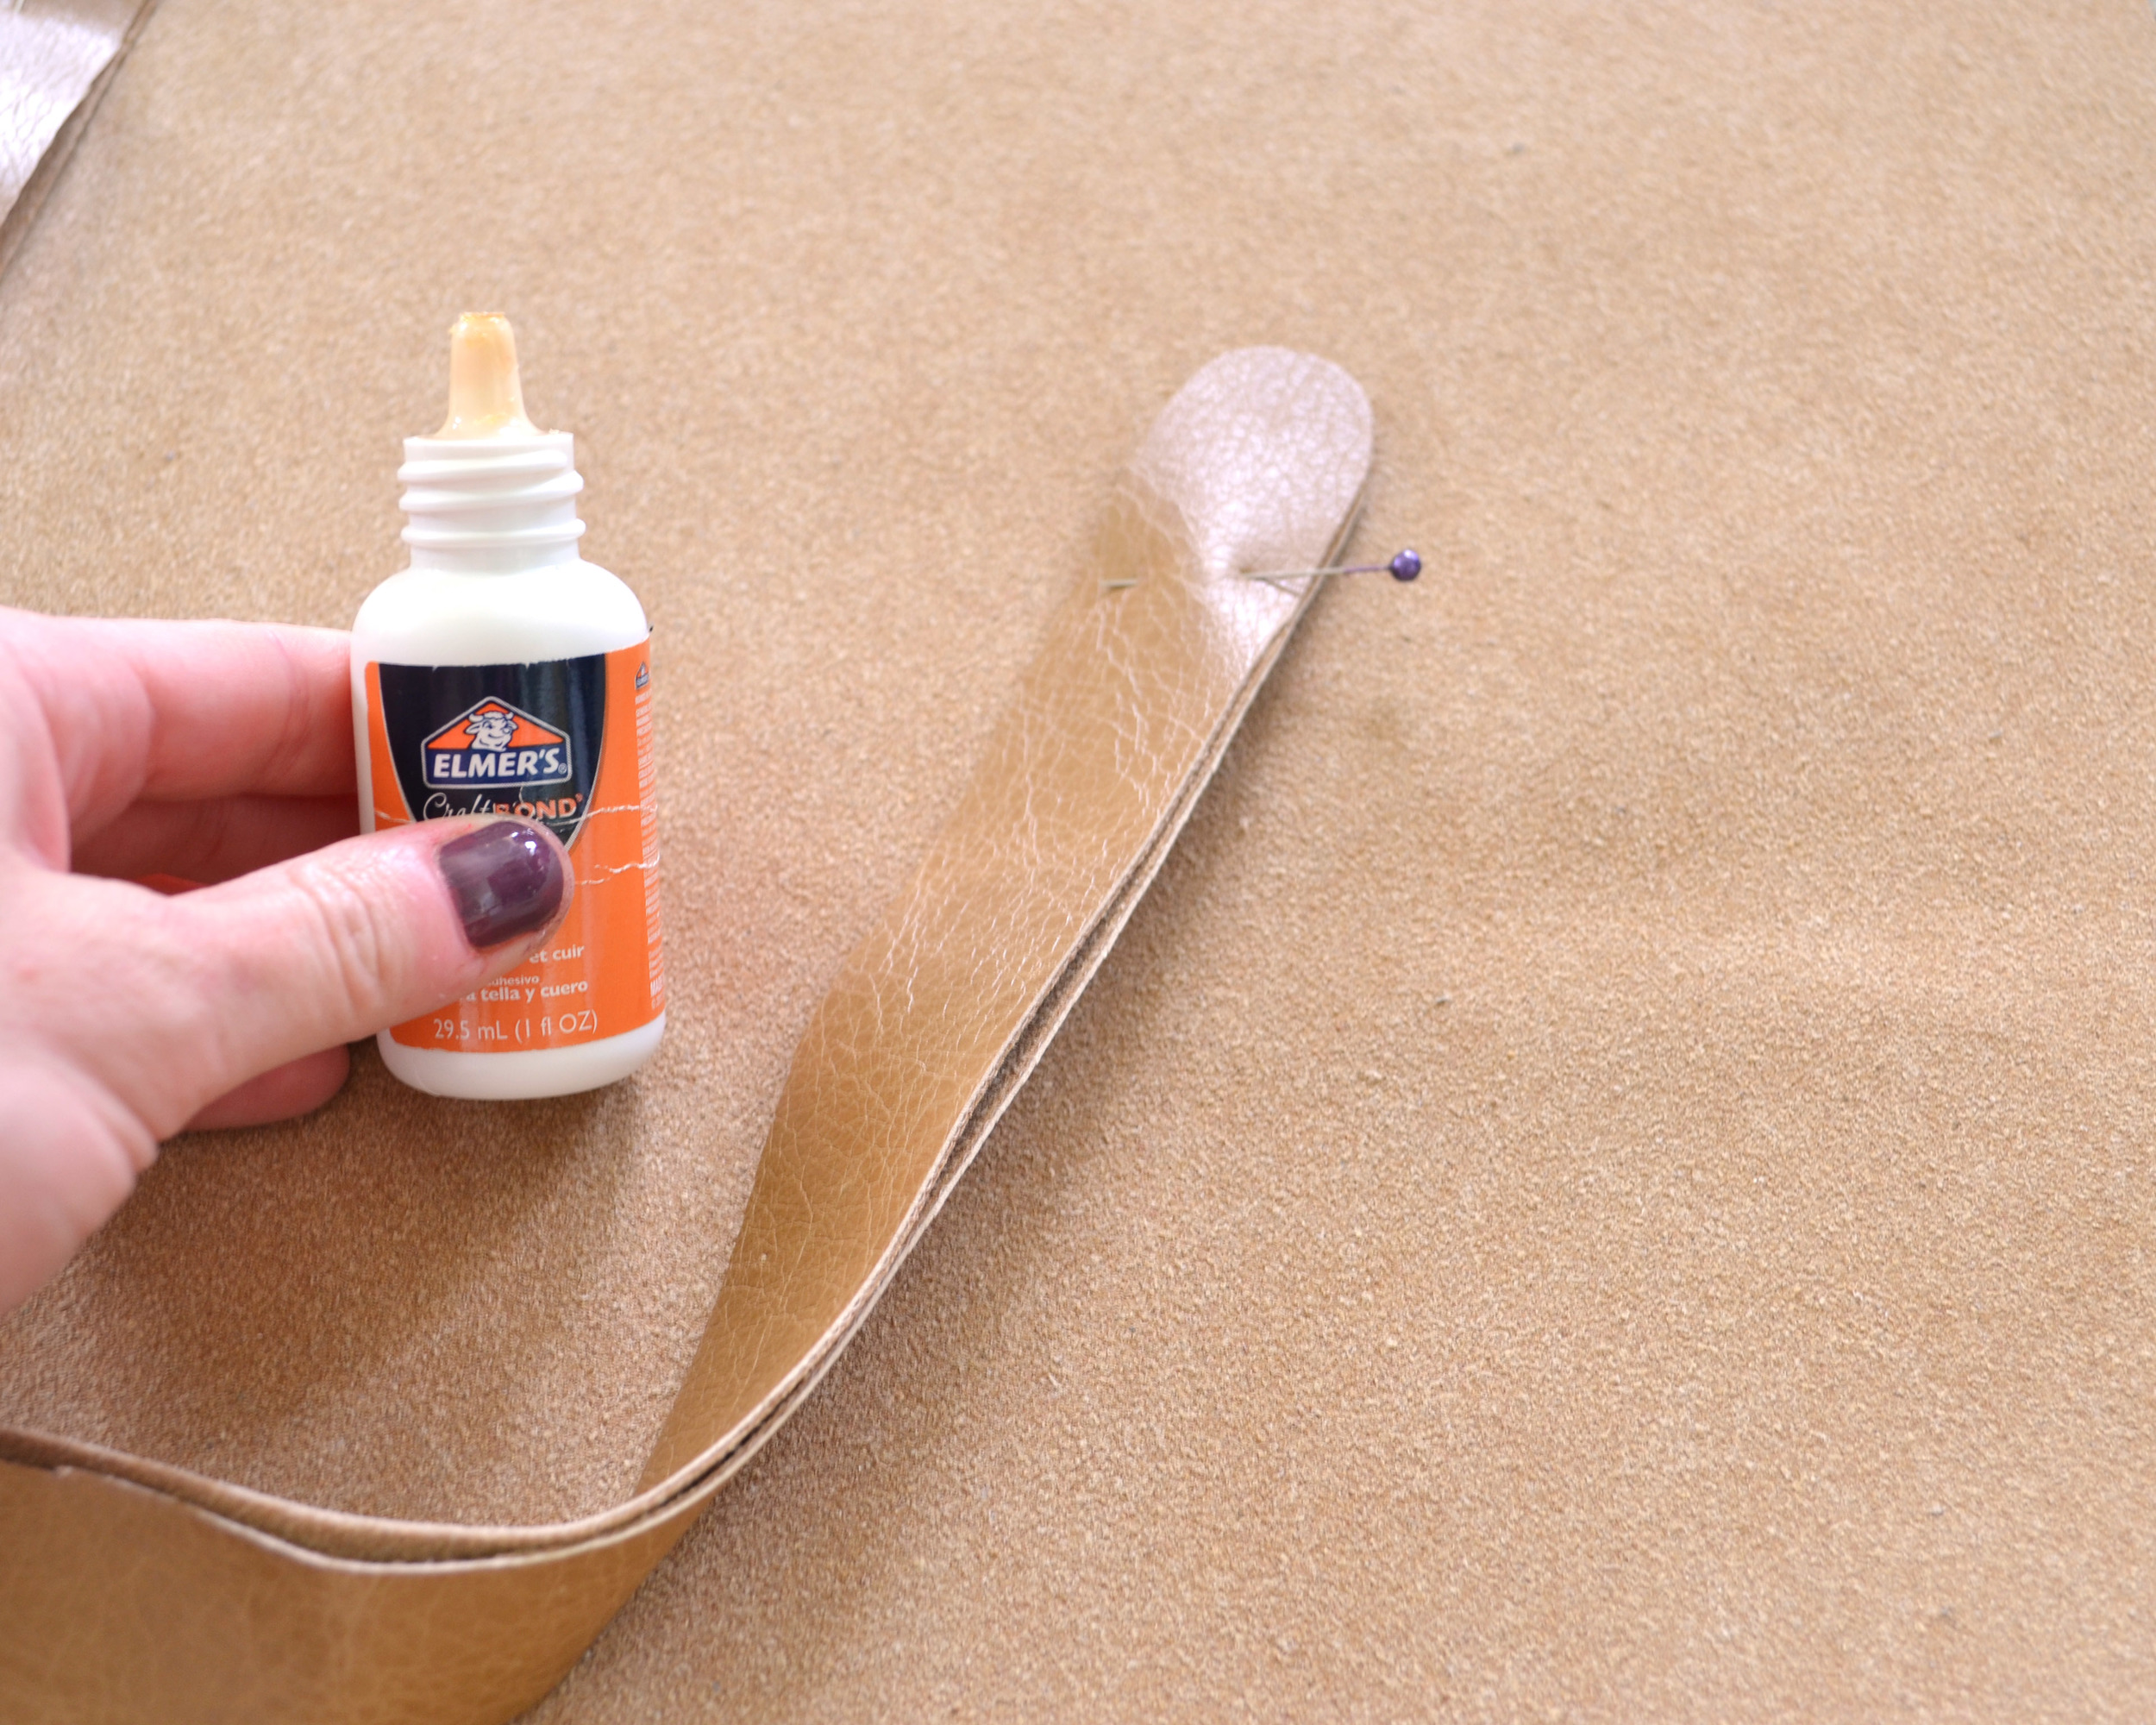
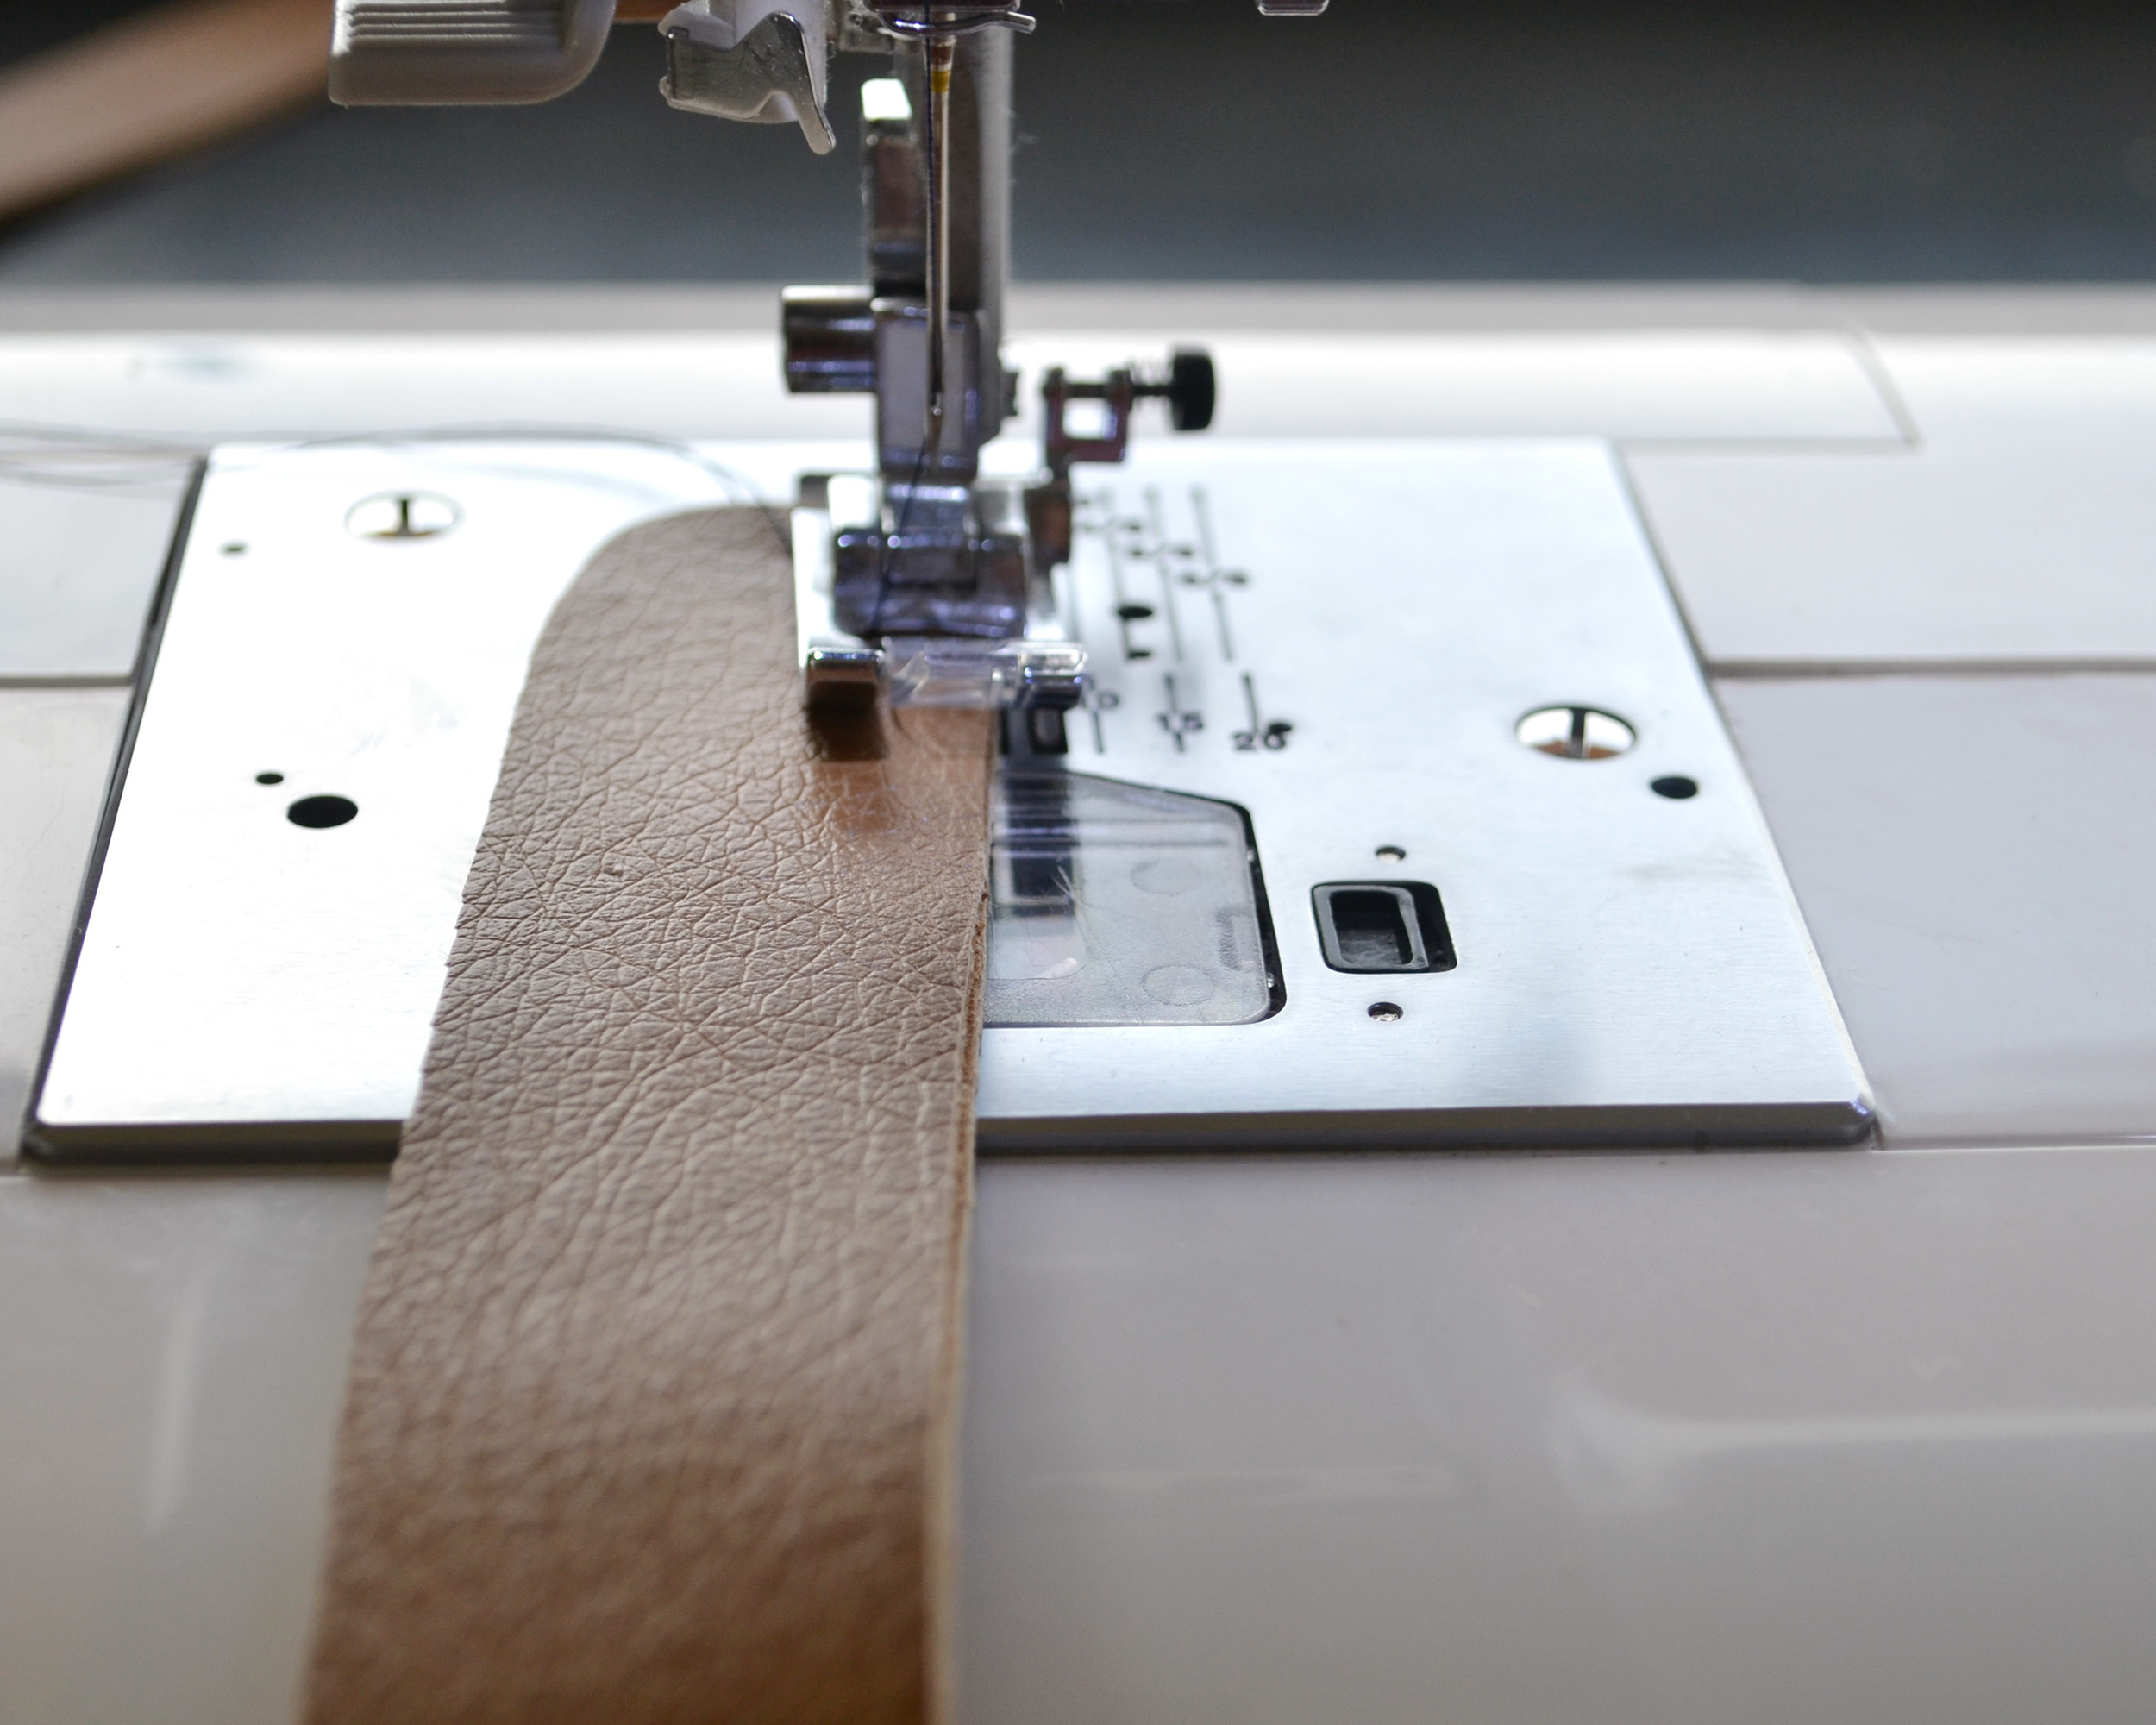
- Use leather glue to glue each strap together.
For one full strap, you will use two pieces from what you’ve cut. Glue the wrong sides together, then sew along the edges. I used a pretty large margin, and then used scissors to trim the straps after I sewed them.
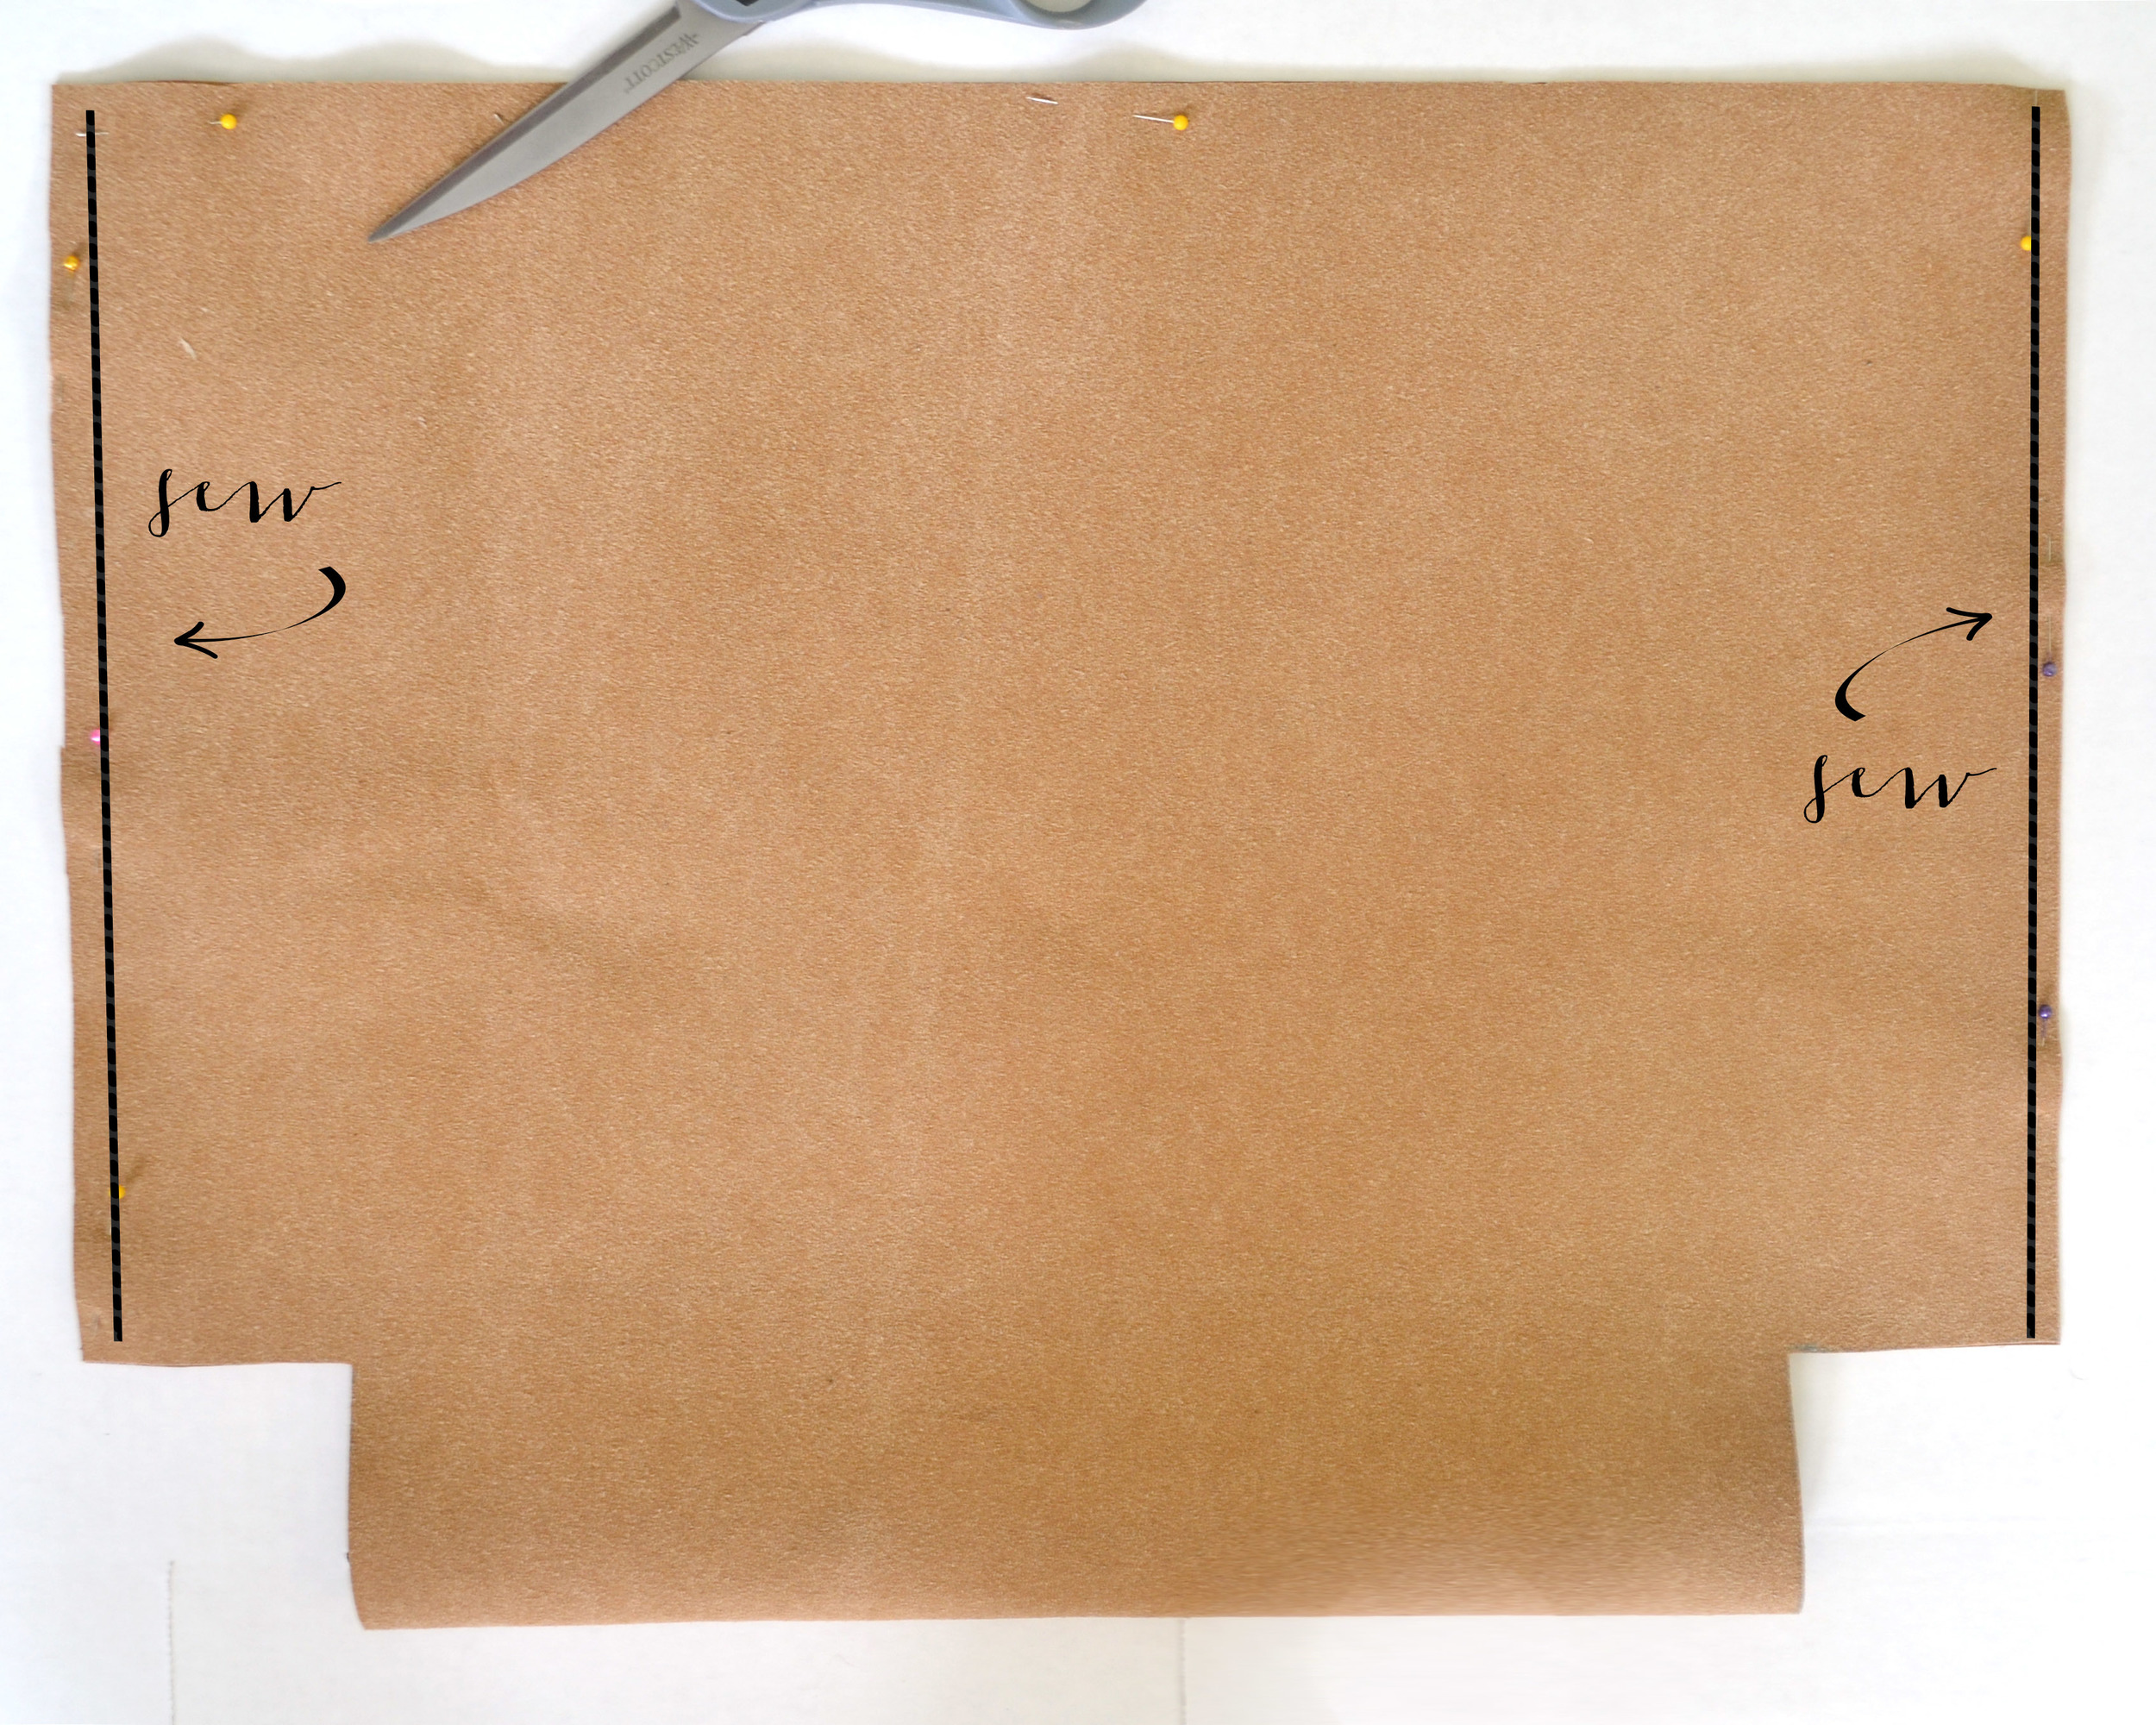
- Take your ‘bag’ piece and fold it so that the right sides are together.
Pin each side of the bag, and stitch. I used a 5/8″ margin, because I liked the look of having a visible seem.
- Pinch together the bottom of the bag (where you cut the little square out of).
Pin so that the two edges are perfectly aligned (it should resemble a triangle). If you’re confused about this step this is a great tutorial on it. I found that I needed to cut a little bit larger of a square to get the size bottom I was going for, before you sew, make sure you like the size! Once you’re happy with the size, straight stitch along the edge.
- Add your straps.
The placement is going to be up to you, try pinning first, and making sure you like the placement. Once you’ve decided on a great place, use your machine to sew them on. I like to backstitch like a mad man on this step so that my straps will hold up to a large load. I placed my straps on the inside of the bag and straight stitched on either side of the strap, you can’t really see my stitching from the photos, but I had 8, 1 inch long straight stitches in total.
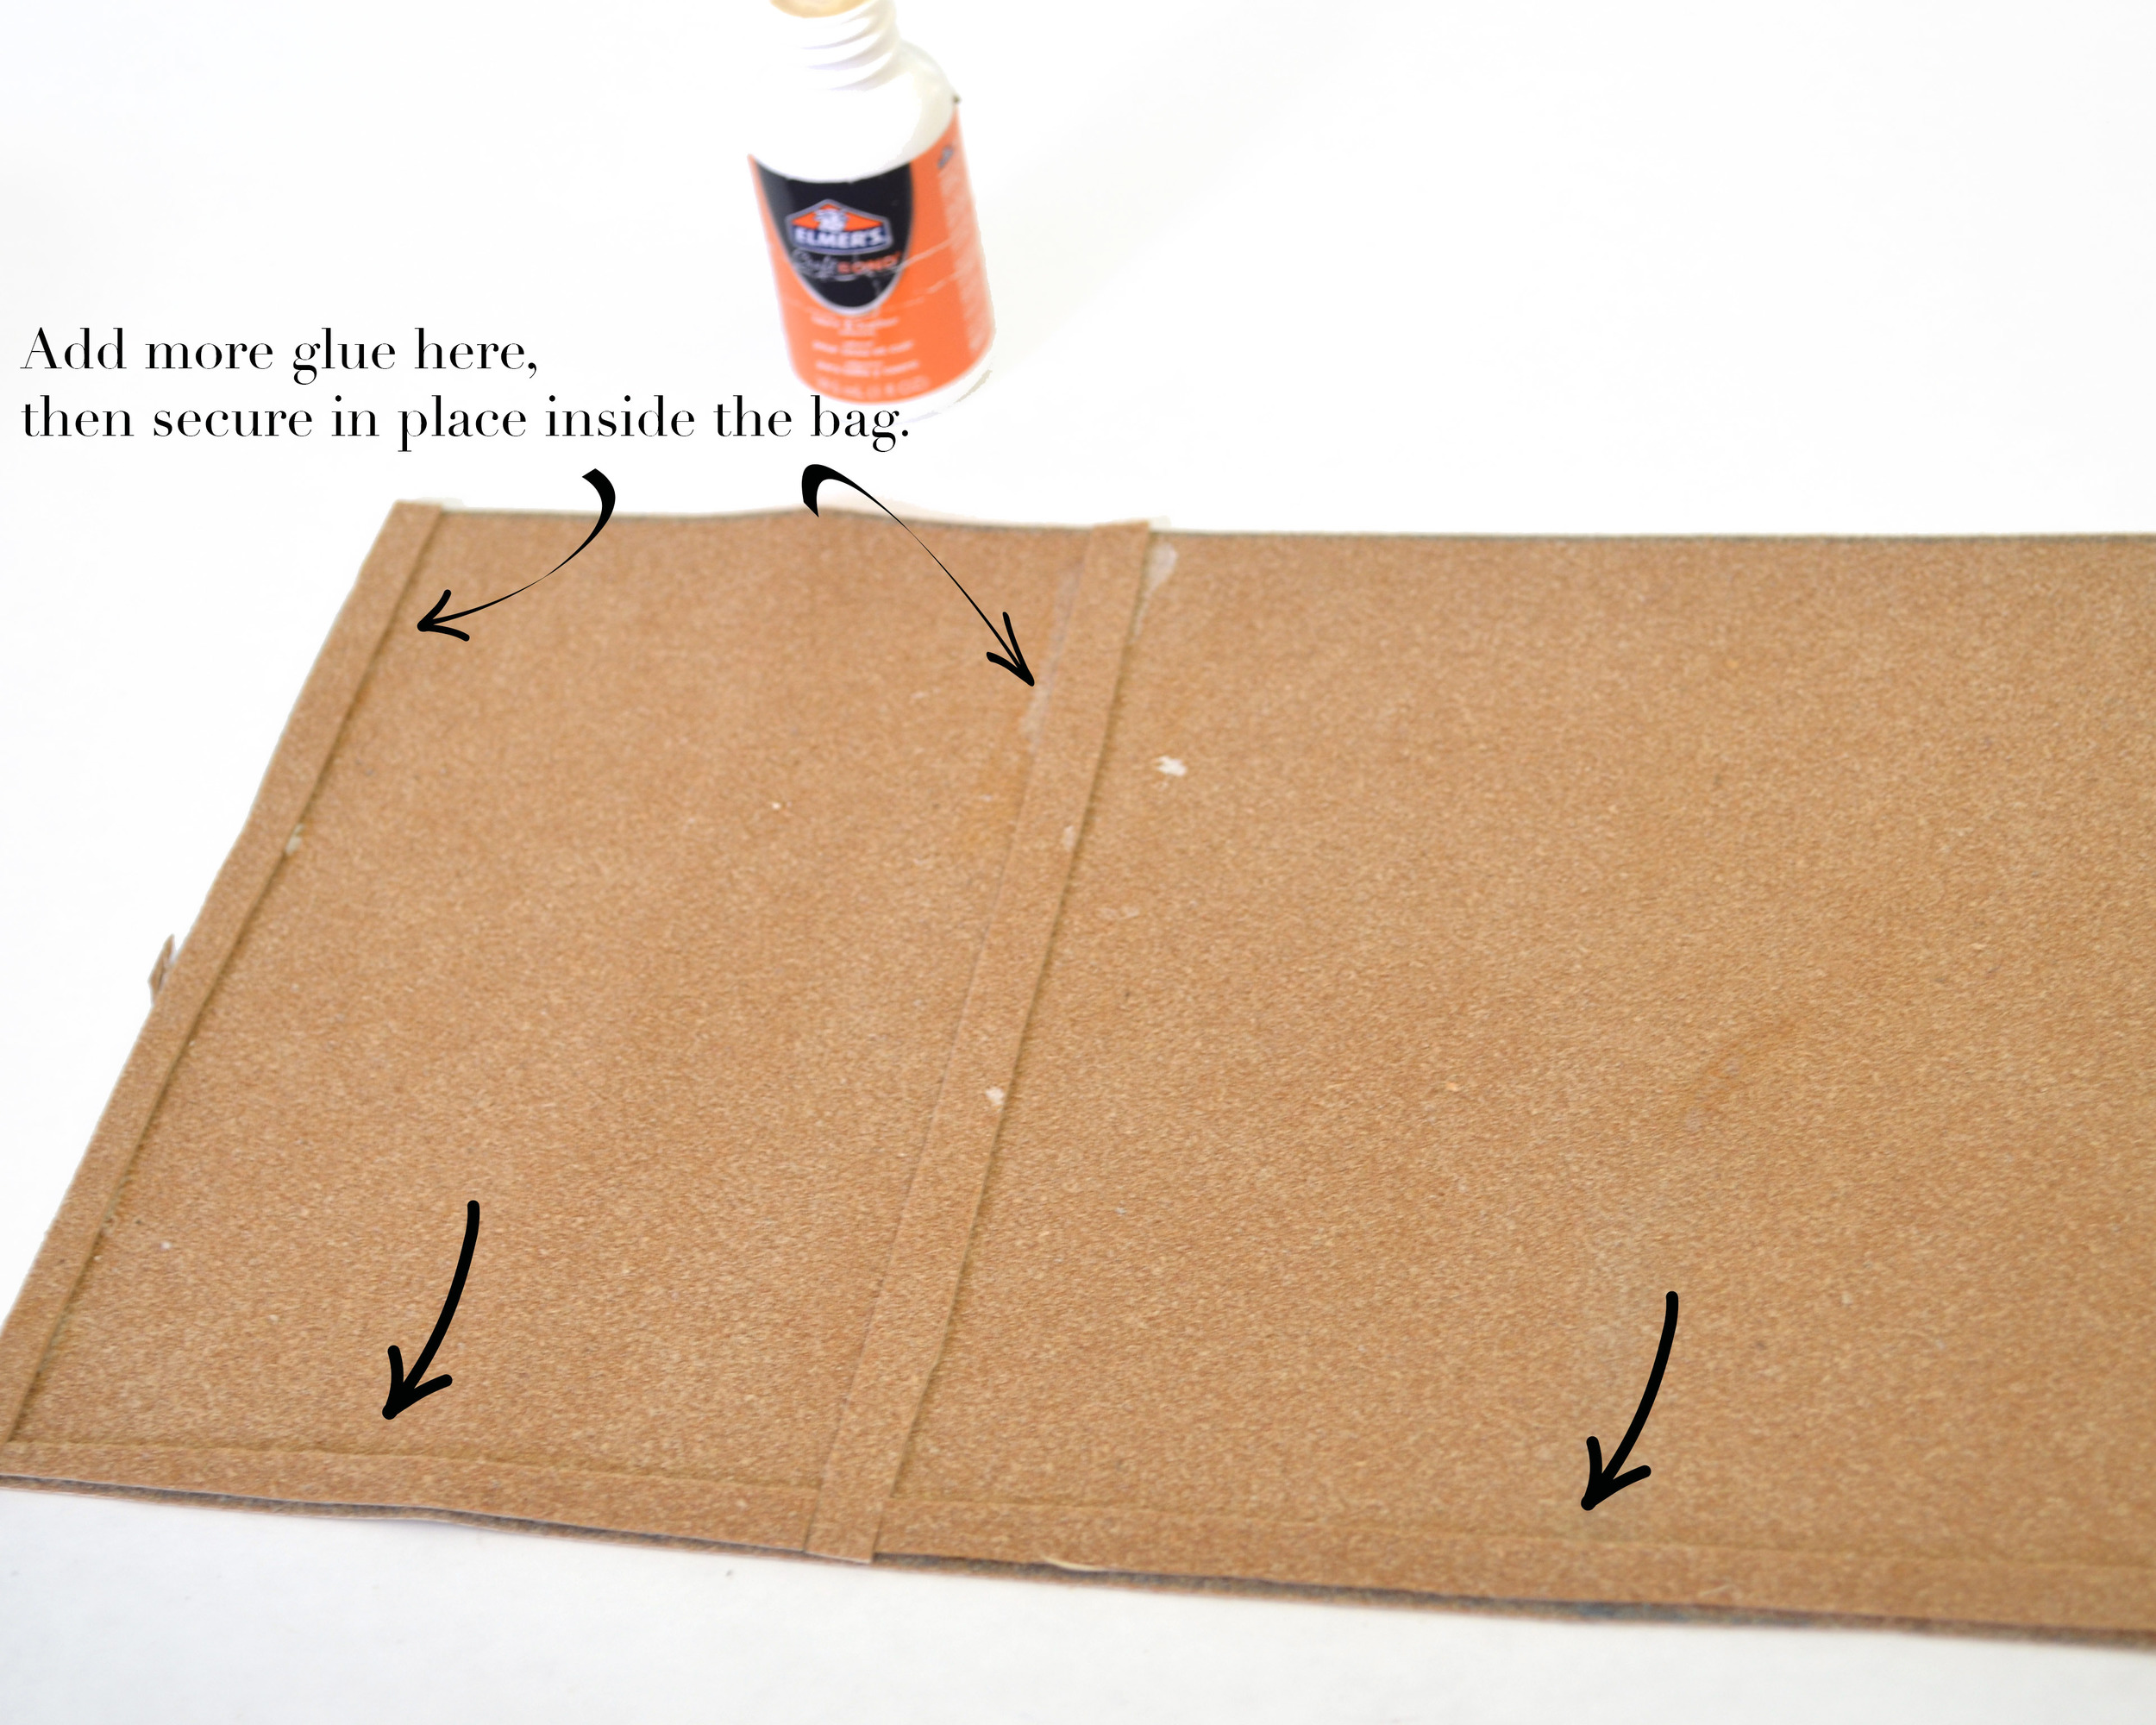
- Add a pocket.
If you’d like to add a pocket to the inside, take one of your ‘pocket’ pieces (save the other for the tassel). On the wrong side of the fabric glue little strips of scrap leather along the edges and one up the center.
- Add a pocket, part 2.
Once that glue is dry, add glue along the edges (on top of the pieces you just glued down), and glue into place inside your bag.

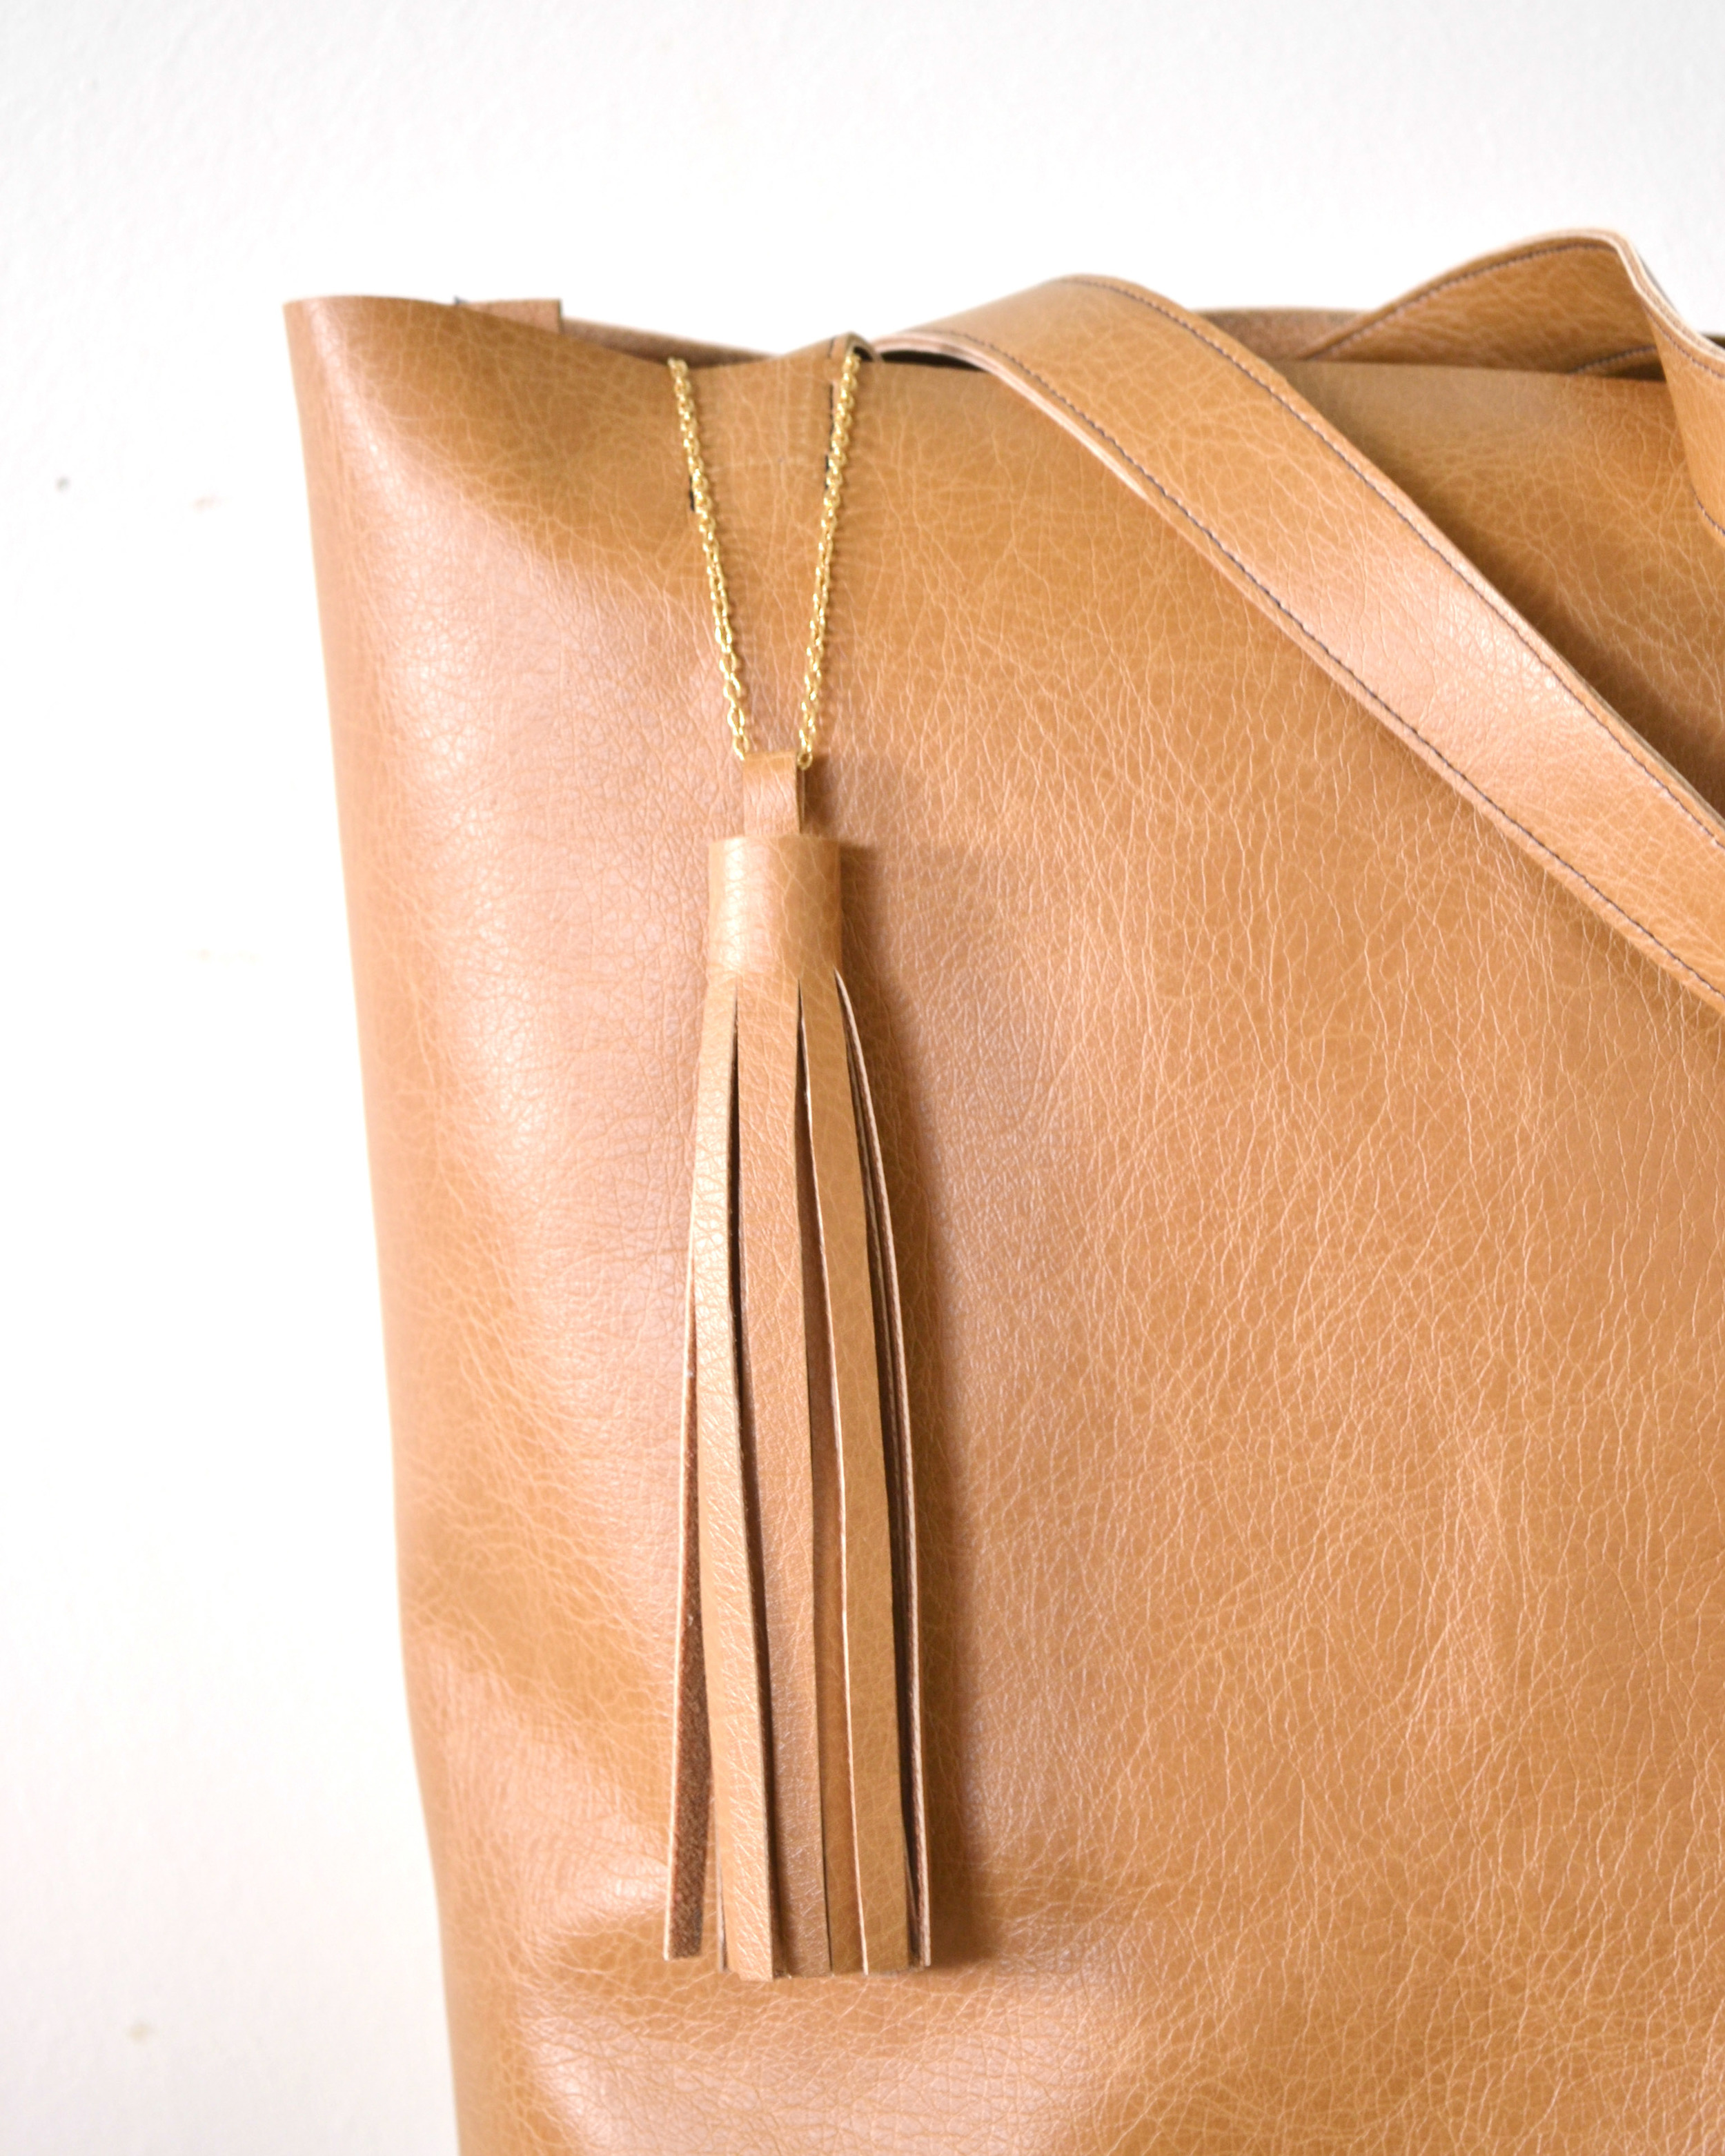
How to Make the Tassel
How to Make the Tassel
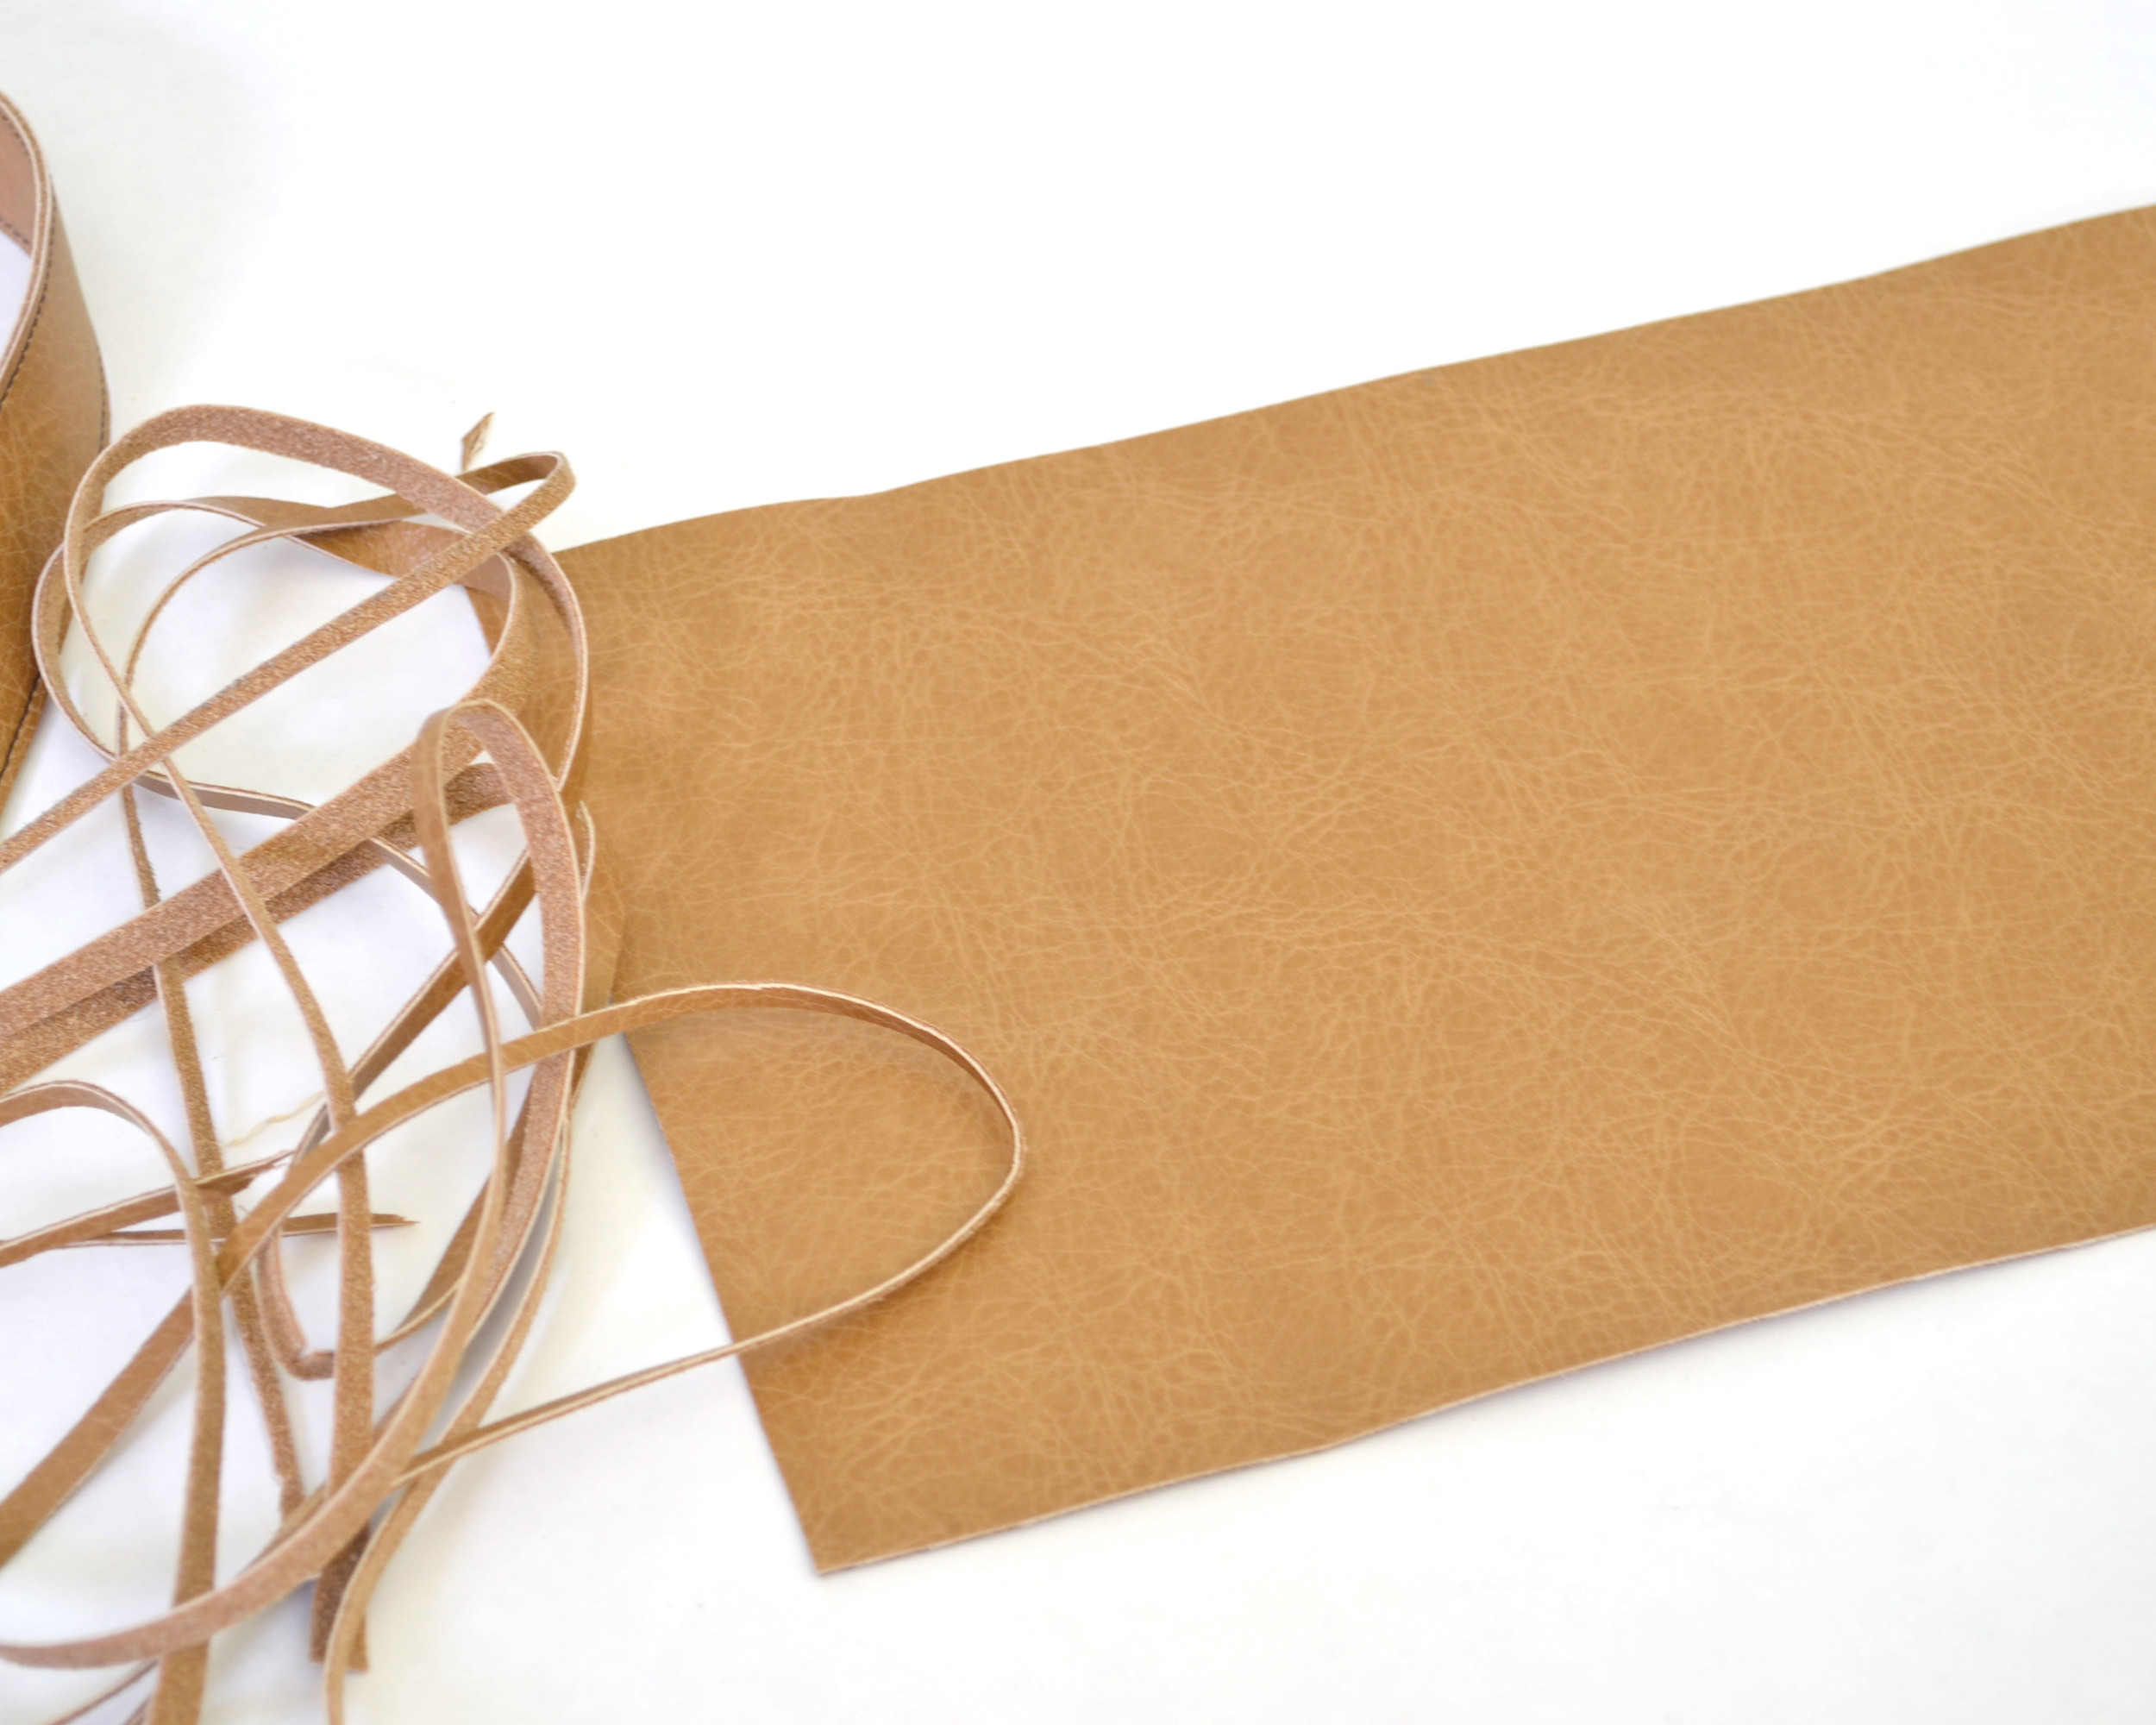
Step 1: Using your other ‘pocket’ piece and a ruler, mark vertical lines every 1/8 inch. The thinner the lines, the better your tassel is going to look!
Step 2: Cut along the lines, leaving about an inch margin at the top.
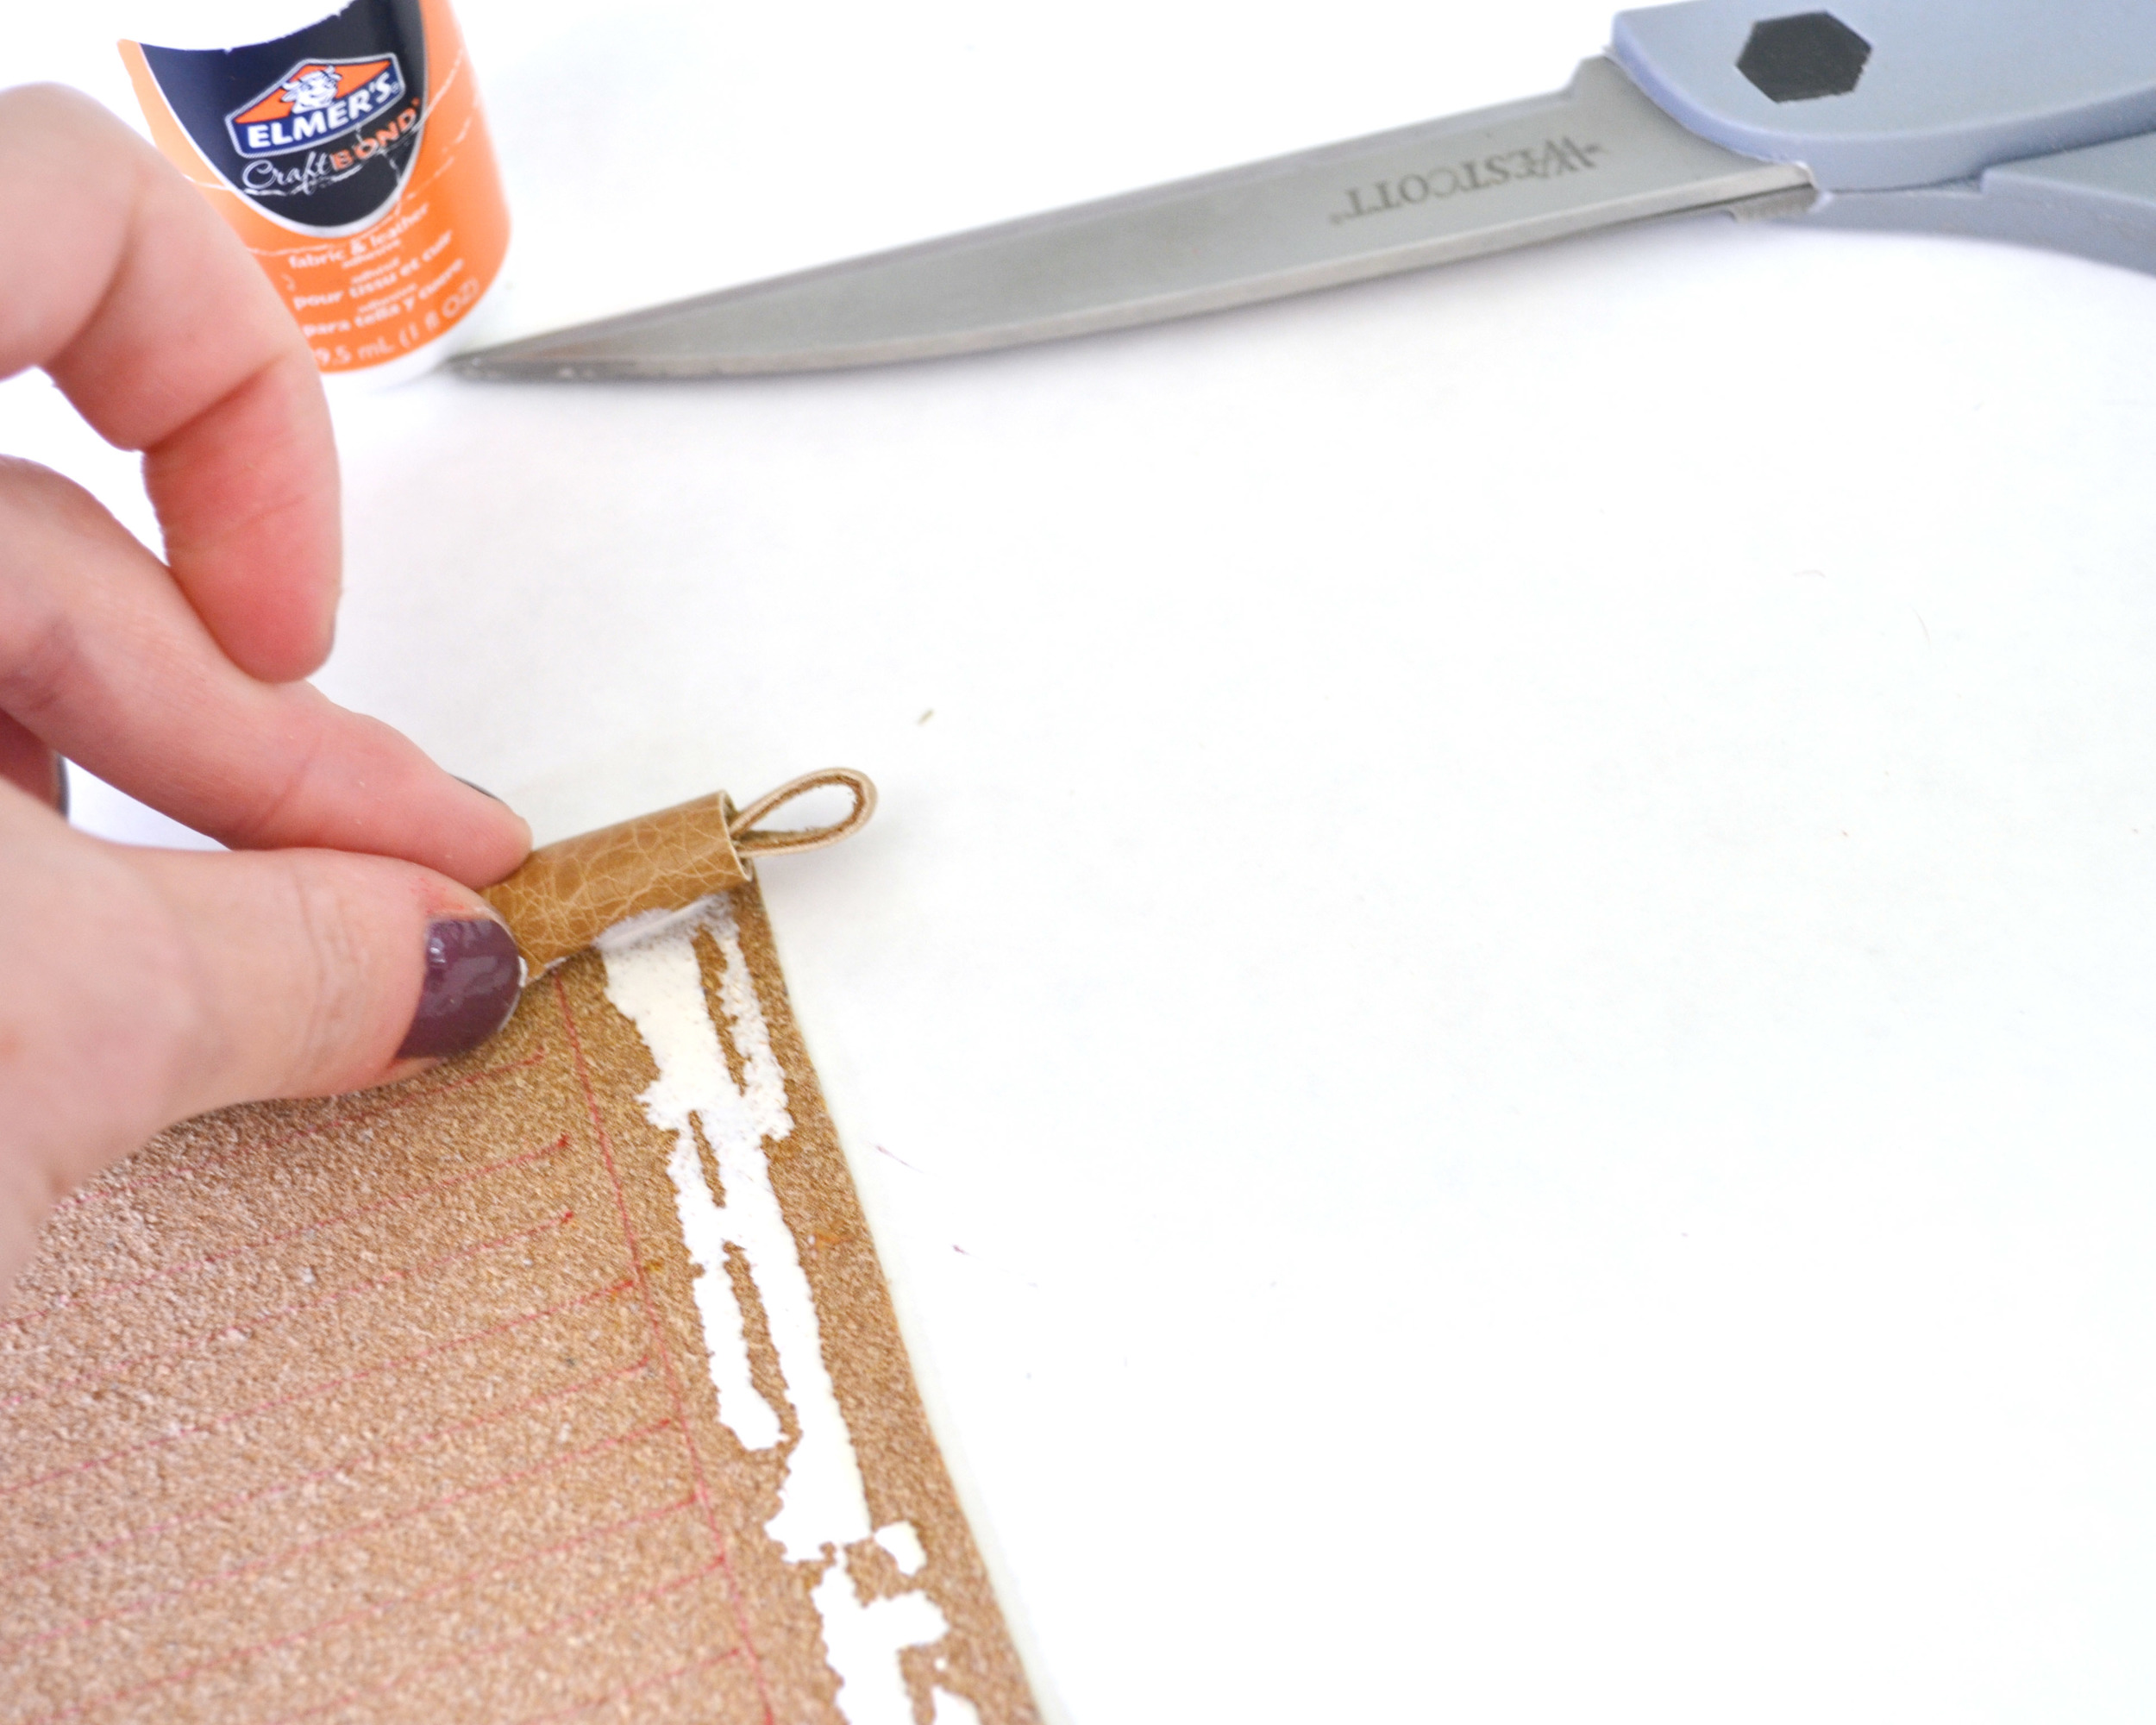
Step 3: Use a little scrap piece of fabric to form a small loop and glue it to the top left hand corner.
Step 4: Apply fabric glue along the inch margin, and tightly roll up your tassel! Hold into place until the glue dries.
Step 5: Use a bit of beading chair and a jump clasp, and secure the tassel to the tote.
Fewf! I know this was a long tutorial, but well worth it right!? Will you be buying a Mansur tomorrow? Or is that not your style? I’m hoping to snag one of the bucket bags, but if I don’t, I am loving this Chloe cross-body bag!
This weekend, I am off to Nashville for one of my best friend’s weddings! I finished this bag in perfect time for airport travel. If you have any questions, or if you give this tutorial a shot, tag me in a finished photo! I’m on instagram, twitter, and Facebook!
This is really incredible! Where did you get your leather? I want to do this, and I’m not sure what kind of leather I should be ordering.
I will add a few links in the supplies section. I hope you try this with success, thanks for stopping by! -Chloe
Thank you!!!
lovely bag!! I’ve got a Craft Gossip post scheduled for later today that links to your tutorial: http://sewing.craftgossip.com/?p=82537 –Anne
Anne, thank you sew much for stopping by ; ) and thank you for sharing my project! -Chloe
I’ve made a ton of totes, but never in leather. I love yours! I do have a question on the straps. Where did you sew them in place? They are invisible at the top. I especially love that! Also, where did you get your leather?
Hi Kathy, I am sorry I didn’t make that more clear above! I sewed them in from the inside, so I place them inside the bag, and made a straight stitch down on either side of the strap. Meaning I sewed 8 straight sitches in total. Does that make sense? I will add some links in the supplies section for leather. Thanks for stopping by, and any further questions, please don’t hesitate. -Chloe
This is so freaking awesome, I could never make this but I want one!
Hi Chloe,
Just wanted to let you know that I’ll be sharing a link to this tutorial and my finished product with my readers tomorrow. Thanks again for sharing this – we had so much fun making it and I LOVE the way my turned out!
– Rachel
http://www.adetailedpalette.com
Hi Chloe,
Such a beautiful bag! What is the thickness of the leather you used to make it?
Thanks!
Thanks Kathy!! I used faux leather – it is about the thickness outdoor fabric.
This is a great looking tote. I think I’m going to make myself a slightly smaller version. I wonder how it would look with a fabric lining. That would be a great way of attaching the number of pockets I like in a tote style handbag.
By the way, how did you tackle the seam allowance when you were sewing Step 7 (when you pinched the box and sewed the seam for the bottom corners)? Did you open it up and sew it open, did you press it to one side, or did you stitch up to the seam allowance, then take your needle out and start again on the other side? From the top of the bag it looks like you didn’t press the seam allowance down at all, but it’s not clear what you did on the corners.
I think a great fabric lining would be a good option to easily stitch in pockets (I used leather glue to attach mine). I was hesitant to rely on glue for the pockets, but it’s held up very well. I should also admit that I didn’t press the seam allowance on the corners of the bag!
I did this somewhat on purpose, because the lines looked so beautiful from the inside, it looked like an expensive bag, and I knew they wouldn’t fray, because it’s leather. Even the faux leather I used has not frayed inside. Also, I don’t think that the fabric would have responded will to being pressed, and I don’t think my machine would have loved going through that many layers.
However you decide to handle the interior, I am sure it will look great! Thank you so much for stopping by! If you end up making the bag, I’d love to see a photo!!!
I love how expensive this DIY tote looks! It’s so sleek and chic. I have a ton of suede fabric stored, I might need to try my first DIY tote!! Thanks so much for linking up to The Creative Circle! Can’t wait to see more of your projects.
Thank you for hosting! It’s a great link party! This is one of my favorite projects, hope you give it a try!
Such a great idea! I can’t believe I never thought of this! I need a new tote as mine is starting to look a bit shabby. Thanks for sharing :)
Great tote! I’m going to make one for the better half.
What kind of leather and thickness did you use for this?
It’s simple and beautiful!!! I’m an Accessories design student living in NYC. District leathers has amazing leather selections and their service is great. Check them out if you need leather. https://www.districtleathers.com/
Thank you for the recommendation!!!
Love this bag. It’s the tutorial I have been looking for! What are the dimensions of the bag? Thanks!
Could you please post where you bought the leather glue and leather needles? Also, what are the dimensions of this bag? I need one with a base that is at least 8 inches wide, would this be wide enough?
Hi. Love the tote. Question – Are the four pieces of paper taped together landscape or portrait? Thank you.
Wao! Thank you for sharing this amazing.I really like your tutorial.I will definitely gonna try this.I got some bags and accessories from best online boutiques and they are of very good high quality and amazing.
It’s so cute, but I’m afraid to attempt it because you offer so few photos. With the scarf/arm covering the bag in the photo, it’s almost impossible to see any of the details. :(
Some photos of it open, of where the straps are attached, and the bottom corners, etc. would be fabulous. It would make your instructions more meaningful.
Why are you glueing scrap pieces of leather around the edges and up the middle of the bag? I was thinking of putting a lining in the bag as well.
Great PATTERN